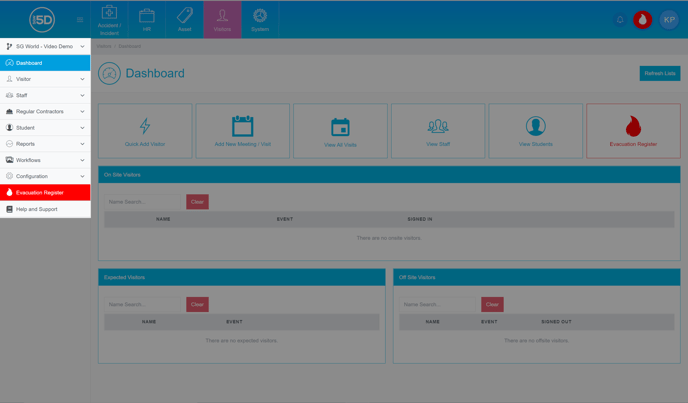
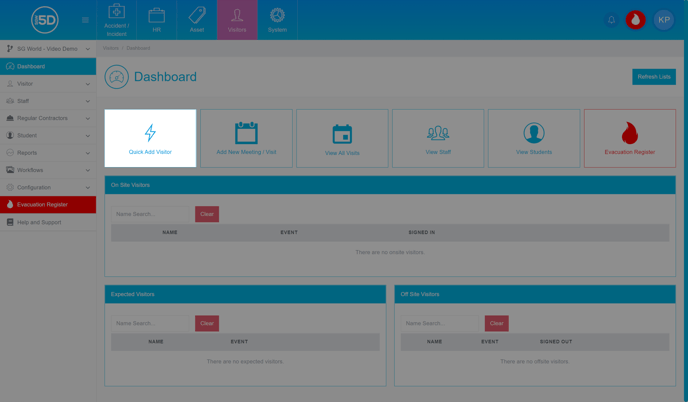
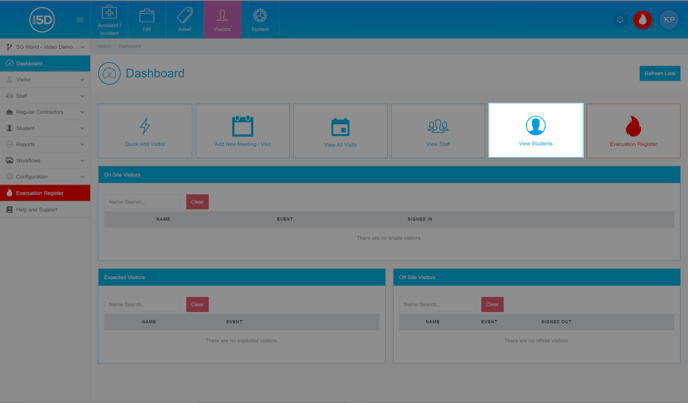
The following guide will show you how to navigate and use the SGW5D Dashboard.
To access the various section within SGW5D, use the drop-down categories along the left of the screen, if you would like more information on these categories, please look for the relevant article.
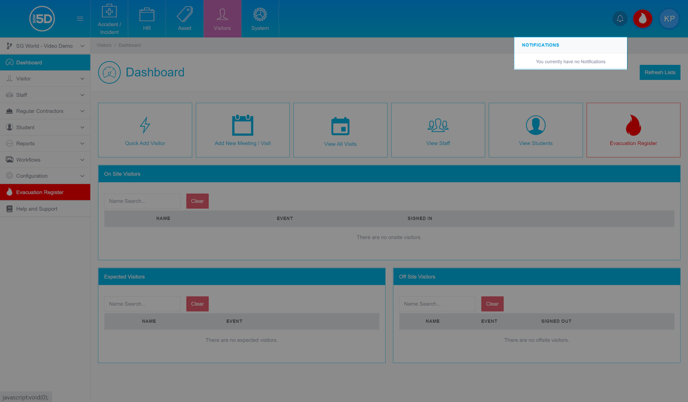
In the top-right of the screen there is a bell icon, once clicked the notification tray will open, this will show any recent actions within SGW5D, these may include logging a visit, or creating a new visitor.
All entries within the notification tray are interactive, once you click on an entry you will be taken to the relevant page.
You can gain access to your user account by clicking on the Account button in the top-right of the screen, once clicked a drop-down will appear.
From the drop-down menu, you are able to view your Profile Picture, Account Role and Email Address.
You can also access your account page by clicking “My Account”, you can also sign out by clicking the “Sign Out” button.
Add a Visitor
To quickly add a visitor from the Dashboard click the “Quick Add Visitor Button”
A box will then appear, here you can fill in any of the relevant fields making sure that you select the correct host and event.
Any fields that are marked with a red asterisk (*) must be filled in before you can proceed.
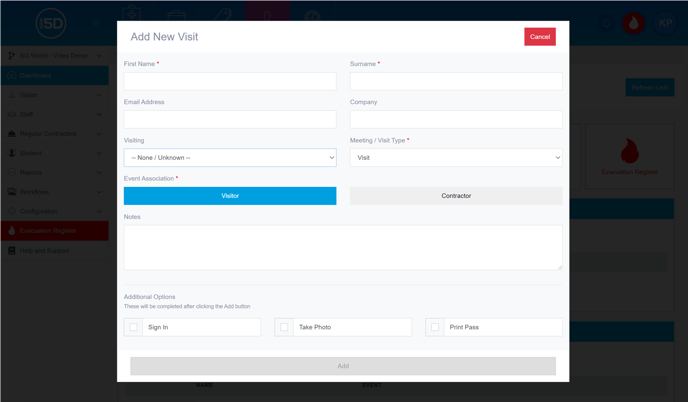
Once you have filled in all of the details click “Add”.
A confirmation pop-up will then appear, if you would like to add another visitor click “Add Another”, if not click “Close”.
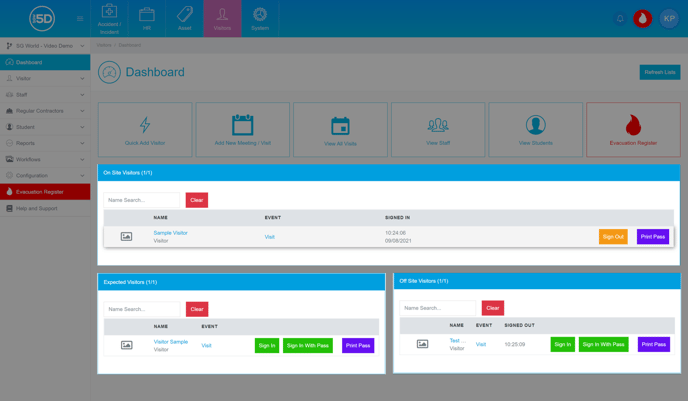
The visitor will then appear in the “Expected Visitors” section.
Manage Visitors
On the Dashboard there are three sections which track any relevant Visitors, these include “On-Site Visitors”, “Expected Visitors” and “Off-Site Visitors”.
You can quickly manage your “On-Site Visitors” by clicking the “Sign Out” button, you can also print them a pass by clicking the “Print Pass” button.
You can also click “Sign In” on either the “Expected Visitors” or “Off-Site Visitors” section to book in a visitor.
Add new Visit
To add a new event/visit, click the “Add New Meeting / Visit” button.
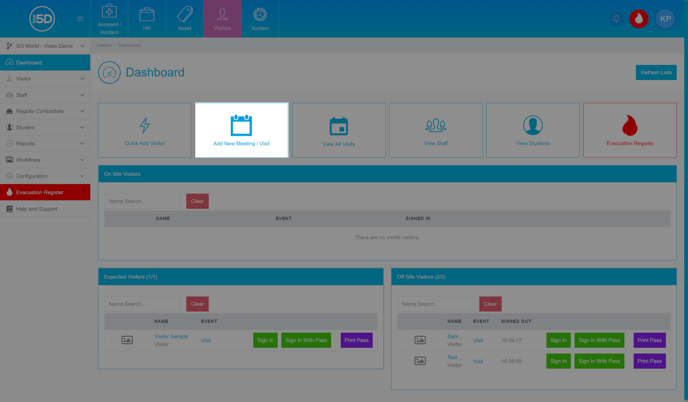
You will then be taken to another page where you will be able to create a new Visit.
All fields with a red asterisk (*) must be filled in before completion.
Start by naming your Visit in the “Meeting / Visit Name” field.
Select your Visit type in the “Meeting / Visit Type” field, this will already be populated by your default Visit type.
Select a start date and time, you will also need to set an end date and time, this is important if you are having a visit for more than one day.
You may also want to add notes for your Event, this is viewable by other Users with the correct permissions.
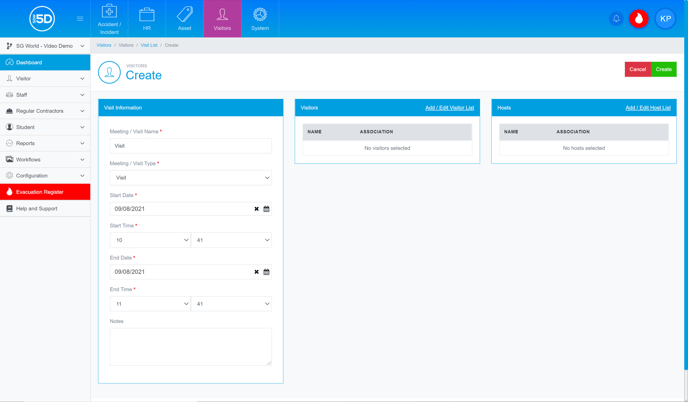
You will need to add any Visitors that will be attending the Visit, click the “Add / Edit Visitor List” button within the “Visitors” section.
A pop-up will appear where you can manage your Visitors.
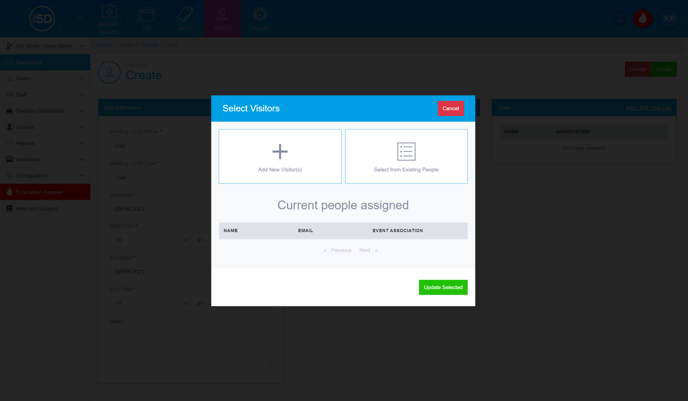
To add a new visitor who has not attended the site in the past, click the “Add New Visitor(s)” button.
You can also add existing visitors who have attended site by clicking the “Select from Existing People” button.
Once you have added all of the required visitors click the “Update Selected” button.
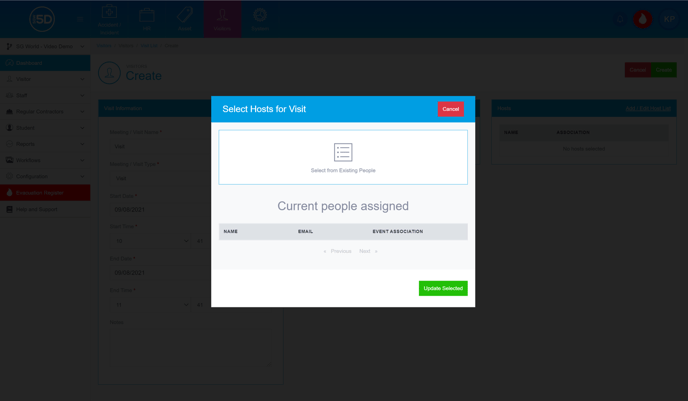
To add any relevant hosts, complete the previous steps in the “Hosts” section.
Please note that you are only able to select existing people, if you would like to add a new host to the list, please consult the “Staff Management” guide.
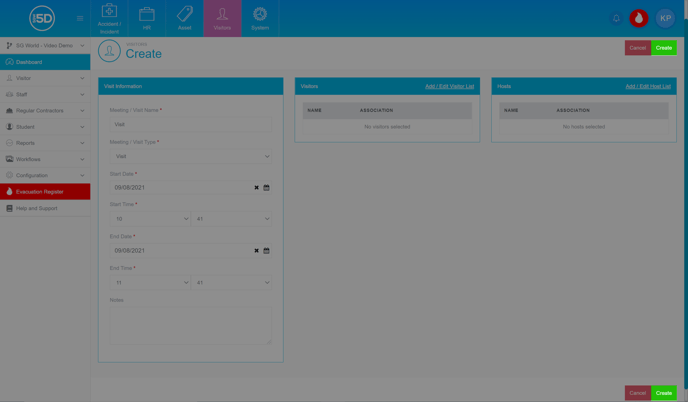
At this point, you should have added all of the appropriate information that is needed for a Visit, if you would like to make any changes, or correct any errors, do so now.
If you are happy with your event click the “Create” button at either the top-right or bottom-right of the screen.
View Visits
Returning to the Dashboard, you can view any of your Visits by clicking the “View All Visits” button.
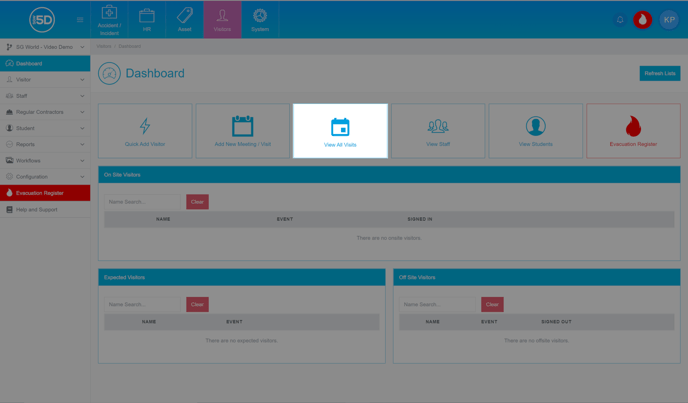
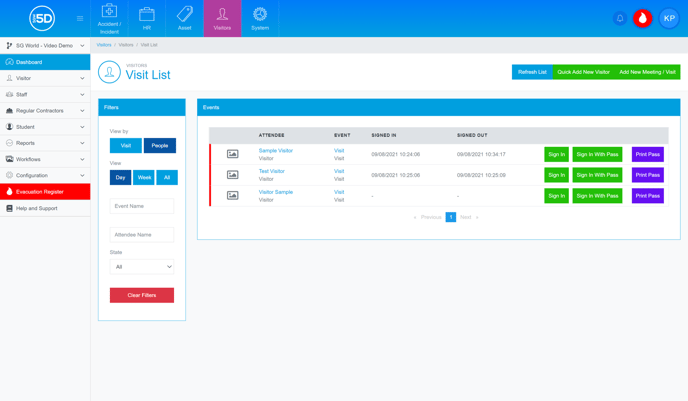
This will take you to the Visitor List. By default, this will show any visitors that are attending your site for the day.
You can filter your view by using the “Filters” section on the left of the screen.
View Staff
Returning to the Dashboard you can find a list of your Staff by clicking the “View Staff” button.
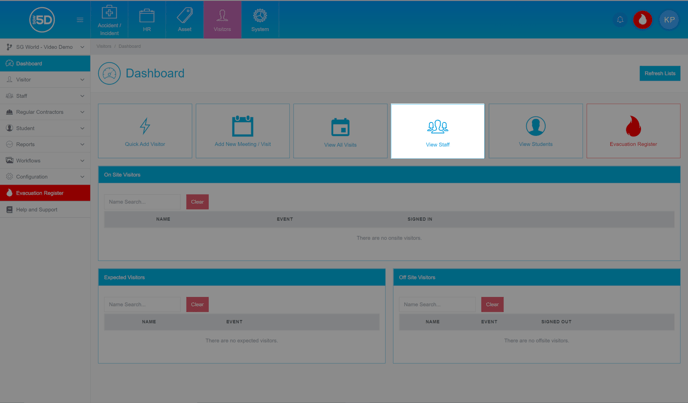
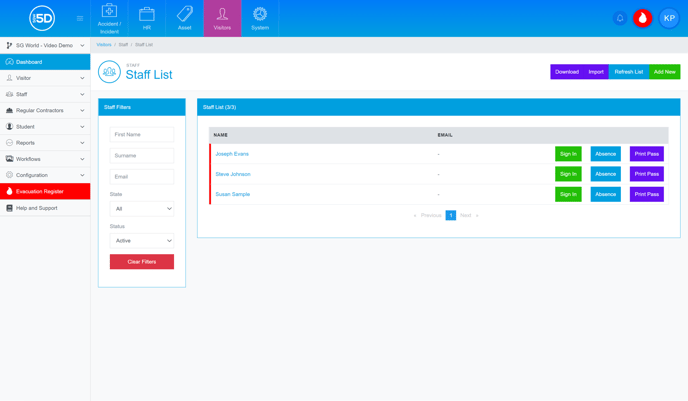
This will take you to the Staff List page, from here you can see all of the staff that are registered on your site.
For more information on this page, please consult the “Staff Management” guide.
View Students
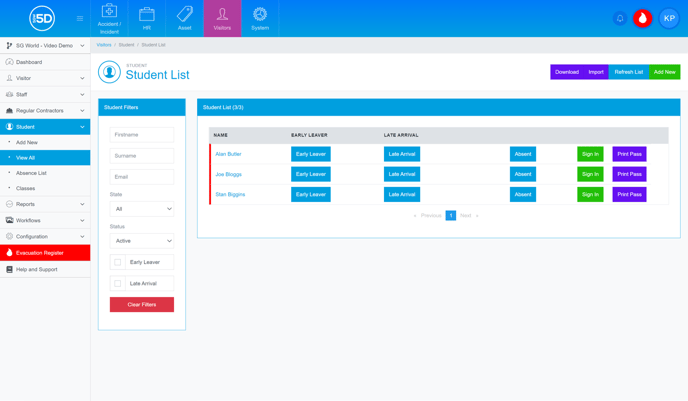
Returning to the Dashboard you can find a list of your Students by clicking the “View Students” button.
This will take you to the “Student List” page, from here you can see all of the students that are registered on your site.
For more information on this page, please consult the “Student Management” guide.
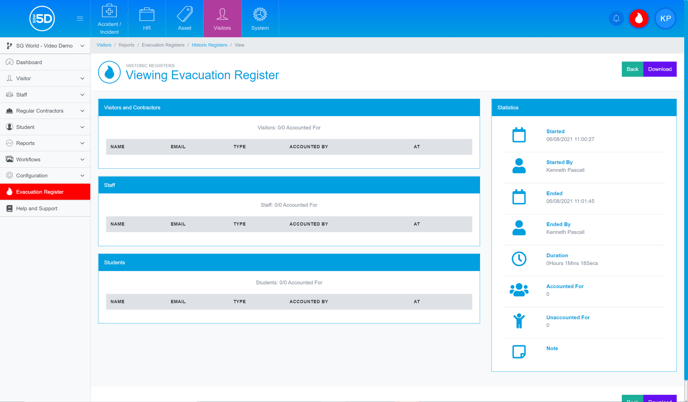
Evacuation Register
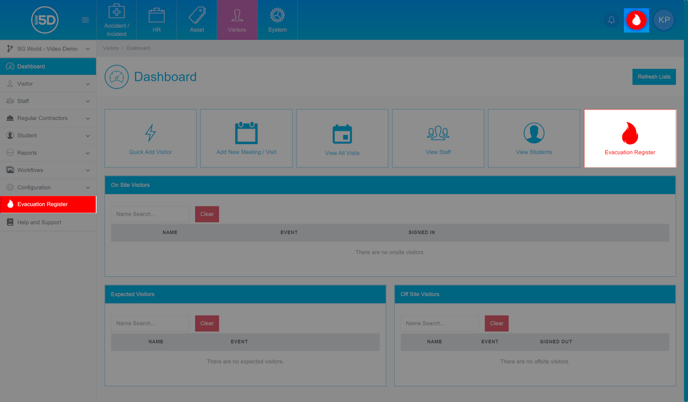
On all pages, you will be able to access the evacuation register by clicking on the red flame icon in the top-right of the screen.
Alternatively, you can click on the “Evacuation Register” button on the dashboard, or the “Evacuation Register” bar on the left of the screen.
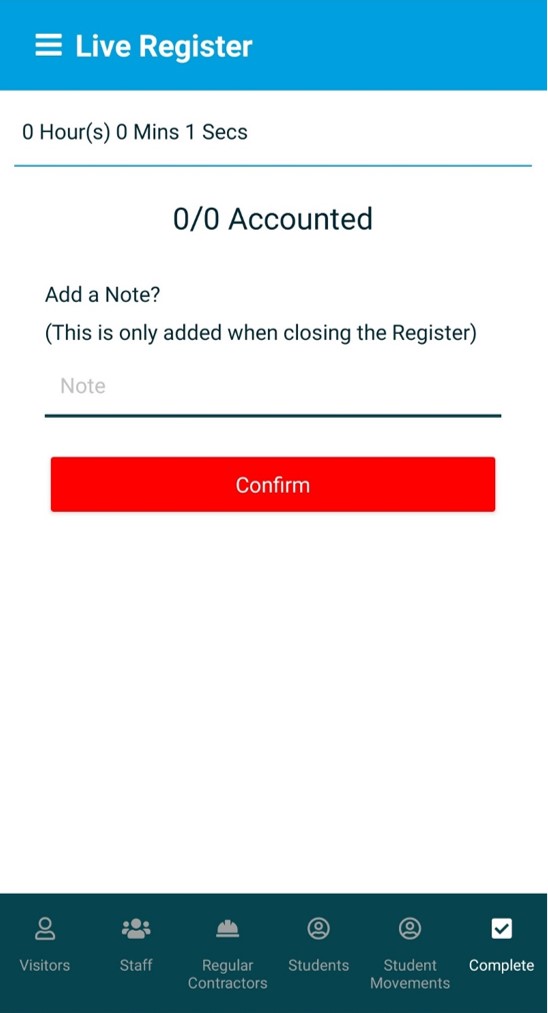
Once you have started the evacuation register, you can either print out the register if required, or you can use the free SGW 5D Evacuation app (available on Google Play and Apple Store).

The evacuation register will show any visitors who is on-site at the moment of the count, these can then be marked as accounted for on your printed list or digitally through the app.
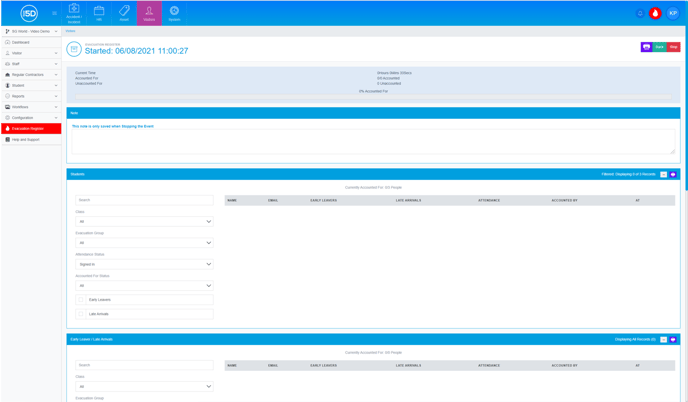

Once everyone is accounted for click the “Stop” button in the top-right of the screen on the portal or by using the complete tab on the app and then tap confirm. (You can add any general notes before tapping confirm).