SGW5D Quick Start Guide
SGW5D Visitor - Quick Start Guide

The following guide will show you how to access your SGW5D software suite, and how to use the basic features.
Start by clicking on the following link:
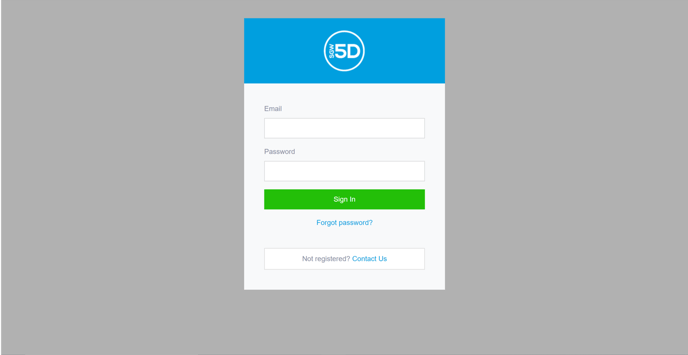
This will take you to the SGW5D Login page.
Using the details that were provided to you on the day of installation, or by our onboarding team, please fill out the relevant fields and click “Sign In”.
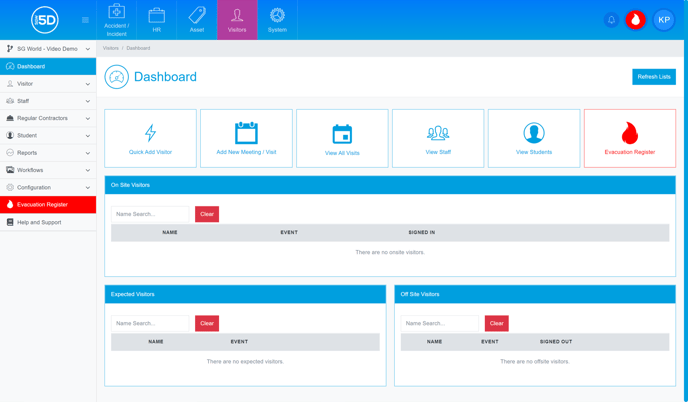
Once you are signed in you will be greeted with the Dashboard, this area provides you with an overview of all the major functions within 5D.
On the Dashboard there are three sections which track any relevant Visitors, these include “On-Site Visitors”, “Expected Visitors” and “Off-Site Visitors”.
You can quickly manage your “On-Site Visitors” by clicking the “Sign Out” button, you can also print them a pass by clicking the “Print Pass” button.
You can also click “Sign In” on either the “Expected Visitors” or “Off-site Visitors” section to book in a visitor.
Adding a Visitor
To add a visitor from the Dashboard click the “Quick Add Visitor Button.”
A box will then appear, fill out any of the relevant fields making sure that you select the correct host and event.
Any fields marked with a red asterisk (*) must be completed before you can proceed.
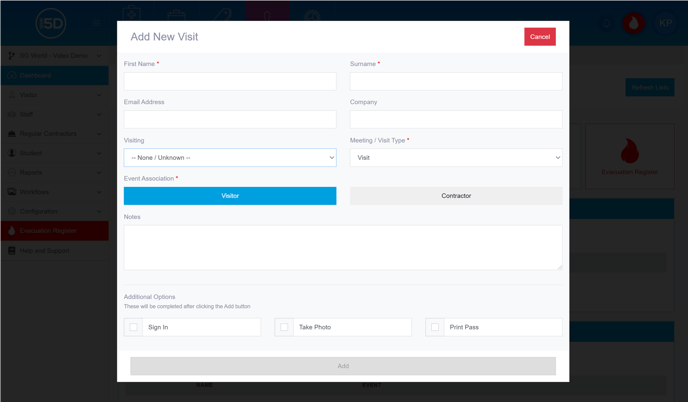
Once you have filled in all of the details click “Add”.
The visitor will then appear in the “Expected Visitors” section.
Evacuation Register
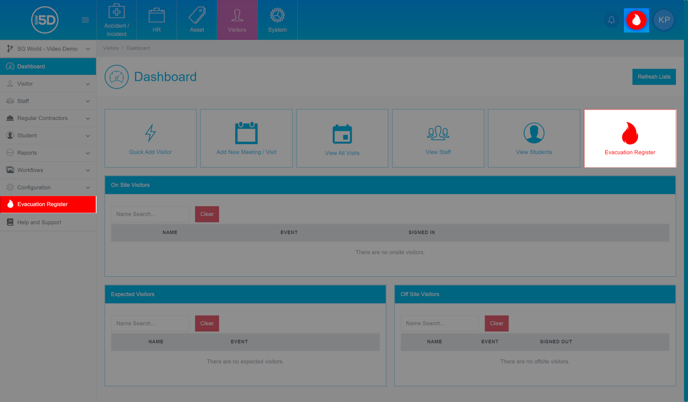
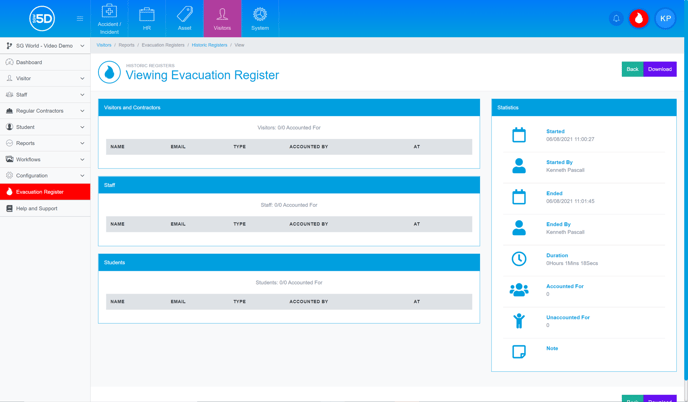
On all pages, you will be able to access the evacuation register by clicking on the red flame icon in the top-right of the screen.
Alternatively, you can click on the “Evacuation Register” button on the dashboard, or the “Evacuation Register” bar on the left of the screen.
Once you have started the evacuation register, you can either print out the register if required, or you can use the free SGW 5D Evacuation app (available on Google Play and Apple Store).
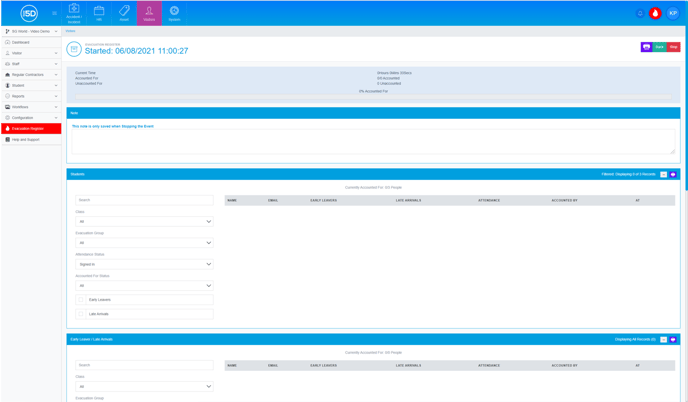
The evacuation register will show any Visitors, Staff or Contractors (if setup) who are on-site at the moment of the count, these can then be marked as accounted for on your printed list or digitally through the app.
PORTAL VIEW
MOBILE APP VIEW
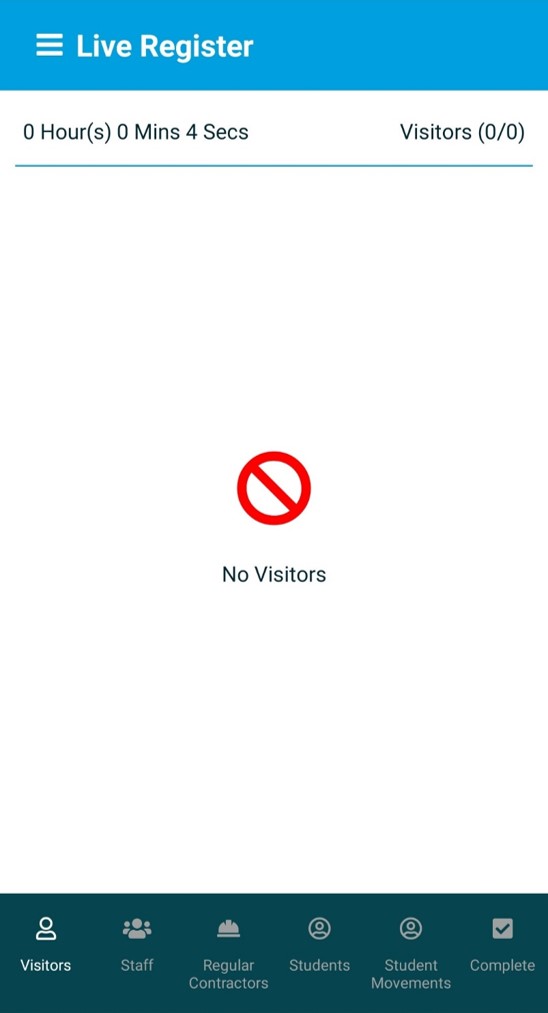
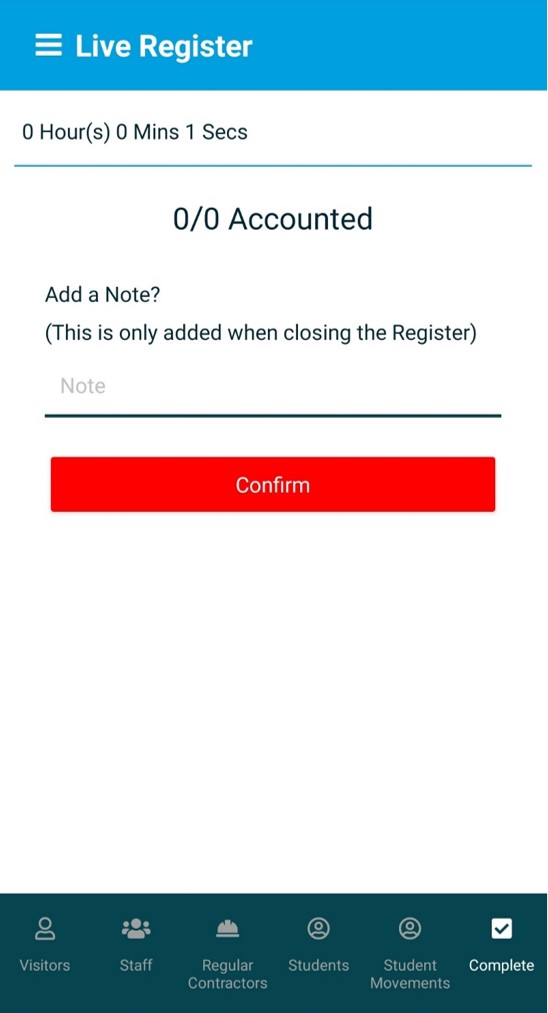
Once everyone is accounted for click the “Stop” button in the top-right of the screen on the portal or by using the complete tab on the app and then tap confirm. (You can add any general notes before tapping confirm).
PORTAL VIEW
MOBILE APP VIEW
