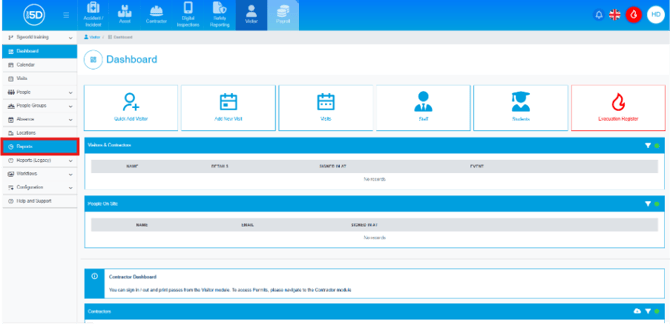
- From the visitor module, click the left-hand navigation panel and select Reports.
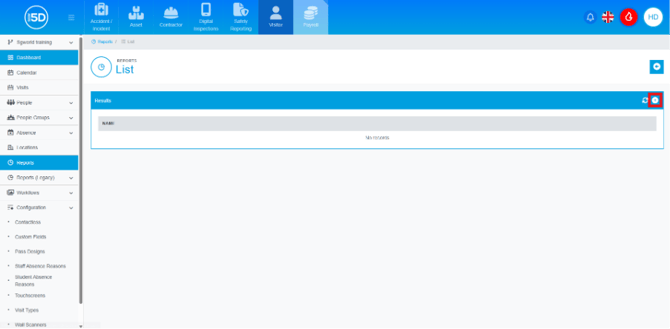
- You will be taken to a list of all currently created reports. Click the plus symbol in the top-right corner of the page.
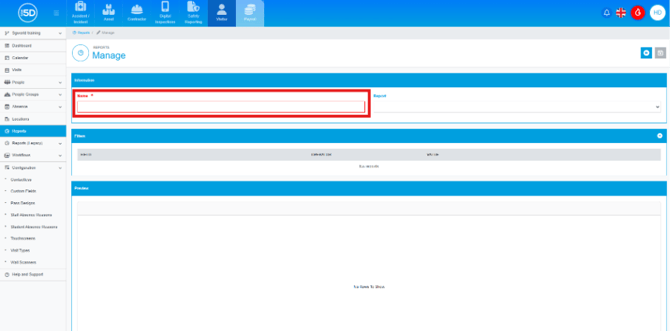
- This will open the report creator. Start by giving the report a name using the Name field.
- Next to the Name field is the Report field. This dropdown box allows you to create a report based on the data type.
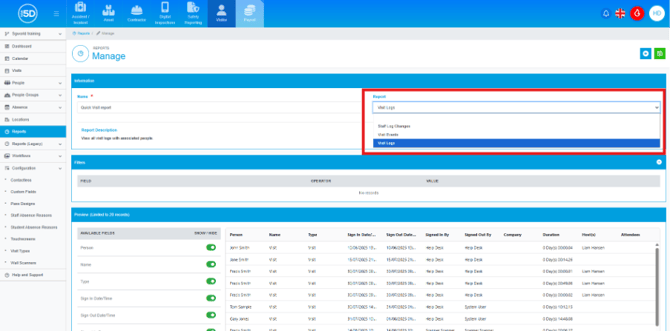
- Visit Events — Used to report on details within events data.
- Staff Logs Changes — Generates reports showing all changes made to any staff sign‑in or sign‑out logs. These reports can only be viewed by users with super‑user permissions.
- Visits Logs — These reports focus more on the empirical data of visitors.
Use the dropdown to select the type of report you want to create.
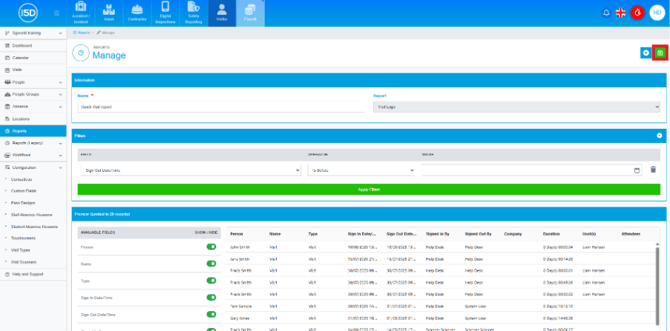
- Filters can be added under the Filters box. To add a new filter, click the plus symbol in the top-right corner of the Filters box.
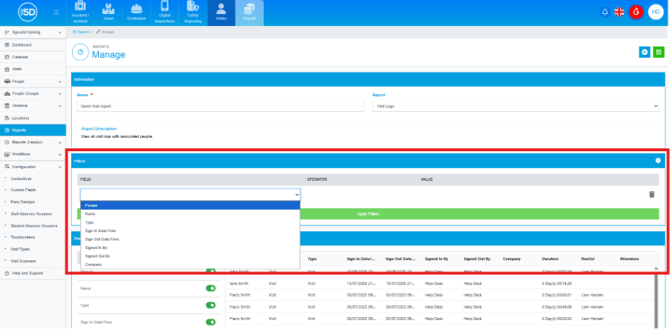
- The filter options available will depend on the report type selected in the Report dropdown. Use the dropdown to select which field will be used to filter the report.
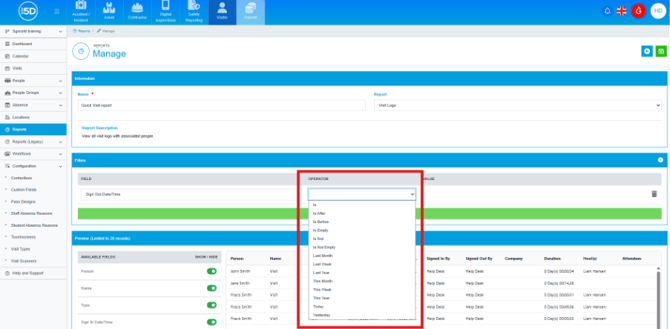
- After selecting a field, choose an Operator. Think of operators as “if” or “when” statements. The available operators will change depending on the selected field.
- The Value field is used when the selected field and operator require a specific value, such as “Name is John.” In these cases, a value must be entered. Some operators will not require a value.
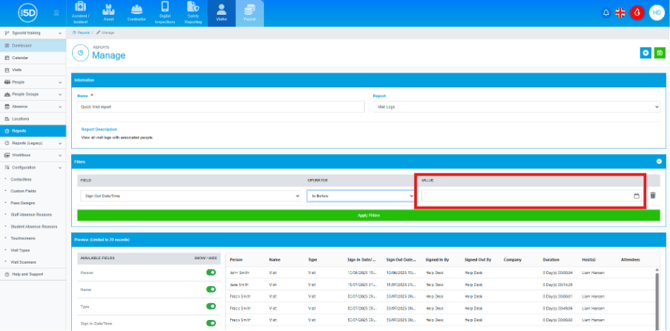
- You can add as many filters as needed for the report.
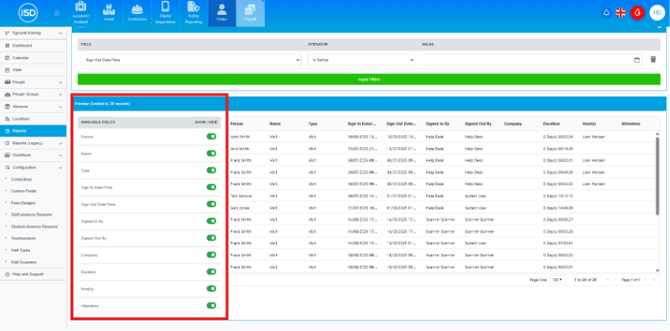
- Below the filter section is the Preview section. This shows an overview of the report being generated. You can also select which columns to include by clicking the sliders next to each column name.
- To save the report, click the green save icon in the top-right corner of the page.