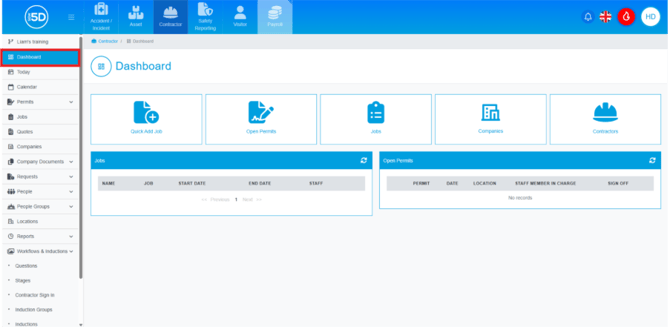
- Quick Add job
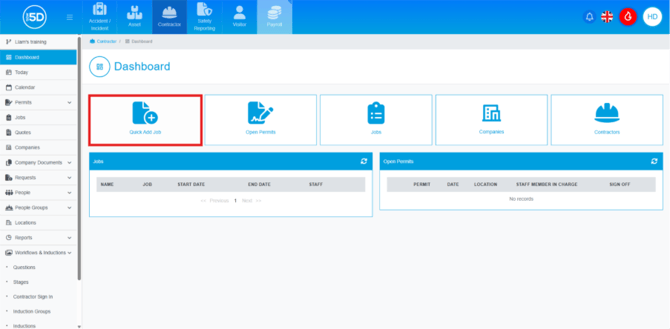
- There are several ways to create a job event. The first method is by navigating to the Contractor module and opening the dashboard.
- On the dashboard, you will see several buttons. Click the ‘Quick Add Job’ button. This will display an overlay that allows you to start creating the event.
- There are several ways to create a job event. The first method is by navigating to the Contractor module and opening the dashboard.
- Creating an event from a job.
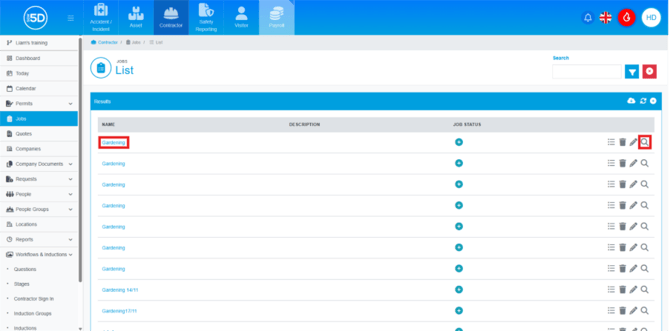
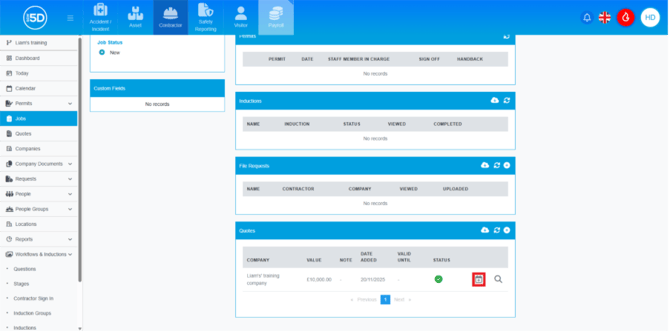
- From the contractor module, start by clicking ‘Jobs’ on the left-hand navigation panel.

- This will take you to a list of old and active jobs. Locate the job you want to create an event for and click on the name of the job or the magnifying glass.
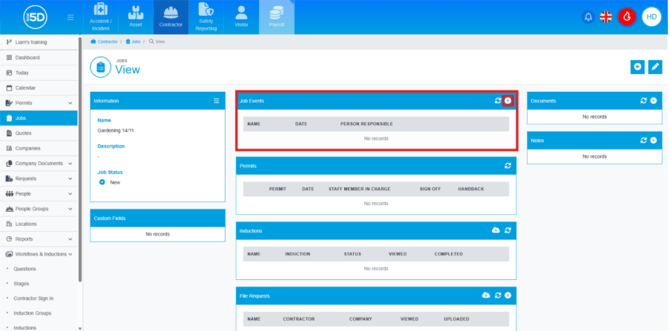
- This will take you to the job ‘View’ page. To create a job event, click the plus symbol int the top right of the ‘Job Event’ box. This is in the centre of the page, at the top.
- Alternativity, if you have a quote and it has been accepted; a calendar button will appear, clicking this icon will take you into the event creation page. This will fill in the ‘Company’ field when you start creating the job event, rather than filling it out later.
- Both options will take you to the same place of creating the event for the job.
- From the contractor module, start by clicking ‘Jobs’ on the left-hand navigation panel.
- Creating the Job Event
- On the job event page itself, it will need some basic information. Start by adding a start and end date.
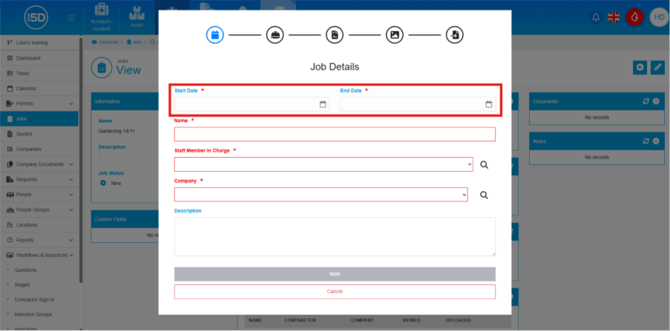
- Moving down the page the next field is ‘Name’. This is the name of the job event. N.b. Remember you can have multiple job events per job and that is why we have multiple name fields.
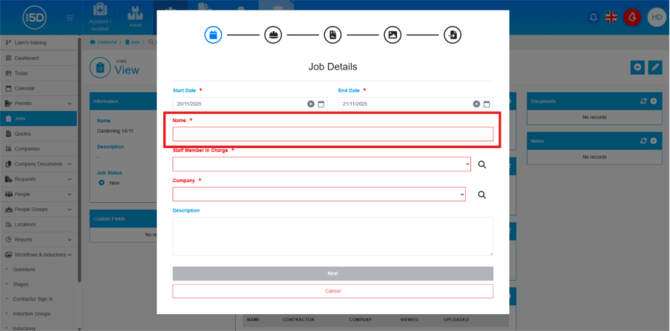
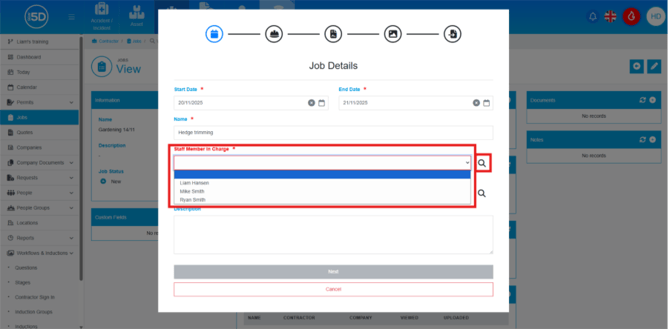
- Below that is ‘Staff Member in Charge’. You can either, open the drop-down box and search through a list or click the magnifying glass next to the field box to search for specific record. Whoever is selected will be notified of change on the job, such as inductions being completed or files being sent in for review.
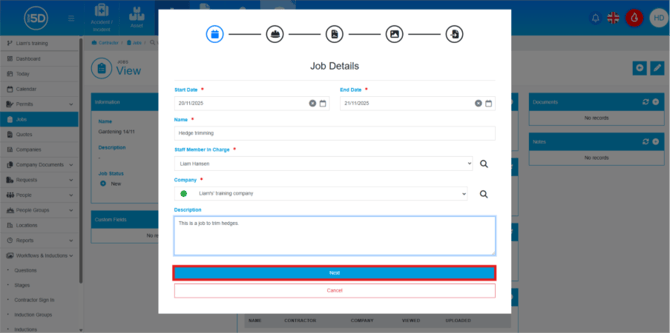
- In ‘Company’, it is the same as ‘Staff Member in Charge’ you can use the drop-down to search the entire list or use the magnifying glass next to the field to search for specific company. You will see that some of the companies have coloured circle next to their name, this indicates if they have all their documentation up to date, such as liability insurance. Depending on your insurance level, which is set in settings, you can prevent a company form being selected.
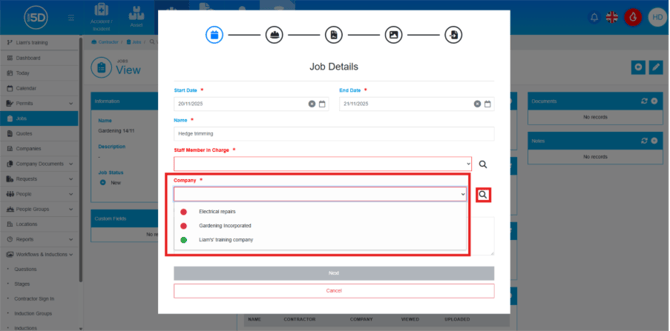
- If a company that is selected is missing or has expired documentation a box will appear below the company box. The box will detail all missing documents.

- There is also a free text box as well labelled ‘Description’. This is not a mandatory field, but this can be used to describe the job or for any other purpose you wish too.

- When you are done click ‘Next’ to continue.
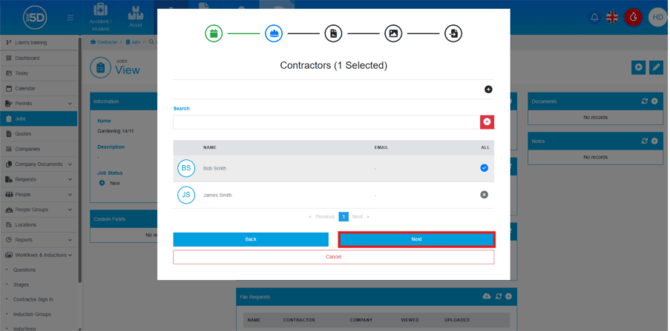
- This will take you to a new page with a list of contractors, this will only look at contractors that are assigned to the company that was selected in in part e. You can select which contractors are coming to the site by clicking the x on the row of their name. This will turn from a X to tick showing that they have been selected.
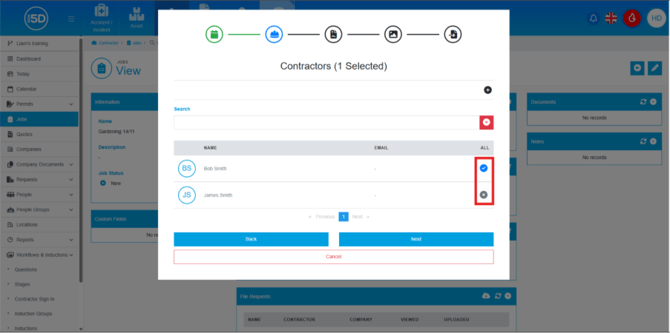
- If the contractor is not on this list, you can click the plus symbol in top right allowing you to add a new contractor to that company.

- You do not have to add any contractors as you might not know who is coming until later. You have the option to add contractors to the job event later. Click ‘Next’ to progress to the next page.
- You will now be able to select what permits are going to be added to the job event. Just like selecting a contractor, click the permit you want to add, and the X will turn to a tick indicating that it has been selected.

- Any selected permits will now appear with a drop-down box. This so you can select if you only want one person to fill out the permit or everybody to fill out a permit. It is defaulted to ‘Everybody, so make sure this is changed if you only want one person to fill out the permit.
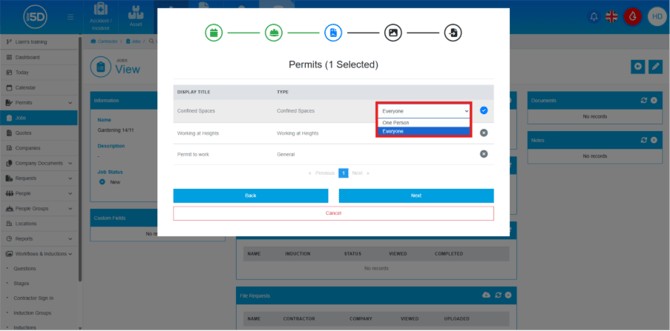
- Click next to proceed to the next stage.

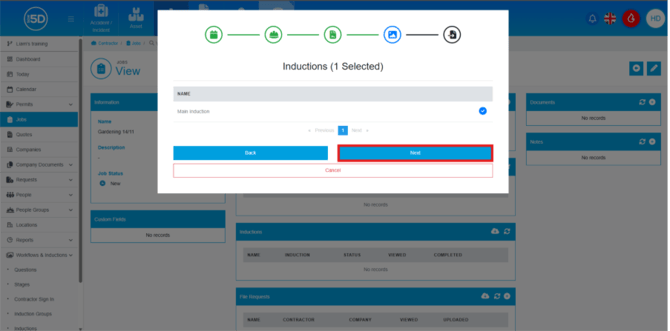
- On this page you will be able to select what inductions that are sent out. Select the induction you want sent to the contractors. N.b. It will not send out an induction if the contractor’s current induction is currently valid.
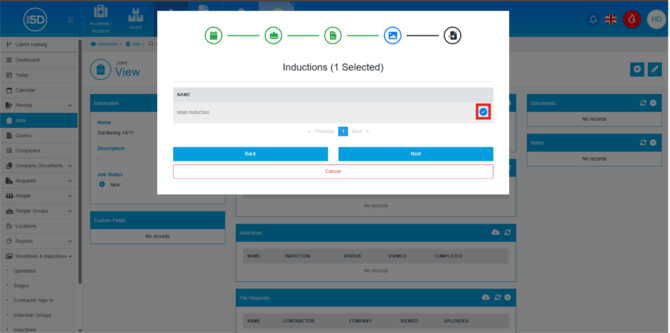
- Click ‘Next’ at the bottom of the page to continue to the last section.
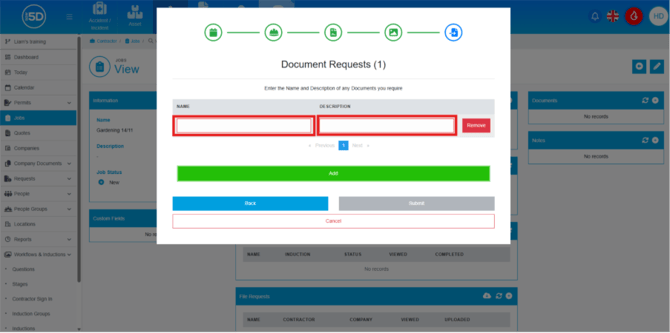
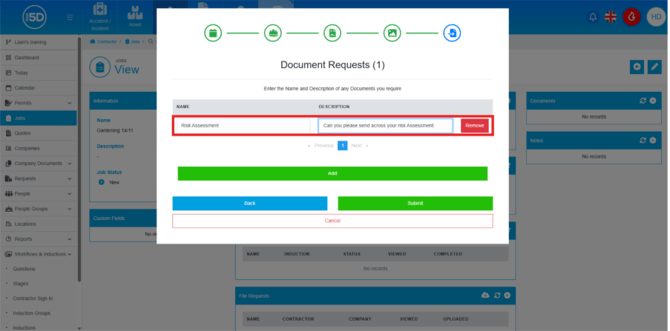
- Here you will be able request documentation. This will be job specific documentation, such as risk assessments and method statements. Click ‘Add’ to start adding documentation.
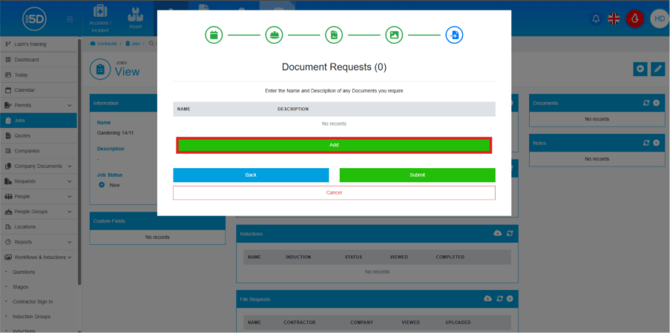
- This will open the page further and you will see two text boxes one named ‘Name’, and one called Description. Put the name of the file you want from the contractors as well as any specific details. You can add as many of these as you want to the event.
- Click ‘Submit’ to save the event.
- On the job event page itself, it will need some basic information. Start by adding a start and end date.