-
- To turn on the Entra integration, please refer to the guide How to Turn On Entra Integration.
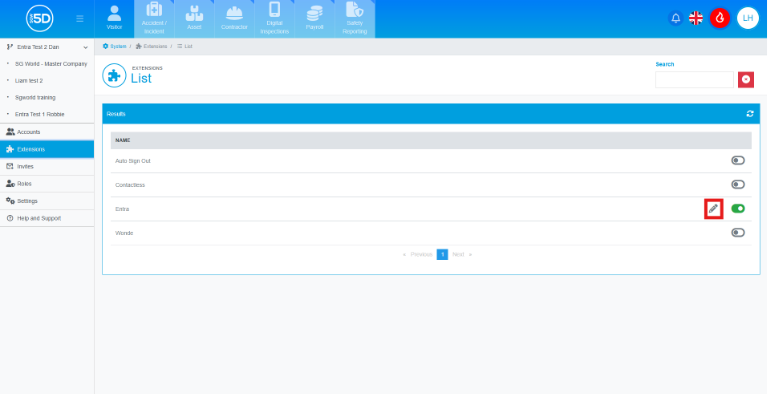
- To begin configuring the Entra integration, click the pencil icon on the Entra row.
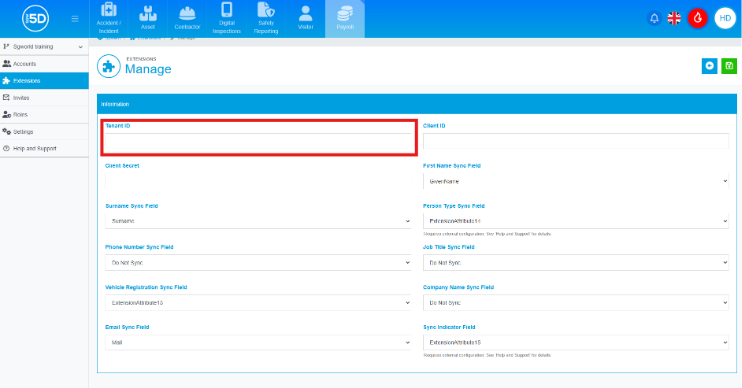
- The first field is the Tenant ID, which is a unique identifier for your organisation's directory. Your IT department will need to provide this information. If you require further assistance, you can refer to the Microsoft knowledge base for more information on the Tenant ID.
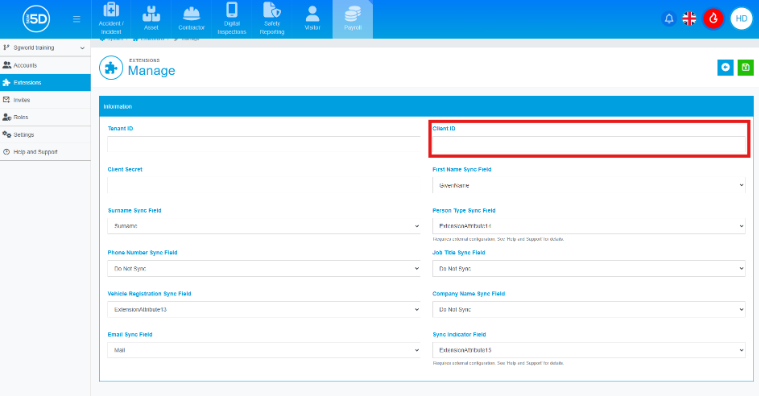
- The Client ID is used to register the 5D application with your Entra system. You will need to obtain this from your IT department. For further information, please refer to the relevant Microsoft guide.
- The Client Secret is a password string used by an application to prove its identity when requesting access to your Azure account. When the configuration has been saved this will be hidden other than the last 4 letters. This will need to be provided by your IT department. If you require additional information, please refer to the relevant Microsoft document.
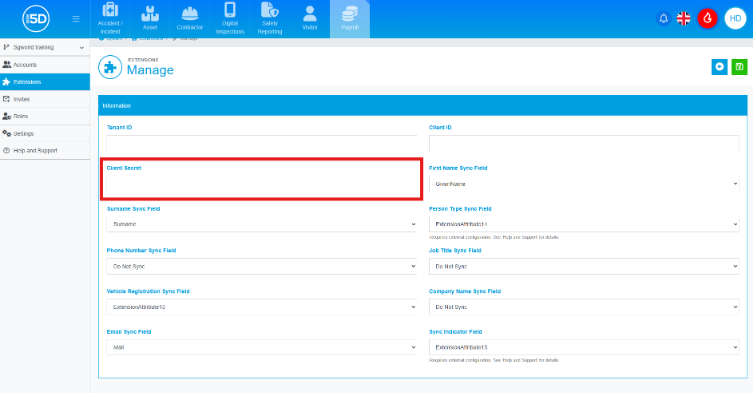
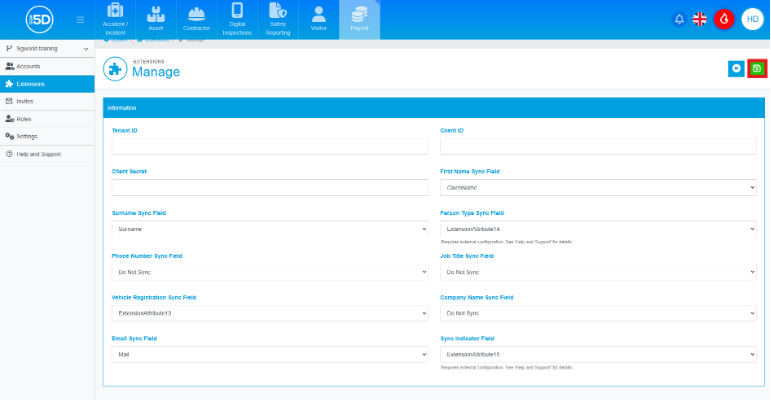
- The next step is to configure which Entra fields 5D will use to retrieve the required information. The integration works by using specific attributes within Entra. The drop-down boxes allow you to select which attributes are used to store and synchronise this information.
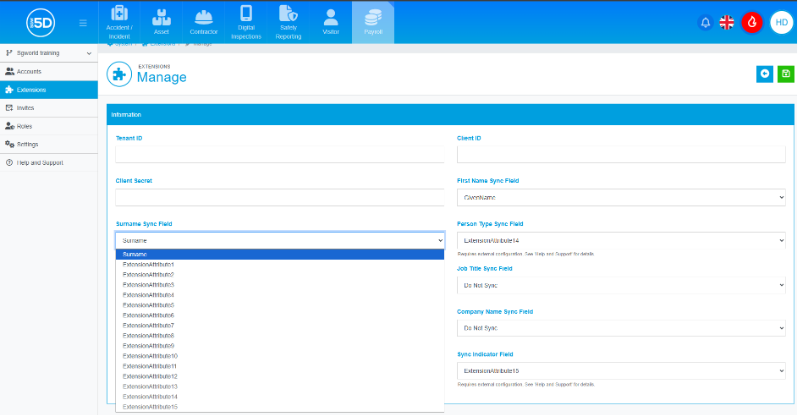
- First Name Sync Field – This is the field in Entra from which the user's first name will be synchronised.
- Surname Sync Field – This is the field in Entra from which the user's surname will be synchronised.
- Person Type Sync Field – This field determines the record type assigned to a person when their information is synchronised. This is achieved by assigning a specific value within Entra, which dictates whether the individual is created as a staff member, student, or regular contractor.
- Assigning a value of 4 will synchronise the record as a student in 5D.
- Assigning a value of 8 will synchronise the record as a regular contractor in 5D.
- Any other value, or leaving the field blank in Entra, will synchronise the record as a staff member in 5D.
- Phone Number Sync Field – This field is used to synchronise the phone number of the record.
- Job Title Sync Field – This field is used to synchronise the job title of staff members into 5D.
- Vehicle Registration Sync Field – This field is used to synchronise vehicle registration details for any record type that stores this information.
- Company Name Sync Field – This field is used to synchronise the company name for regular contractors.
- Email Sync Field – This field is used to synchronise the user's email address into 5D.
- Sync Indicator Field – This field determines whether a record is synchronised into 5D. If the value 1 or true is entered in this field within Entra, the record will be synchronised.
- Once you have made your changes, save them by clicking the green Save icon in the top-right corner.