-
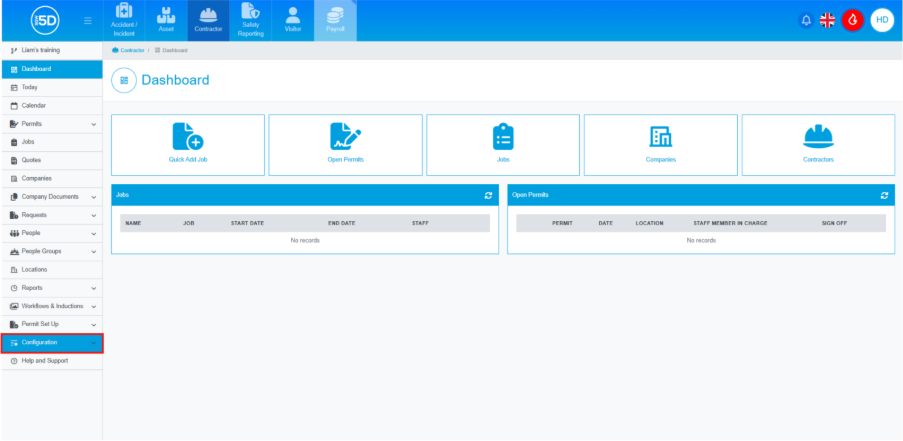
- Within the Contractor module, using the left-hand navigation panel, click ‘Configuration’.
- Then click ‘Company Documents’.
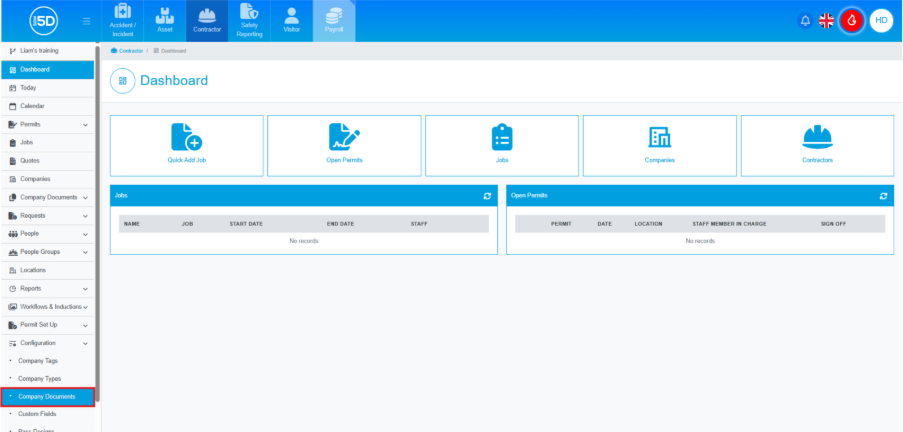
- This will take you to a list of your current company documents. To add a file to an existing company document, click the magnifying glass icon next to the company document you wish to update.

- This will take you to an overview of the company document. Here, you will be able to see any usage of this company document.
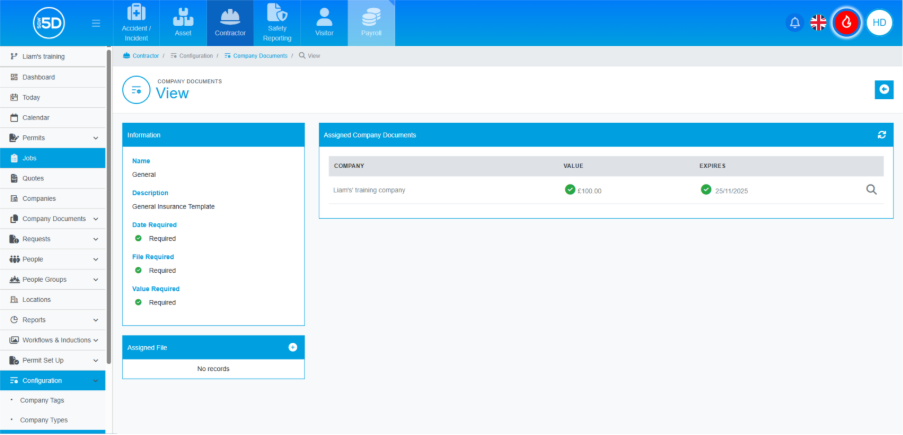
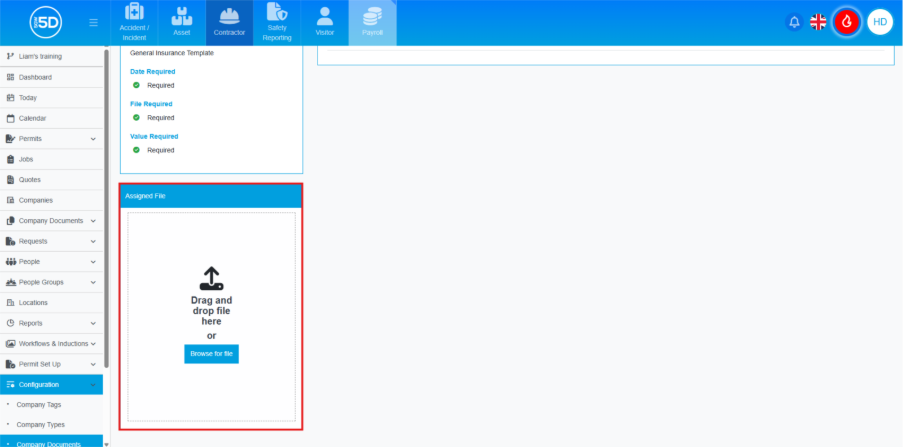
- To assign a file, look under the box labelled ‘Information’. There will be another box labelled ‘Assigned File’. Click the plus symbol in the top right corner of that box.
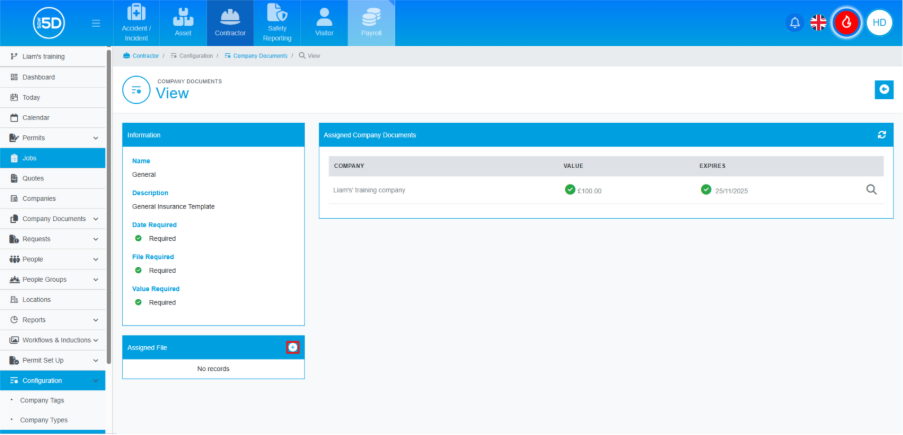
- You will now be prompted to upload a file by browsing your computer or by dragging the file into the box. N.b. Only one document can be added per company document.
- The next time this company document is used, the attached file will be sent out as part of the documentation automation process.
- Within the Contractor module, using the left-hand navigation panel, click ‘Configuration’.