-
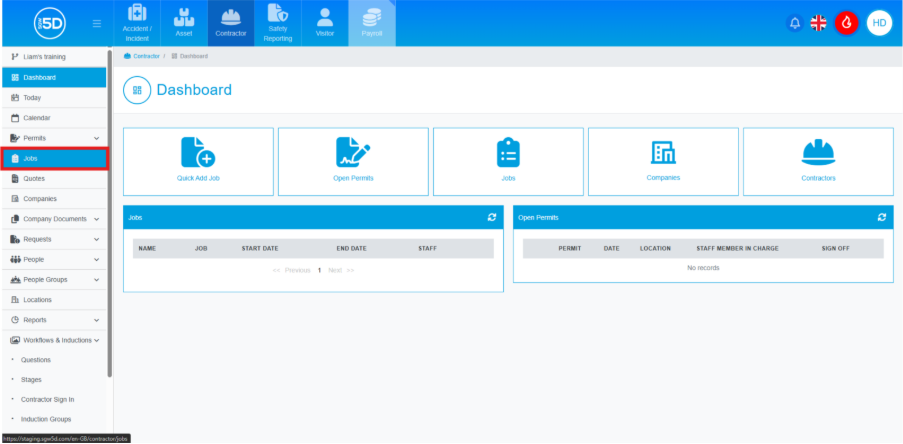
- From the contractor module, start by clicking ‘Jobs’ on the left-hand navigation panel.
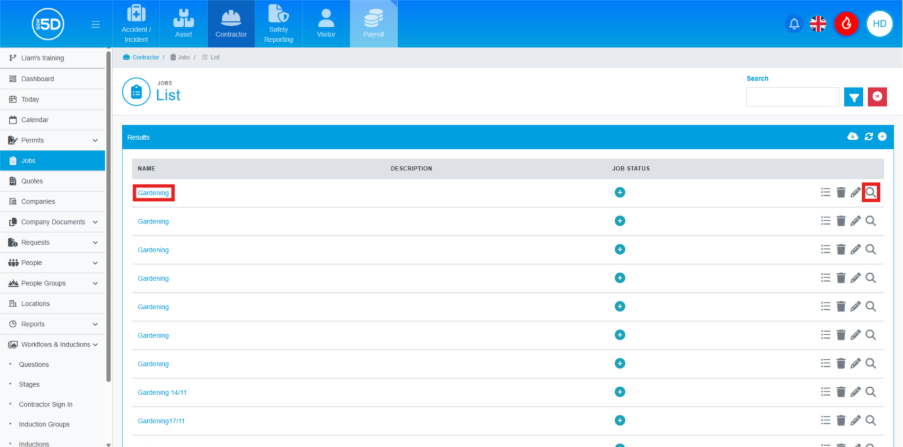
- This will take you to a list of old and active jobs. Locate the job you want to edit an event for. Click on the name of the job or the magnifying glass to access the record.
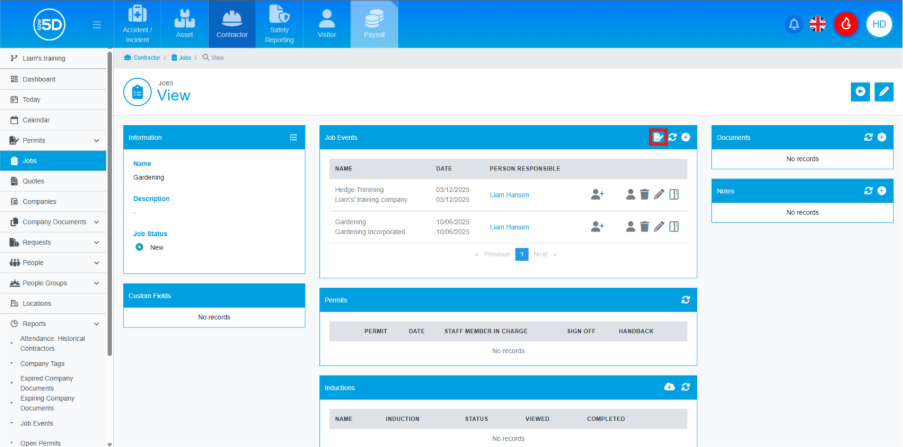
- This will take you to an overview page of the job. To add a new permit to an existing job, click the pencil-on-paper icon located on the blue bar of the ‘Job Events’ page.
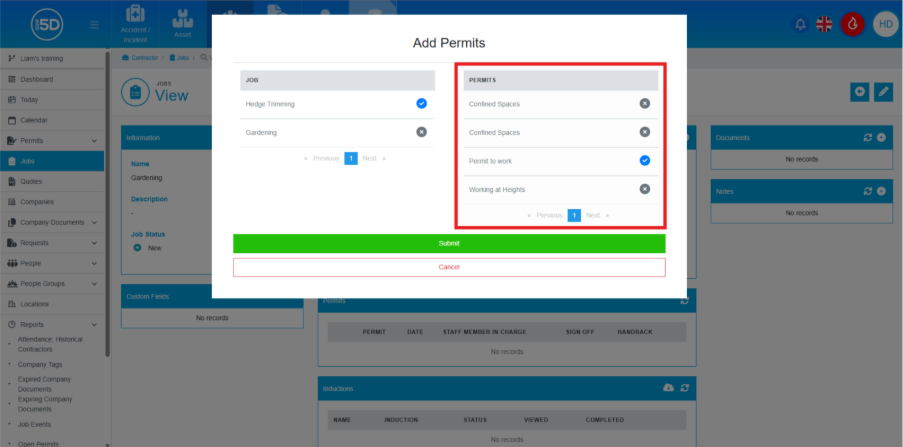
- An overlay will appear with two columns: ‘Job’ and ‘Permits’. Start with the left-hand column labelled ‘Job’. Select the job event you want to assign the permit to. The selected job will change from a grey ‘X’ to a blue tick. This is done by clicking on the job event you wish to add permits to. N.b. You can add permits to multiple job events by selecting more than one.
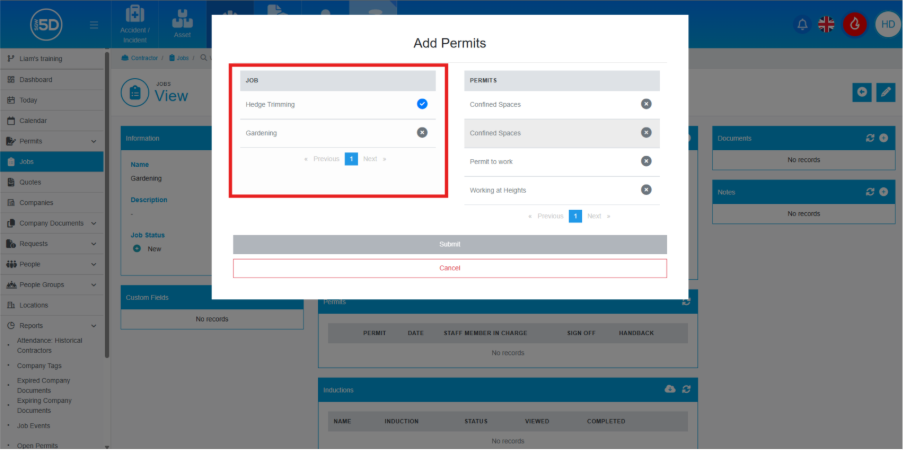
- In the right-hand column, ‘Permits’, select the permits you want to add to the job. Click on the permit you wish to include. Any selected permits will be indicated by a blue tick.
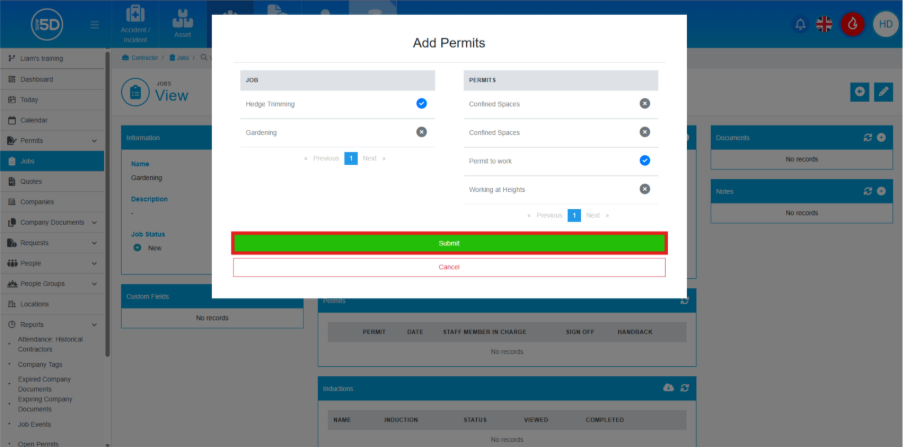
- Finally, click the ‘Submit’ button to add the new permits to the job event(s).
- From the contractor module, start by clicking ‘Jobs’ on the left-hand navigation panel.