-
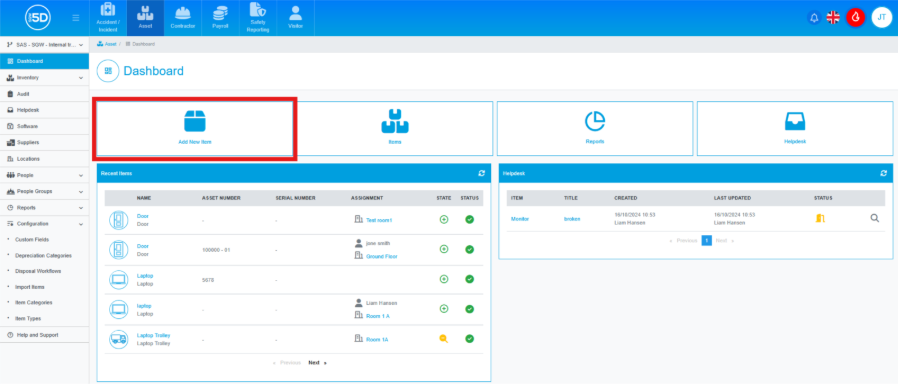
- Using the left-hand navigation menu, click ‘Dashboard’ and then click ‘Add New Item’.
- You can also access this page by going to ‘Inventory’ on the left-hand navigation menu and selecting ‘Add New’.
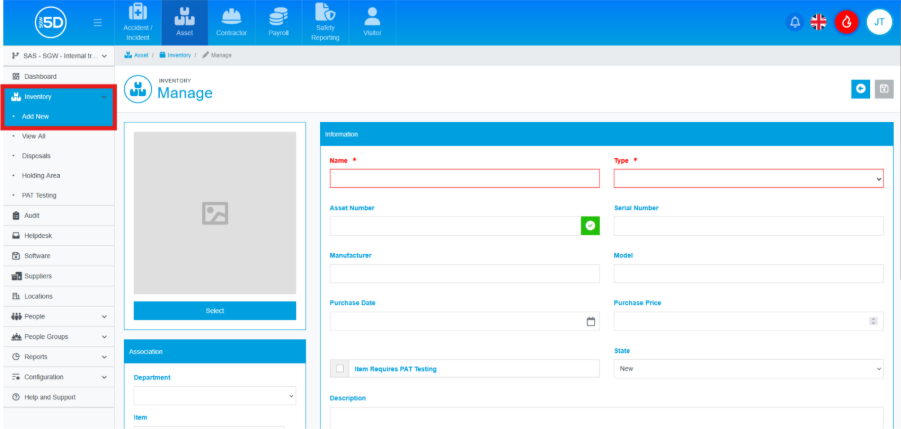
- You can also access this page by going to ‘Inventory’ on the left-hand navigation menu and selecting ‘Add New’.
- You will now be taken to the Inventory Manage page; this is where you will log the item’s information.
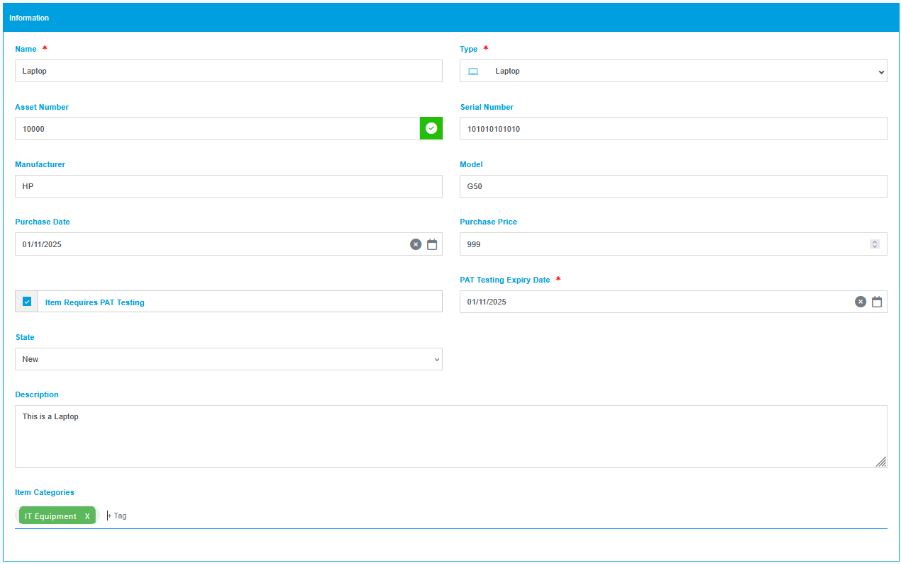
- First, give the item a name. This can be whatever you wish. In this example, I will be adding a laptop, so I will enter that.

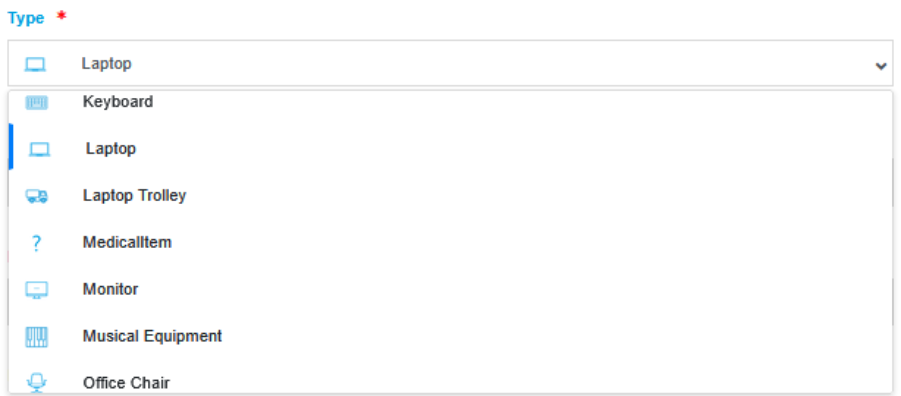
- Next, select an Item Type from the dropdown list. If you don’t see a relevant item type, please refer to the guide on how to create an Item Type.
- Enter an Asset Number to log the item. This must be unique. If the number is valid, you will see a green tick to the right of the entry field; if not, you will see a red cross.

- You can now enter the item’s Serial Number, Manufacturer, and Model if you wish. These fields are optional.

- Next, you can enter a Purchase Date and Purchase Price for the item, if you wish to use the systems Depreciation feature you will need to enter these details but otherwise, they are optional.

- If you want to track the PAT Testing status of this item, tick the Item Requires PAT Testing box. You will then need to enter a ‘PAT Testing Expiry Date’.

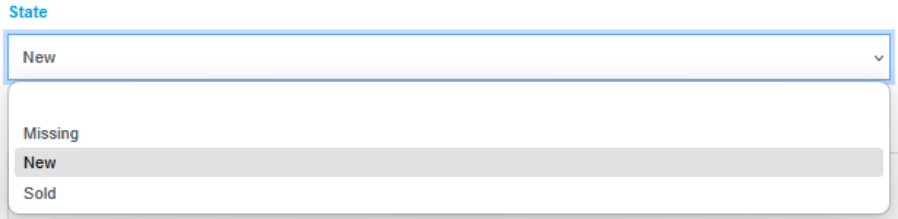
- By default, an item is added to the system with a state of ‘New’. If you wish to change this, you can select a different state using this dropdown.
- You can enter any other information you wish to record against the item in the ‘Description’ box. This is optional.

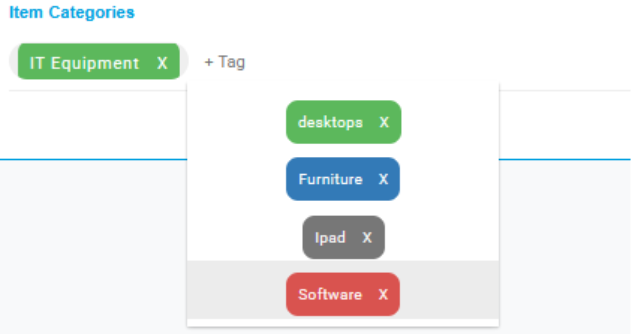
- Next, select an Item Category. This tag helps quickly identify and filter your items. You can have multiple tags for one item. Please refer to the Item Categories guide if you want to add more tags. This step is optional.
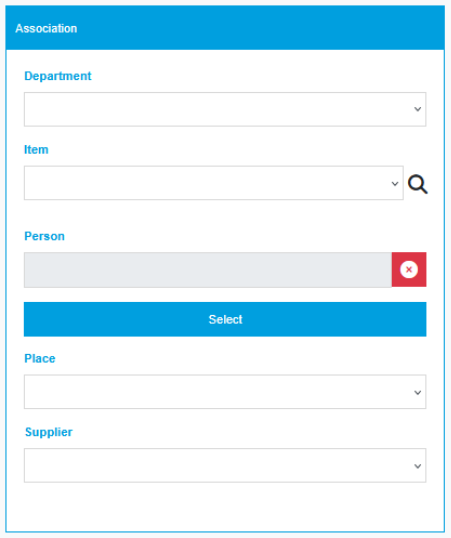
- The last section involves setting your new item’s association with other records in the system. You can assign any combination of Department, Item, Person, Place, and Supplier using the dropdown fields. This will link the item to the selected records.
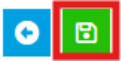
- To finalise the item creation, select the green Save icon in the top-right corner of the page.
- Using the left-hand navigation menu, click ‘Dashboard’ and then click ‘Add New Item’.