-
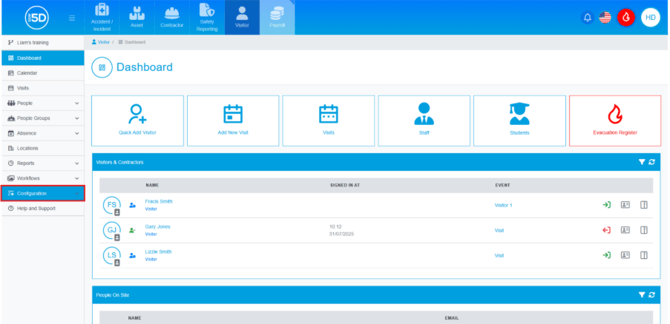
- To create a custom field, click on ‘Configuration’.
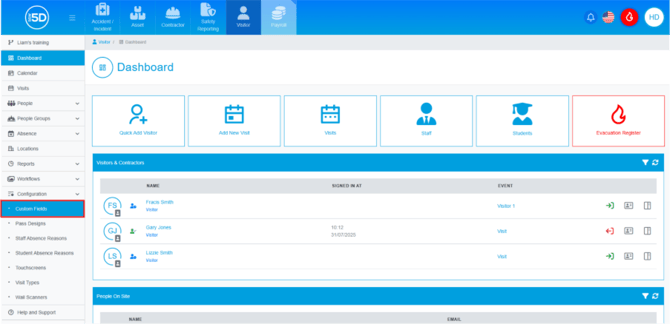
- Then click on ‘Custom Fields’.
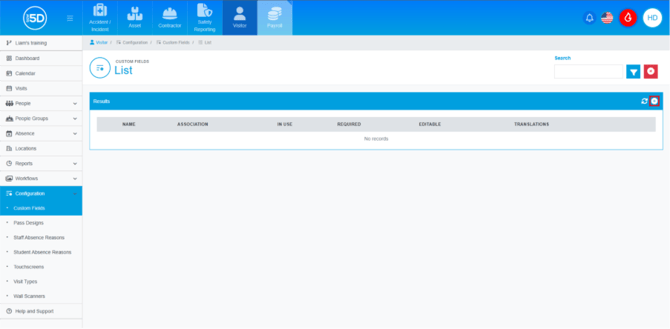
- You can add a new custom field by clicking the plus symbol.
- The ‘Name’ field is where you will state the question of the custom field.

- If you tick ‘Required’ it will force this custom field to be used, preventing Progression unless this custom field has been completed.

- If you leave ‘Editable when in use’ unticked this means it will lock down both the question and the answers, meaning you will not be able to change them later.
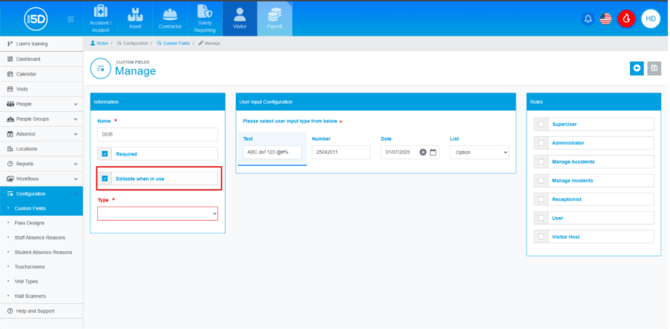
- ‘Type’ dictates where that custom field will display and it is different between the modules. Use the drop down to select a person, person event or an Visit. Then depending on the type you will be able to select a subtype.

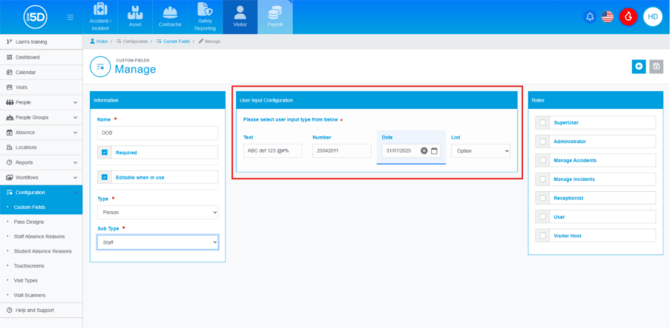
- In ‘User Input Configuration’, this will allow you to select which way the custom field is answered. You can have this set up in a text box, number box, date format or a customisable list.
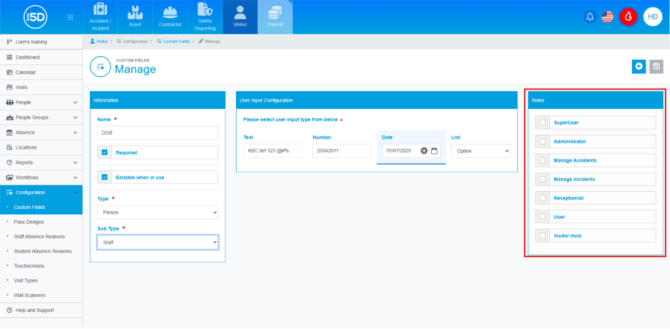
- In ‘Roles’ you can select who will be able to view that information. Use the tick box next to the role to indicate if anyone is assigned to that role, they can view that information.
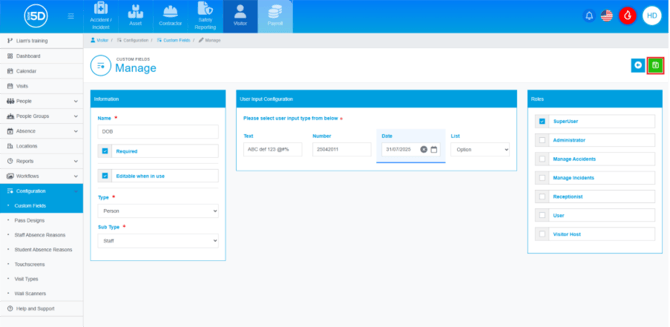
- When done, click the green save icon. N.b. If you are not ticking ‘Required’ I would double check it before saving, as this will be your final chance.
- To create a custom field, click on ‘Configuration’.