
5D Visitor Management – Add Visit
The following guide will show you how to navigate and use the 5D Visitor Management Section.
To access the “Add Visit” page click on the “Visitor Management” tab on the left of the screen and then click on “Add Visit”
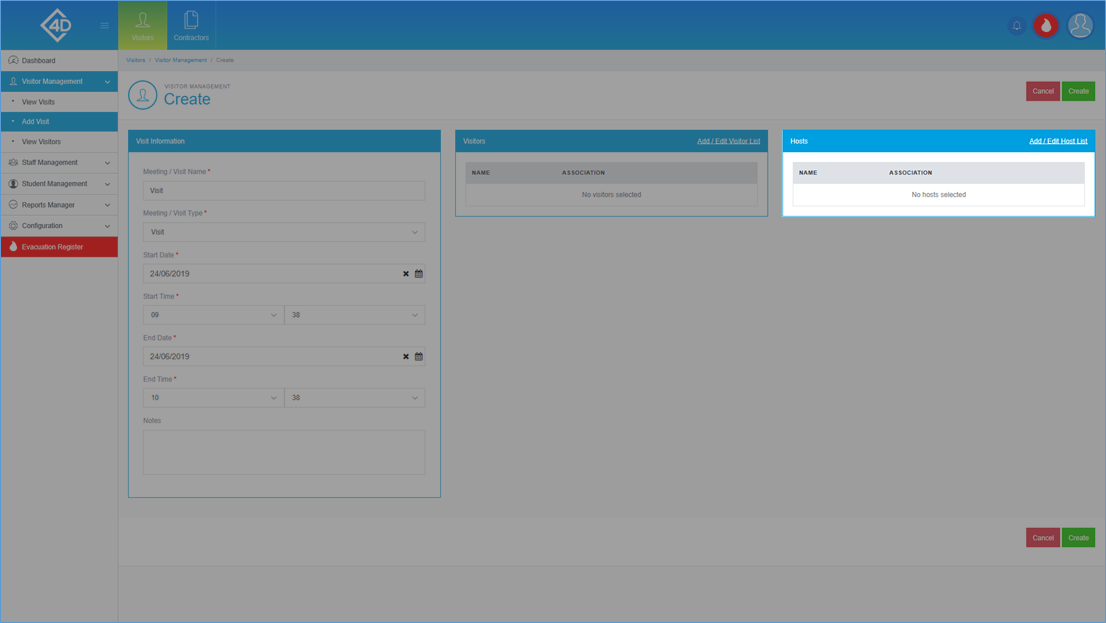
The “Add Visit” page will then open and will look like the image below.
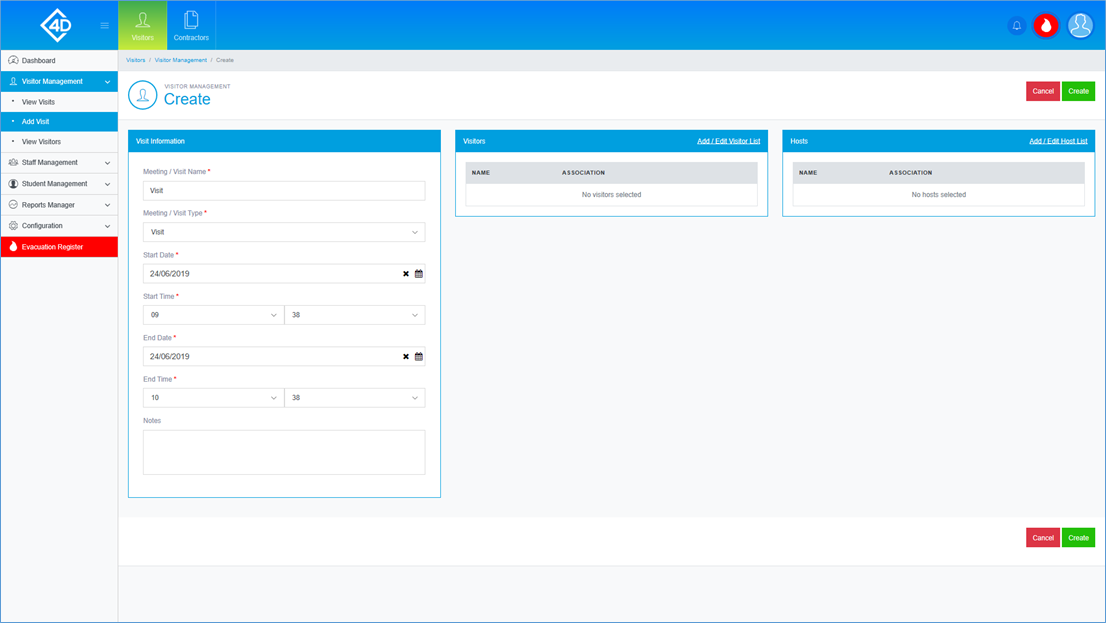
The “Visit Information” section is used to input the details of your Visit, the features are as follows:
- Meeting / Visit Name – This box allows you to input the name which you would like to display for the Visit.
- Meeting / Visit Type – This dropdown box allows you to pick from a pre-populated list or Visit Types.
- Start Date – Use this box to select the start date of the Visit, you can click the calendar icon to select from a calendar.
- Start Time – Use this box to set the start time for the Visit.
- End Date – Use this box to select the end date of the Visit, you can click the calendar icon to select from a calendar.
- End Time – Use this box to set the end time for the Visit.
- Notes – Use this box to add any relevant notes to the Visit.
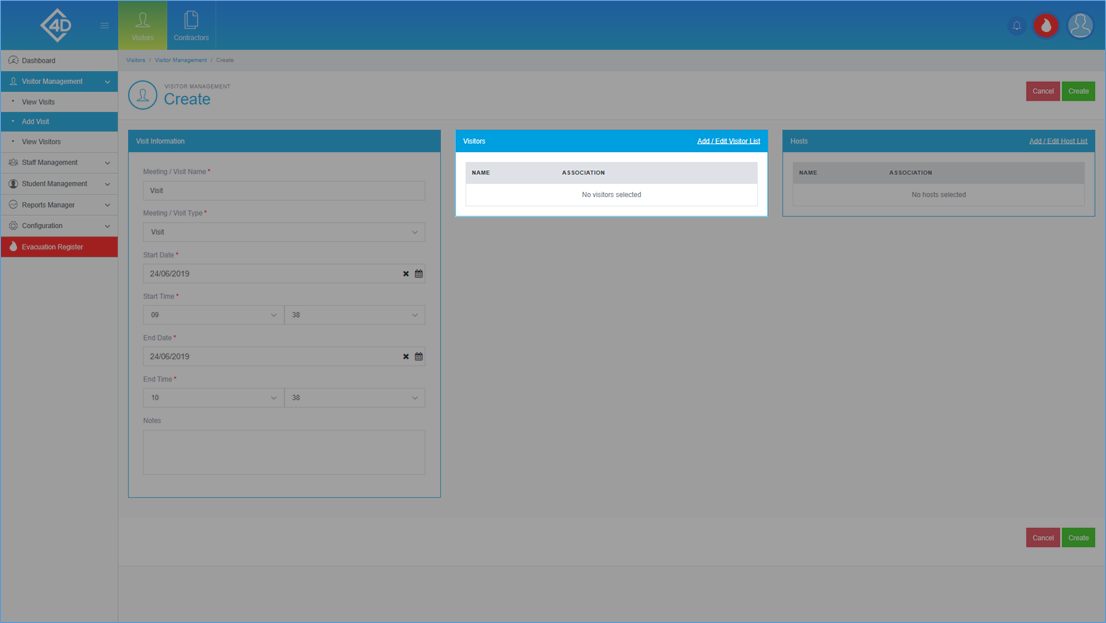
The “Visitors” section displays a list of visitors that are allocated to the Visit, this includes the “Name” and “Association” of the Visitor.
Click the “Add / Edit Visitor List” button to add a new Visitor.
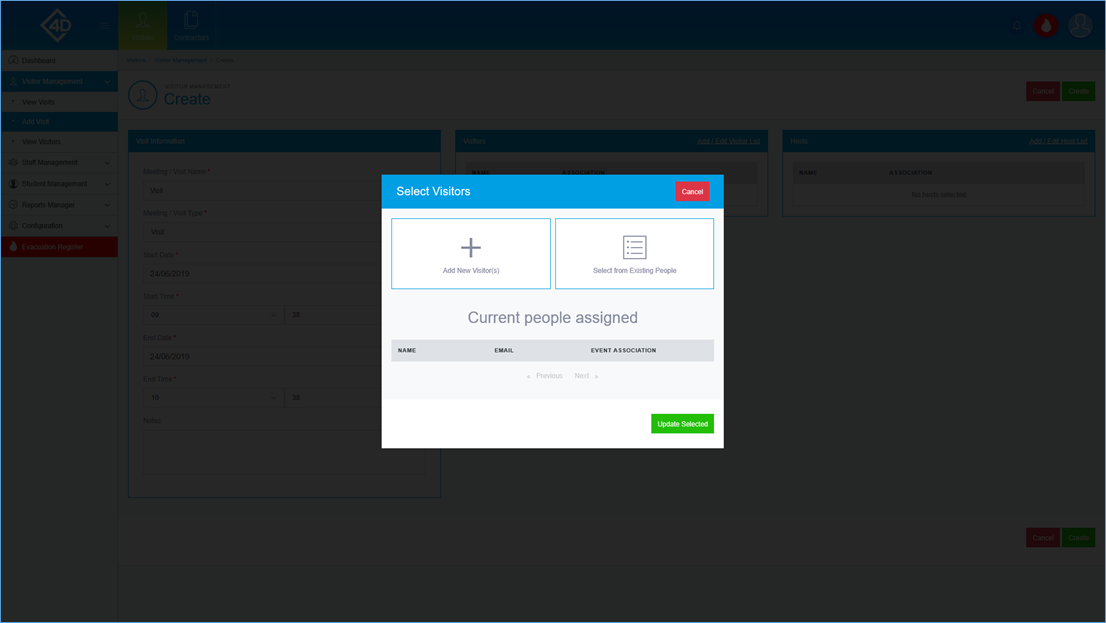
Once you have clicked the “Add / Edit Visitor List” the “Select Visitors” pop-up will then appear.
If you would like to add a Visitor who is not in the Existing people list, click the “Add New Visitor(s)” button.
You will then be prompted to fill in the “Firstname”, “Surname”, “Email” and “Event Association”.
If you would like to add a Visitor who has previously been on site, click the “Select from Existing People” button.
You can then pick from a list of Existing Visitors, when you have found the required Visitor, you can choose the Event Association type to assign them as.
The “Hosts” section displays a list of Hosts that are allocated to the Visit, this includes the “Name” and “Association” of the Host.
Click the “Add / Edit Host List” button to add a new Host.
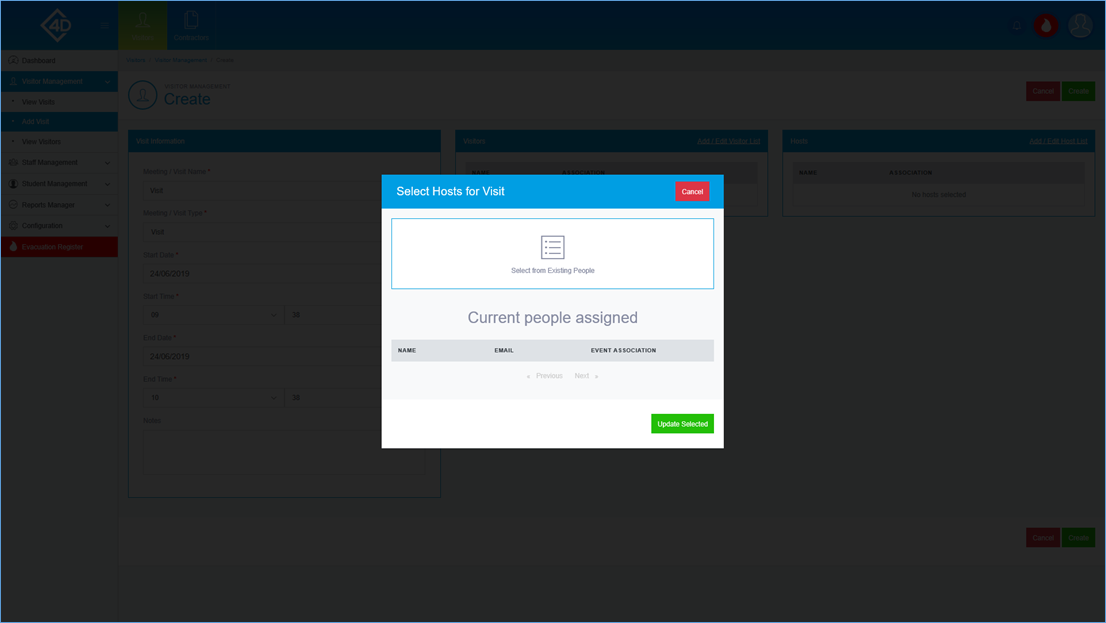
Once you have clicked the “Add / Edit Host List” the “Select Hosts for Visit” pop-up will then appear.
You can select a Host by clicking the “Select from Existing People” button.
You can then pick from a list of Existing Hosts, when you have found the required Host, you can choose the Event Association type to assign them as.
If you would like to cancel the Visit creation, click the red “Cancel” button at the right side of the screen.
If you are happy with your Visit, click the green “Create” button at the right side of the screen.

