
5D Staff Management –View Staff
The following guide will show you how to navigate and use the 5D Staff Management Section.
To access the “View Staff” page click on the “Staff Management” tab on the left of the screen and then click on “View Staff”
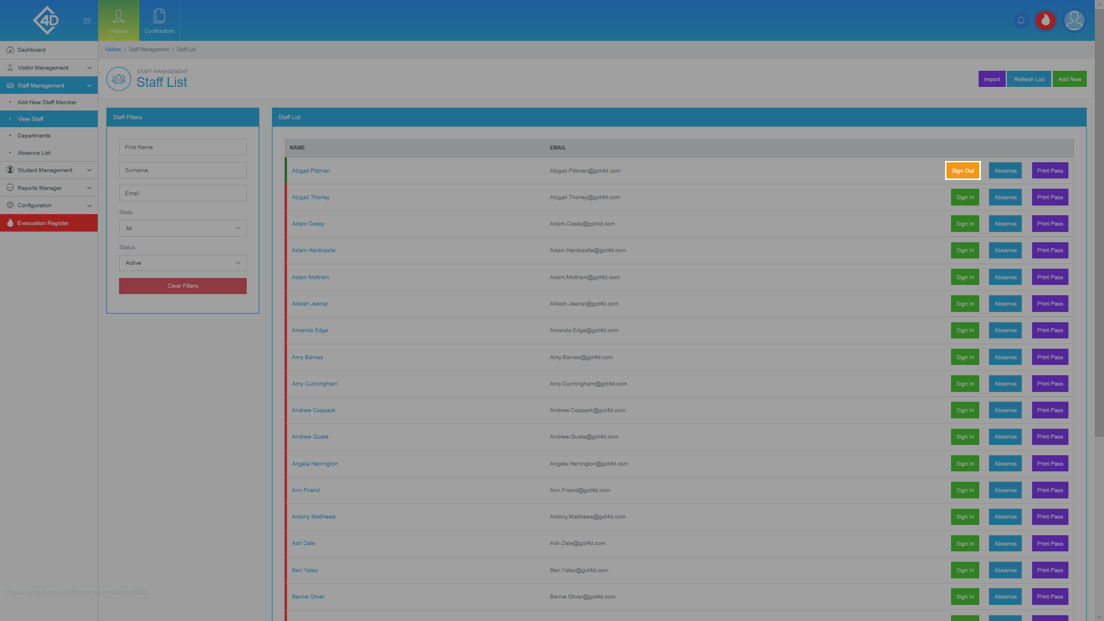
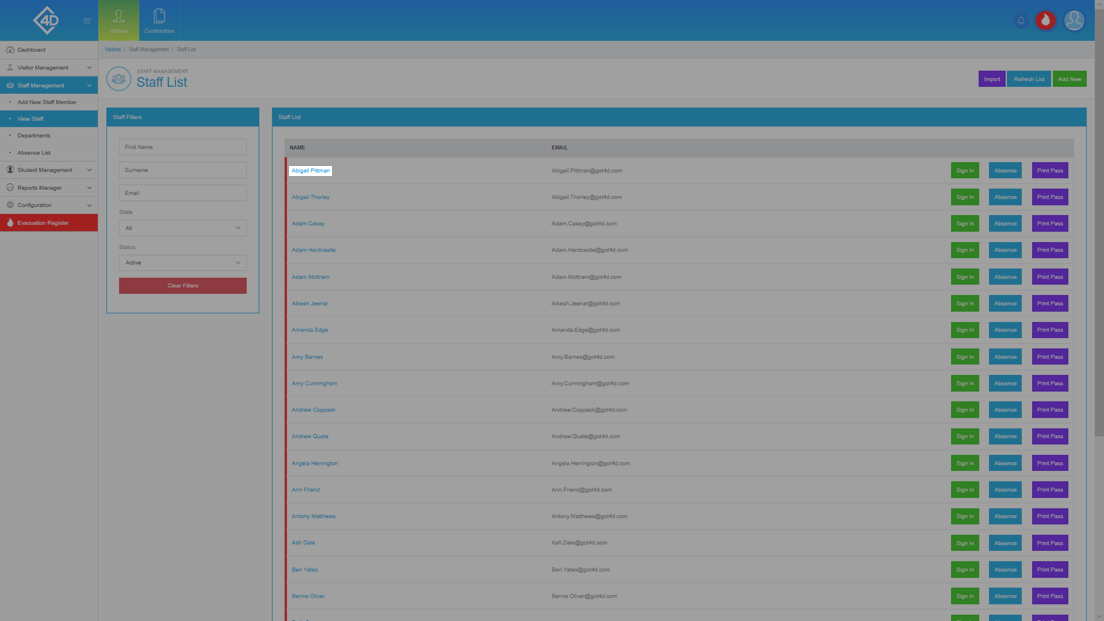
The “View Staff” page will then open and will look like the image below.
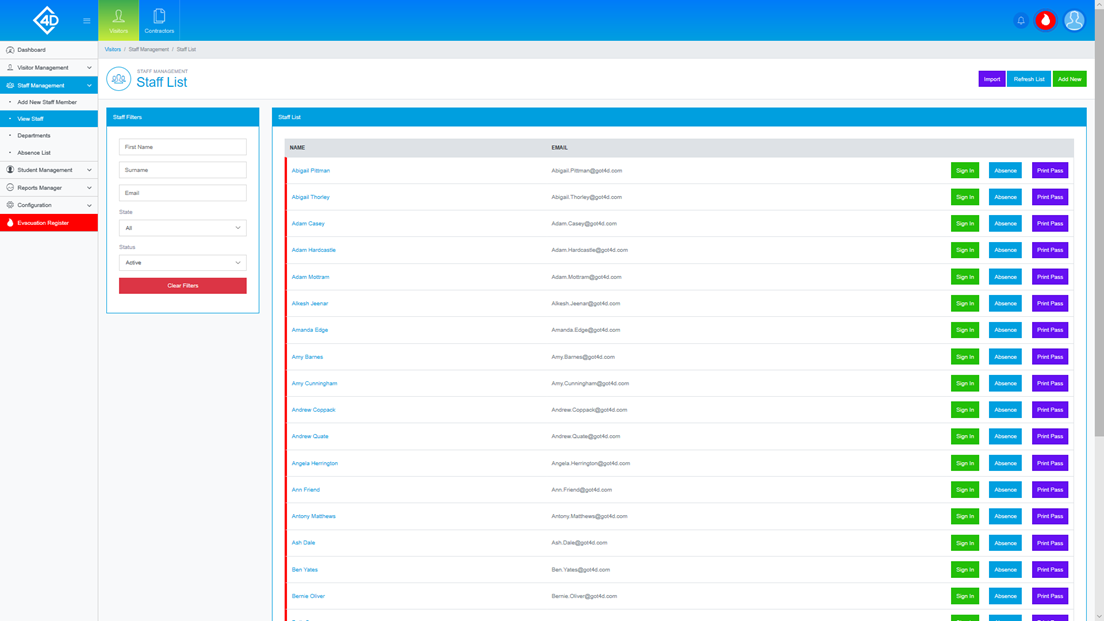
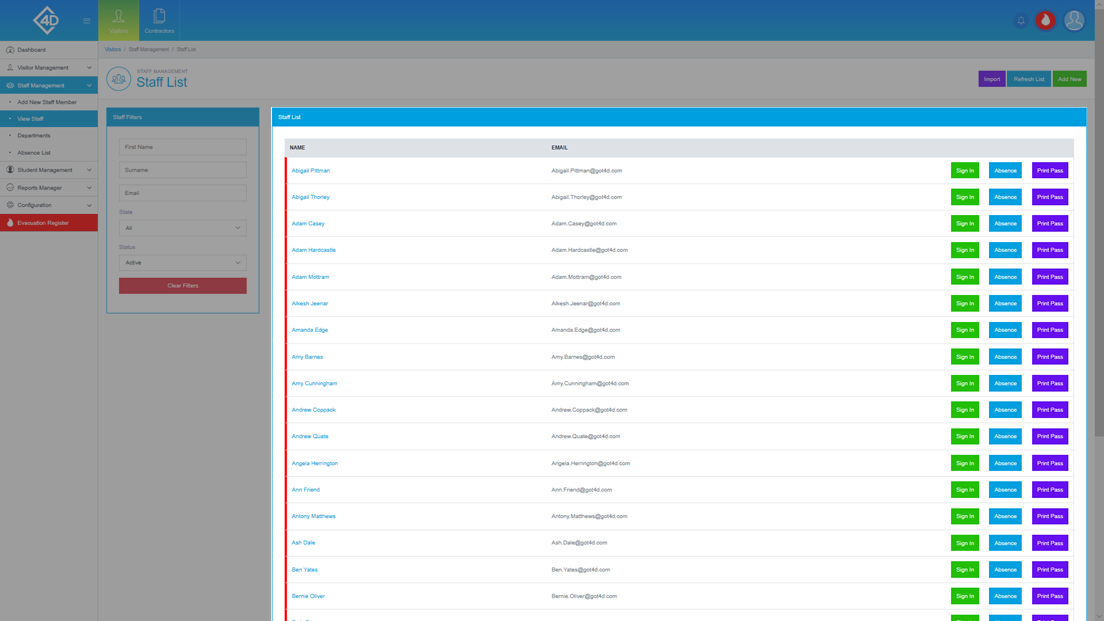
The "Staff List" table shows a list of all of the "Staff Members" that are currently active on your system.
Listed are the “Name” and “Email” of each Staff Member.
Next to every Staff Member is a coloured strip, if it is "Red" the Staff Member is signed out, if it is "Green" the Staff Member is signed in.
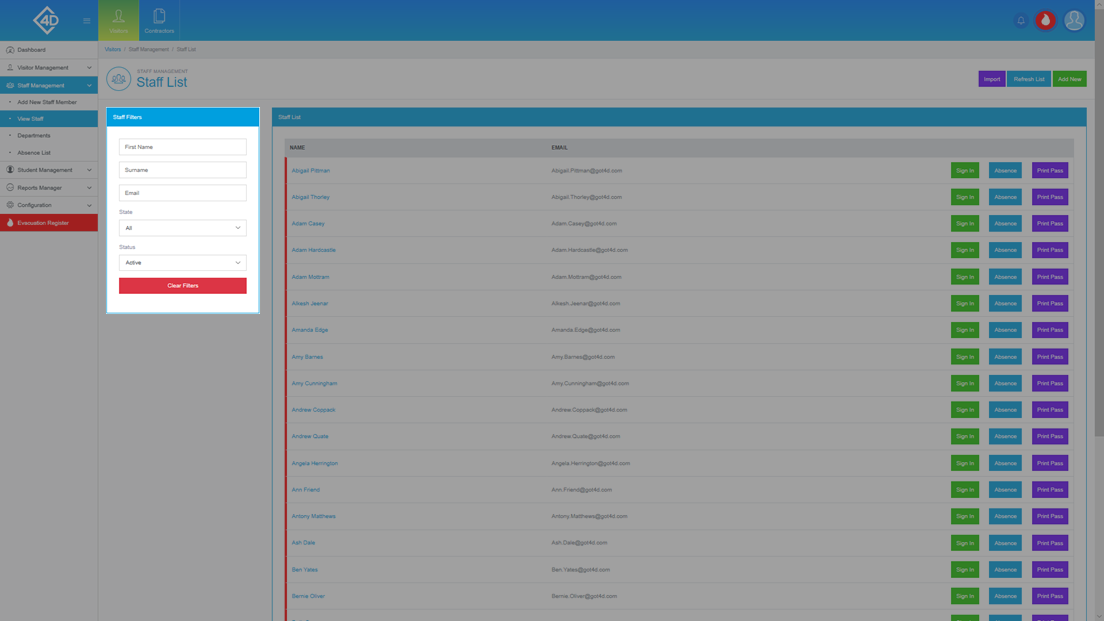
In the "Staff Filters" section, you can search for a Staff Member by their “Firstname”, "Surname" and "Email".
You can also search for a Staff Member by their "State" and "Status".
The “Clear Filters” button will wipe all fields and display the default view.
At the top-right of the screen, there are three buttons which you can use to "Import", "Refresh" and "Add New", these functions are explained below.
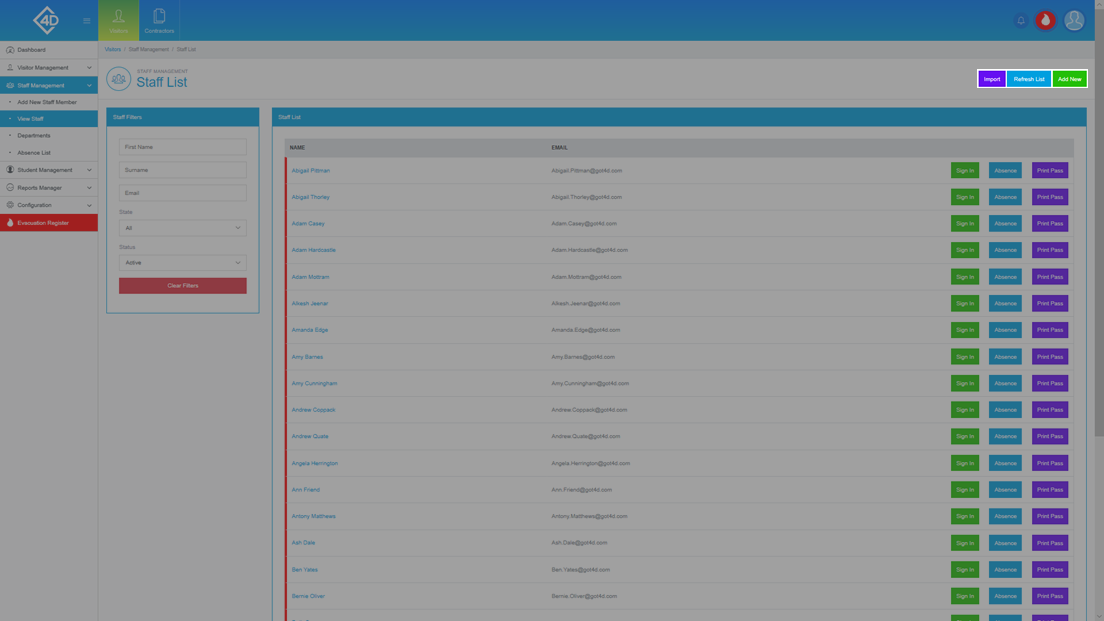
Import
If you would like to bulk import a list of Visitors, click the purple "Import" button in the top-right of the screen to begin the import process.

Once you have clicked “Import” you will be taken to the following page.
Start by clicking the purple "Download Template" button and filling in the required fields in the CSV file.
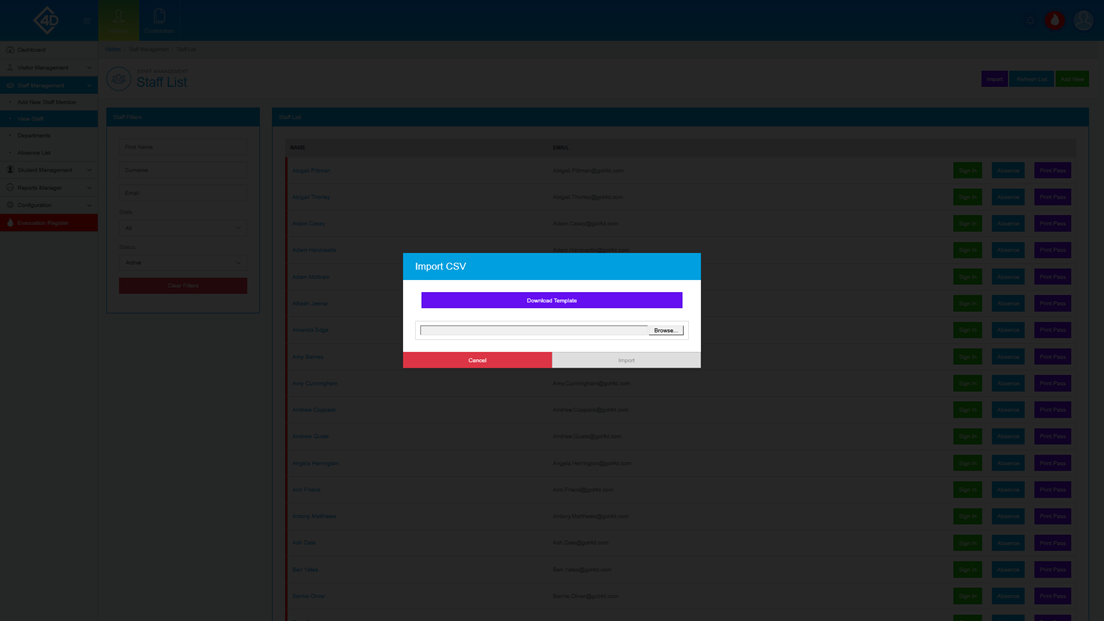
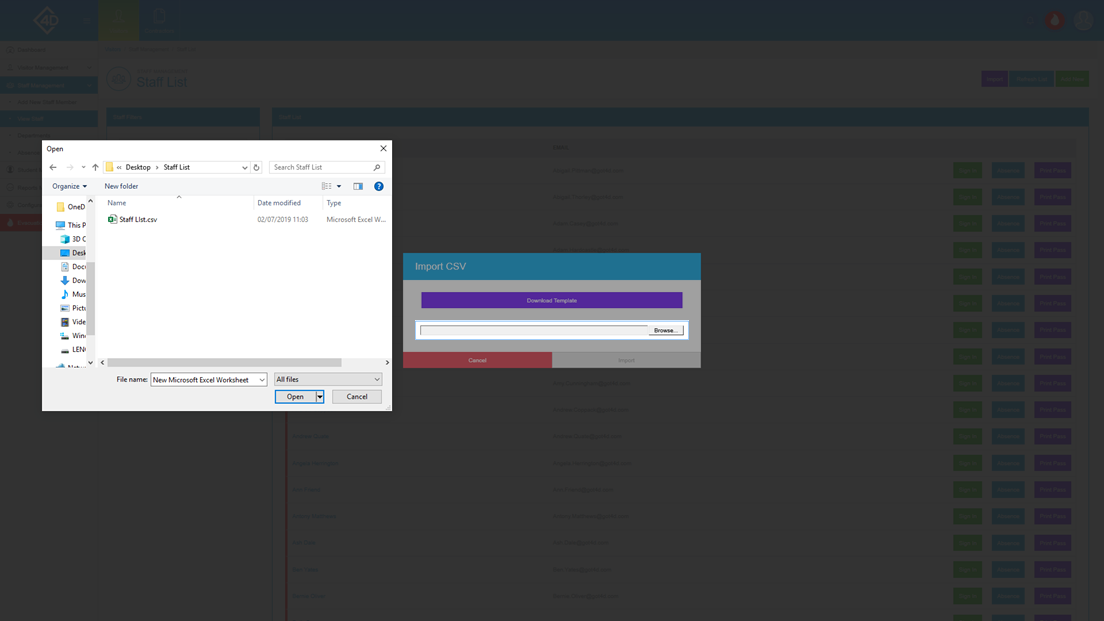
Once you have filled in the relevant information in the CSV file, click the "Choose File / Browse" button, you will then be prompted to select your completed CSV file.
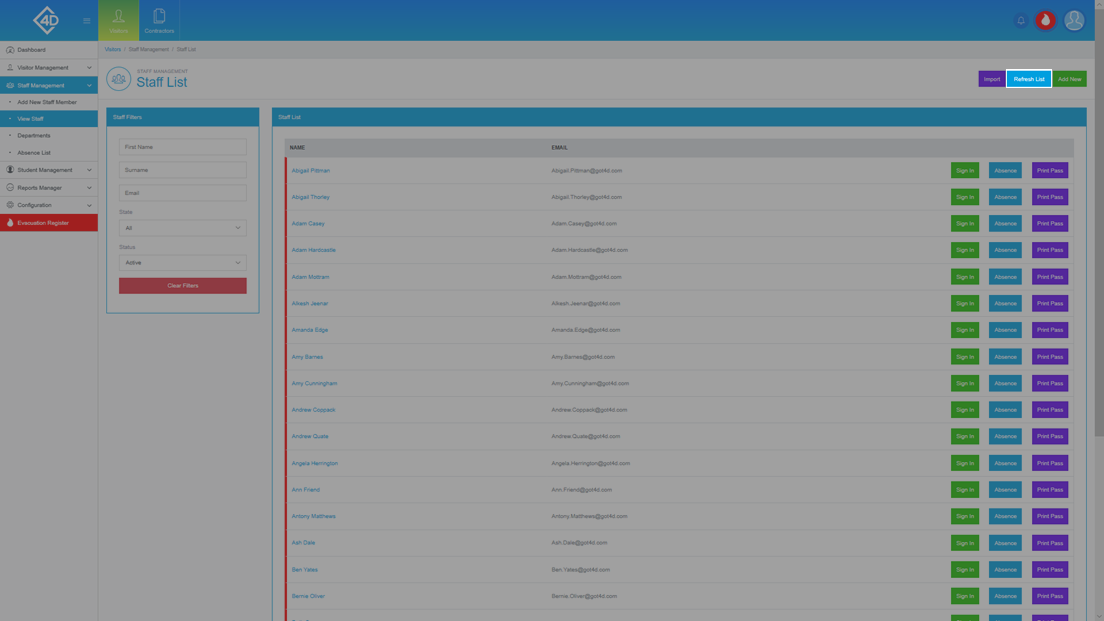
Refresh
To see an updated list of Staff Members, click the blue "Refresh List" button, this will then Refresh the page and show an up-to-date Staff list.
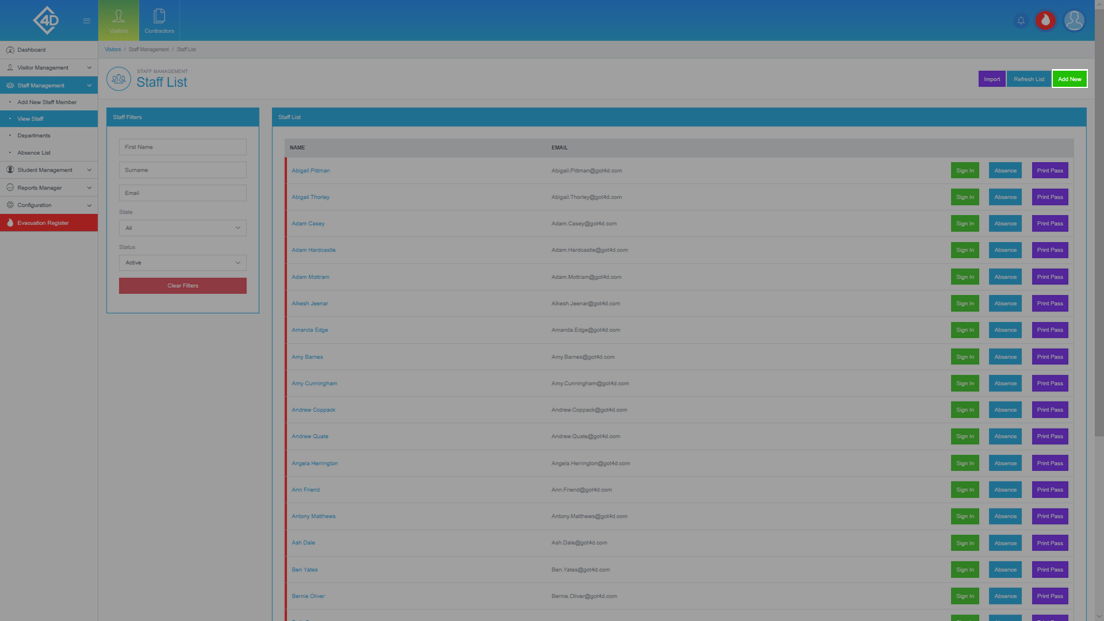
Add New
If you would like to add a new Staff Member click the green "Add New" button.
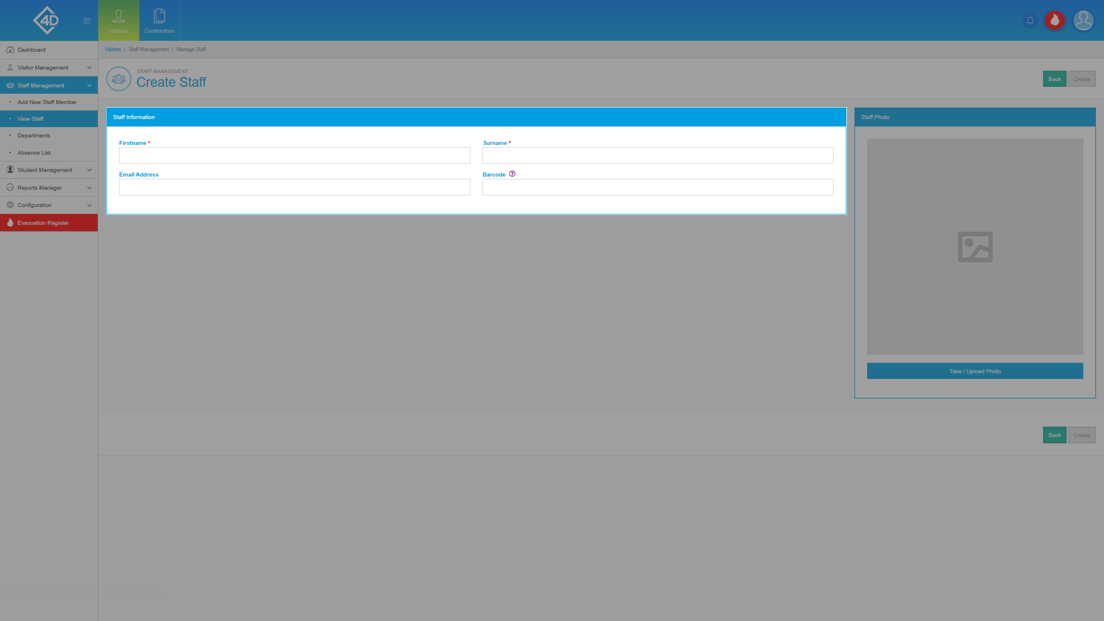
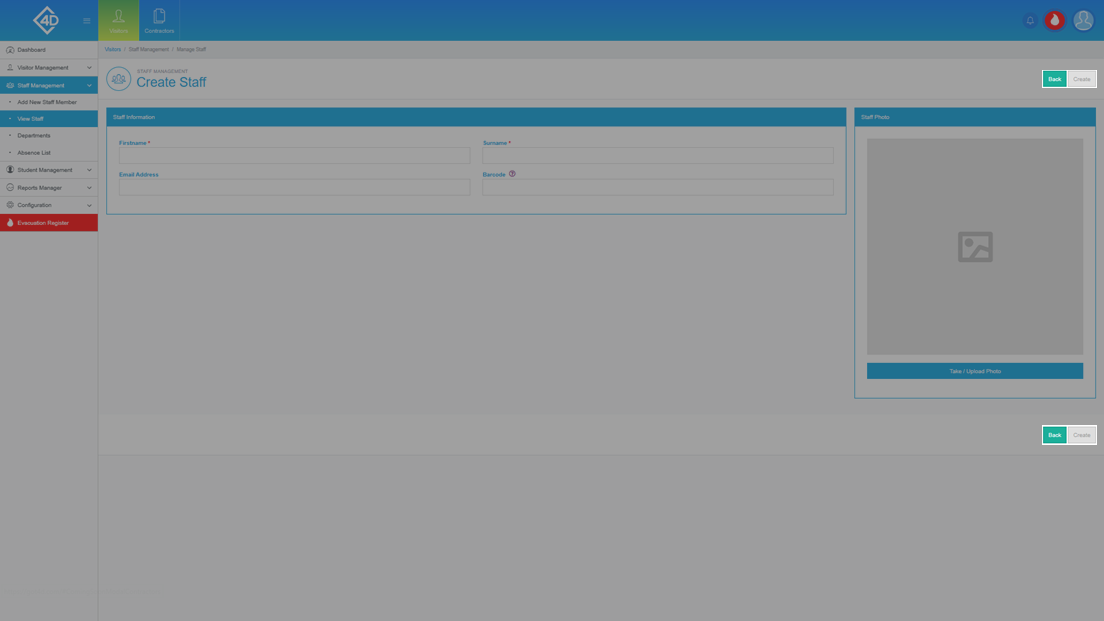
Once you have clicked the “Add New” button you will be taken to the following page.
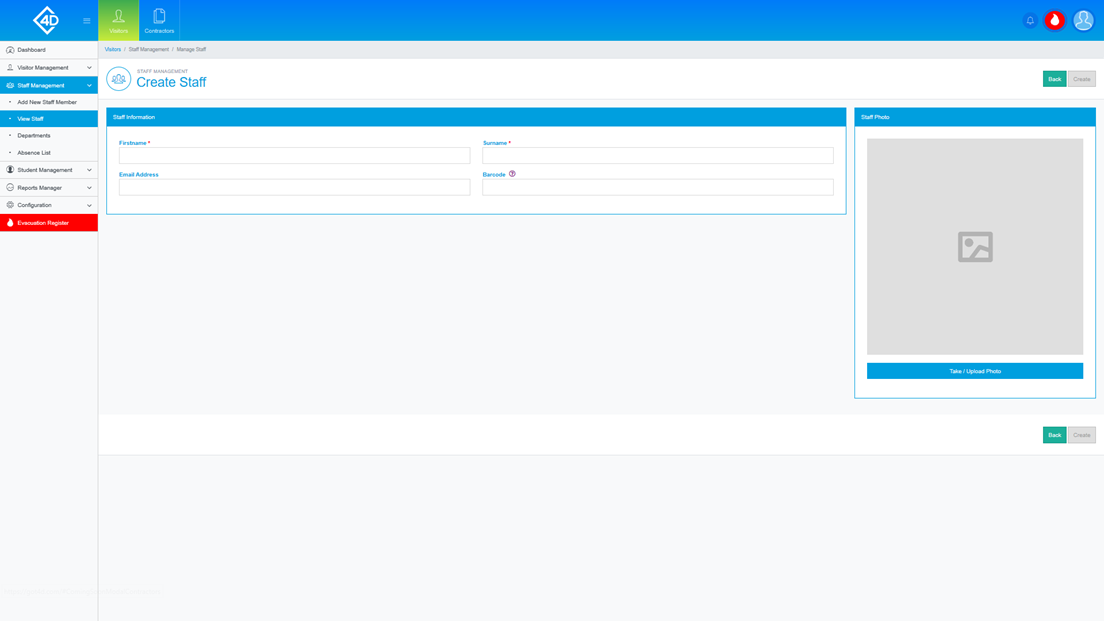
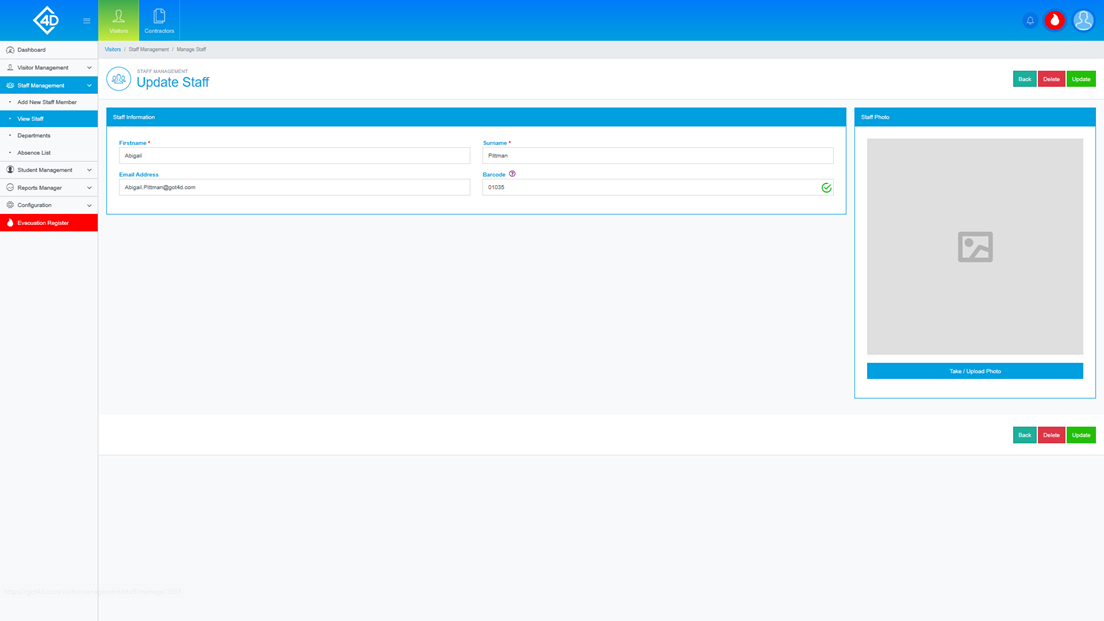
You must then fill in the "Firstname" and "Surname" of the Staff Member, you can also choose to add an "Email Address" and "Company" to the Staff Member record, this is useful for reporting purposes.
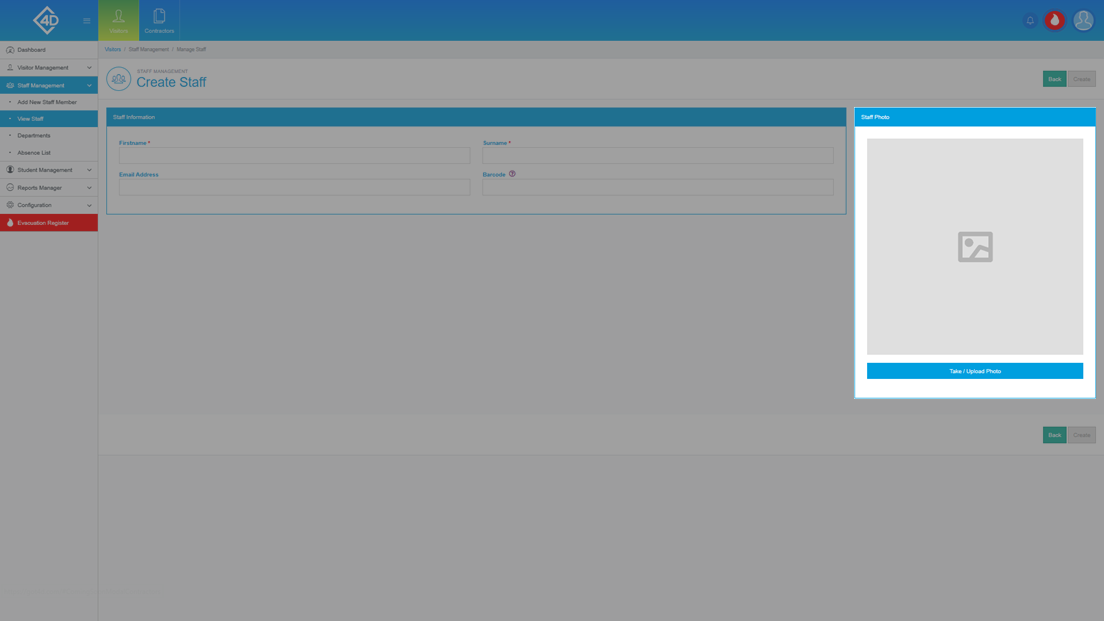
The "Staff Photo" section allows you to attach a photo of the Staff Member to the Record.
You can do this by clicking the "Take / Upload Photo" button.
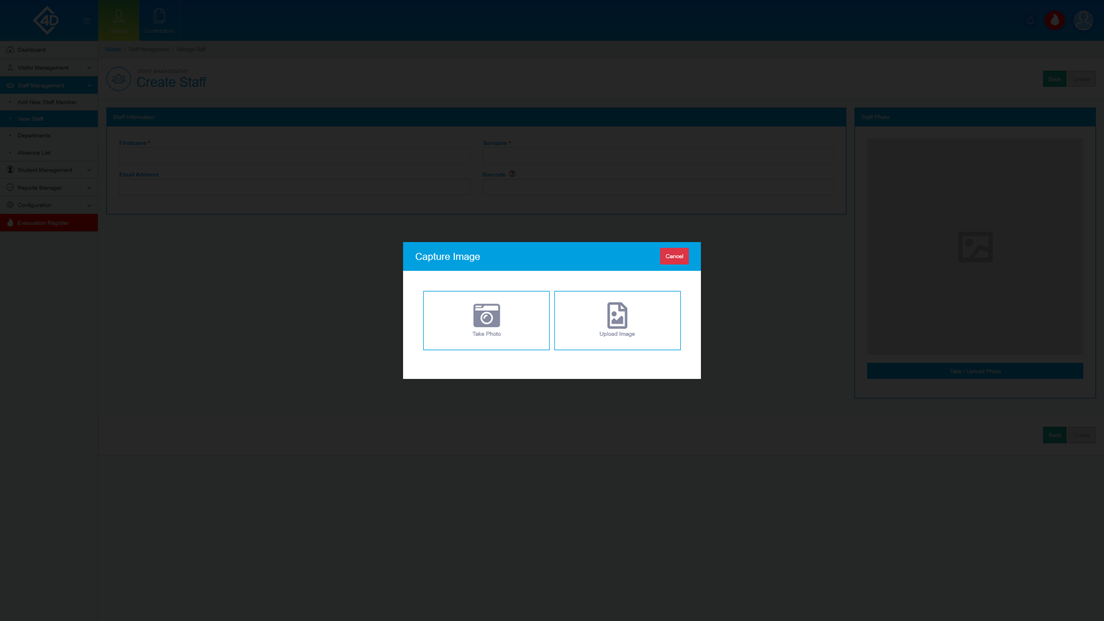
Once you have clicked the "Take / Upload Photo" button the following pop-up will appear.
If you would like to take a photo of the Staff Member using an attached webcam, click the "Take Photo" button, you will then be prompted to capture a photo.
If you already have a photo of the Staff Member saved on your PC, click the "Upload Image" button, you can then click the "Choose / Browse File" button, you will then be prompted to select the photo from your PC.
Once you are happy with the Staff Record, click the green “Create” button.
If you would like to cancel the creation of a new Staff Member, click the "Back" button.
Staff Sign-In
If you would like to sign a Staff Member into the site, click the green "Sign In" button next to their record.

Once you have clicked the "Sign In" button, the page will refresh and the Staff Member will now be signed in, this is noted by the "Green" strip next to their record.
If you would like to sign a Staff Member out, click the orange "Sign Out" button next to their record, the page will then refresh and show the Staff Member as signed out.
Staff Absence
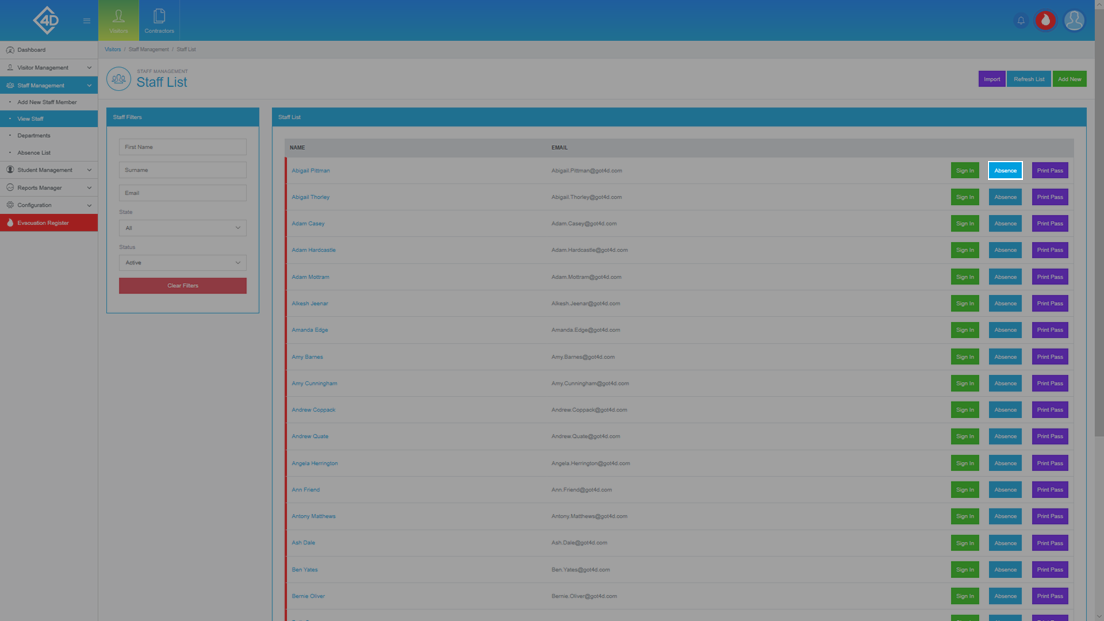
If you would like to mark a Staff Member as absent, click the blue "Absence" button next to their record.
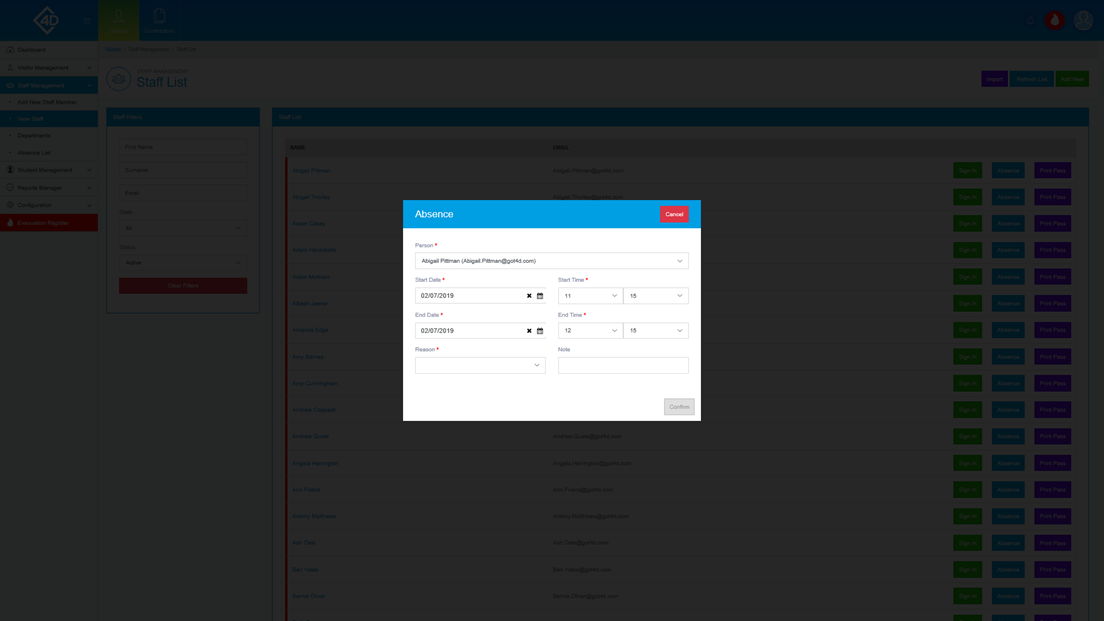
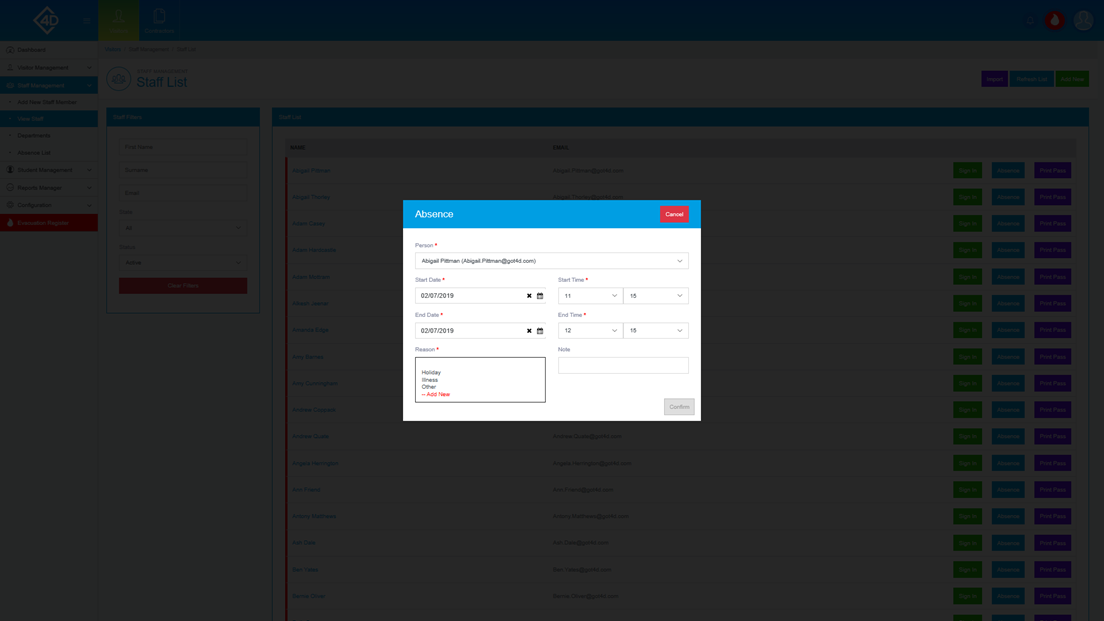
Once you have clicked the "Absence" button the following pop-up will appear.
You will then be prompted to confirm the Staff Member's name.
You must then select a "Start Date", "Start Time", "End Date" and "End Time" for their absence.
You must select a "Reason" for the Staff Member's absence, this is for reporting purposes.
If you would like to add a note to their absence record, fill in the "Note" field as required.
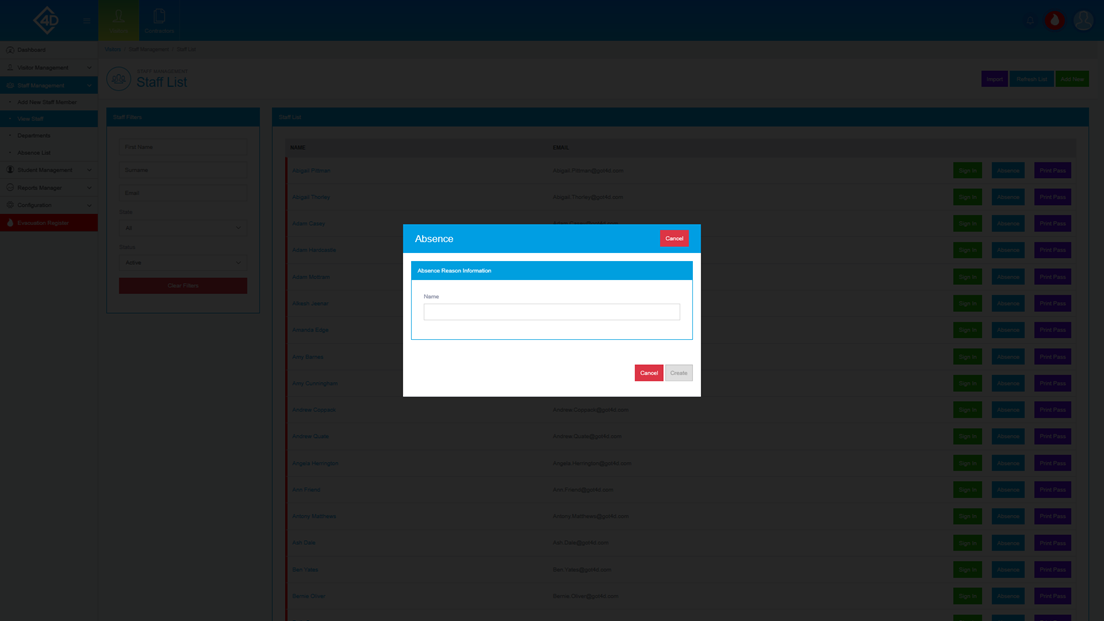
If you are unable to find a relevant reason in the "Reason" drop-down box, click the "Add New" button that is marked in red text.
You will then be prompted to type a new reason into the "Name" box.
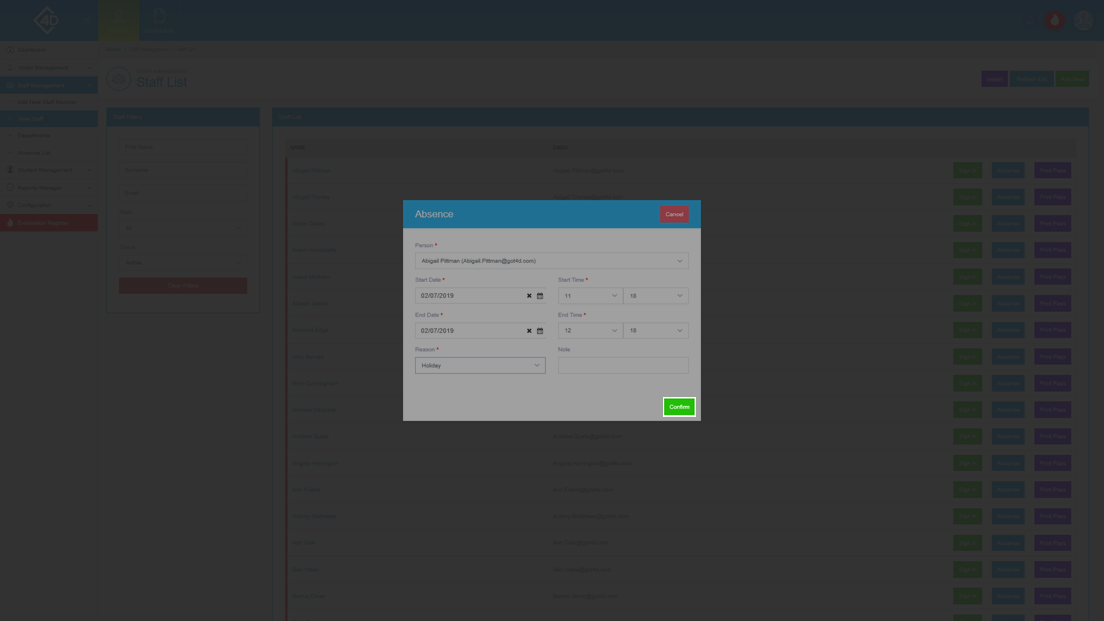
Once you are happy with the Absence Record, click the green “Confirm” button.
If you would like to cancel the Absence Record, click the "Back" button.
Viewing a Staff Record
To access a Staff Member's Record, click their name in the "Staff List".
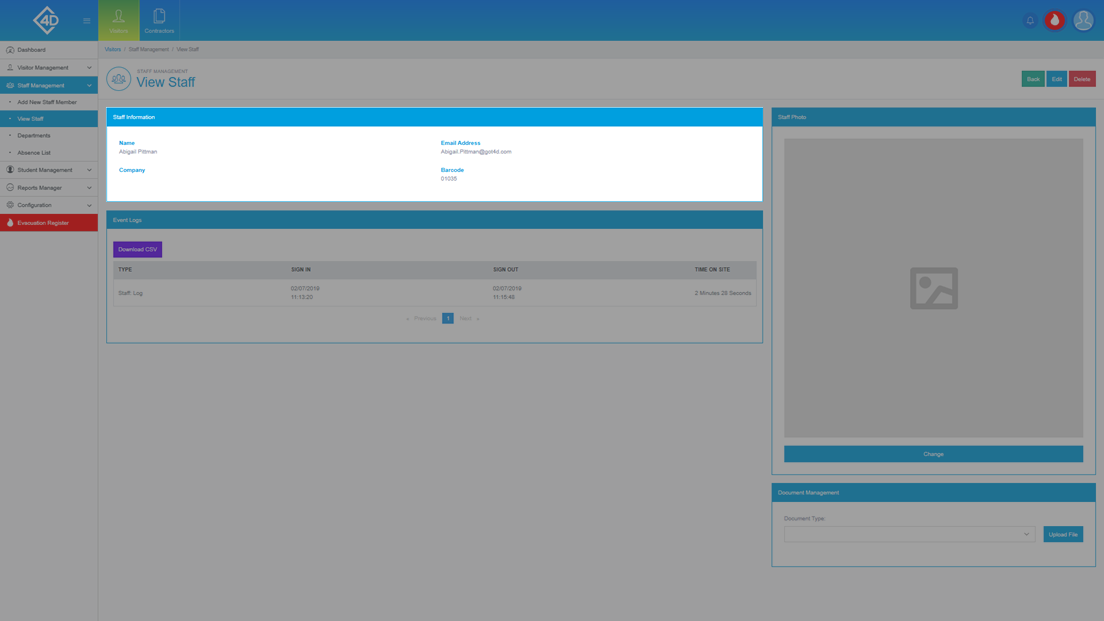
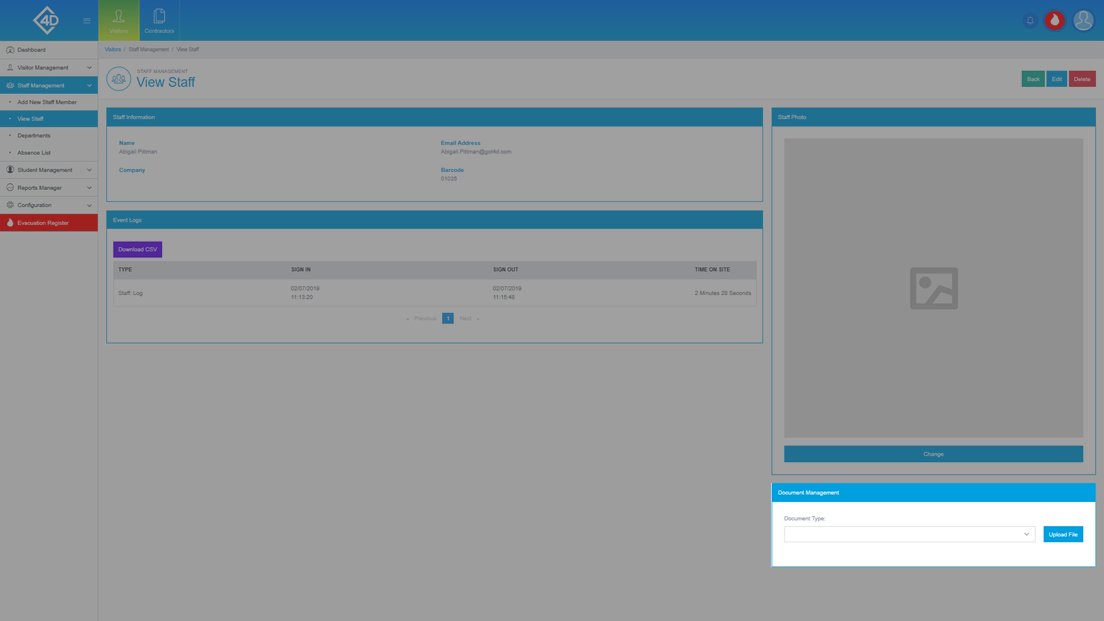
Once you have clicked on the Staff Member's name you will be taken to the following page.
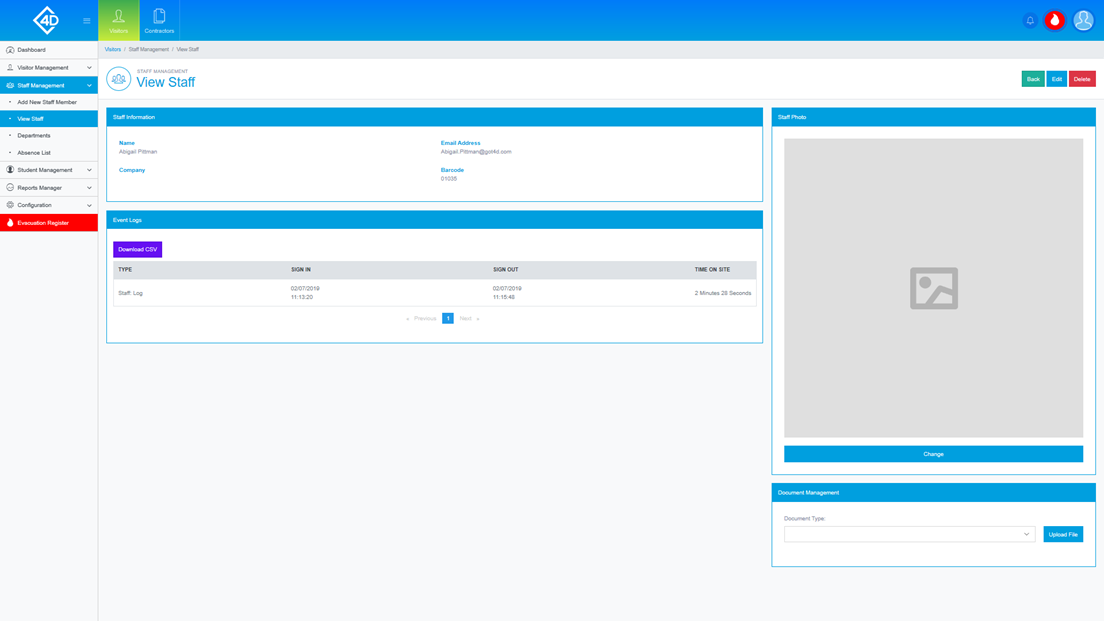
The "Staff Information" section shows you the "Name", "Email Address", "Company" and "Barcode" of the Staff Member.
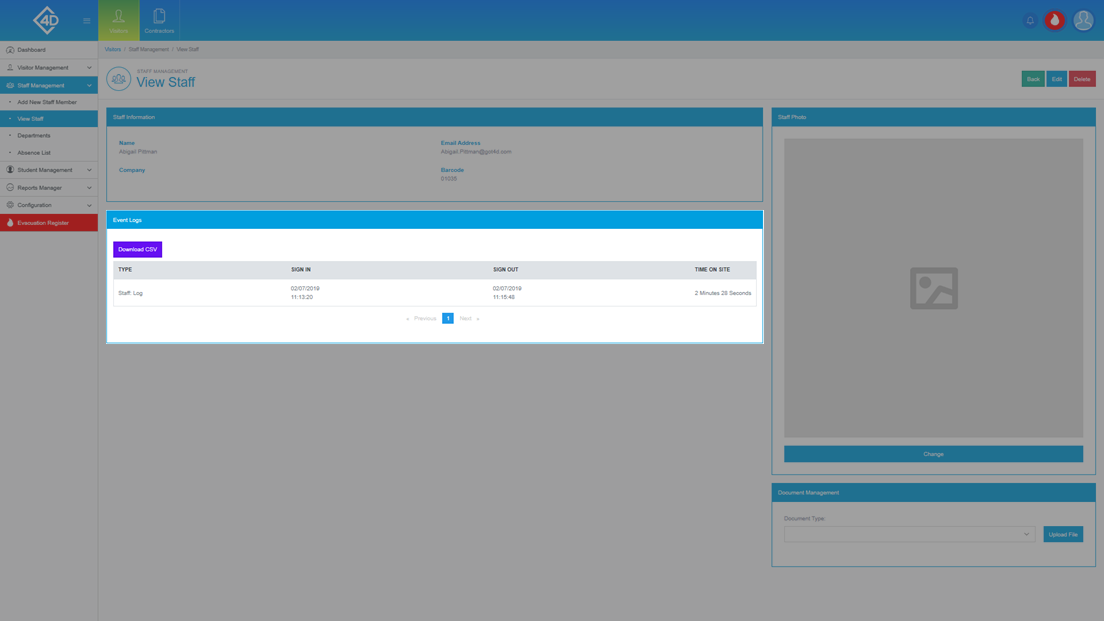
The "Event Logs" section provides you with a list of "Sign In" and "Sign Out" times, it also provides you with the total amount of "Time on Site" for each log.
You can also choose to download a local copy of this information by clicking on the "Download CSV" button.
The "Staff Photo" section allows you to attach a photo of the Staff Member to the Record.
You can do this by clicking the "Take / Upload Photo" button.

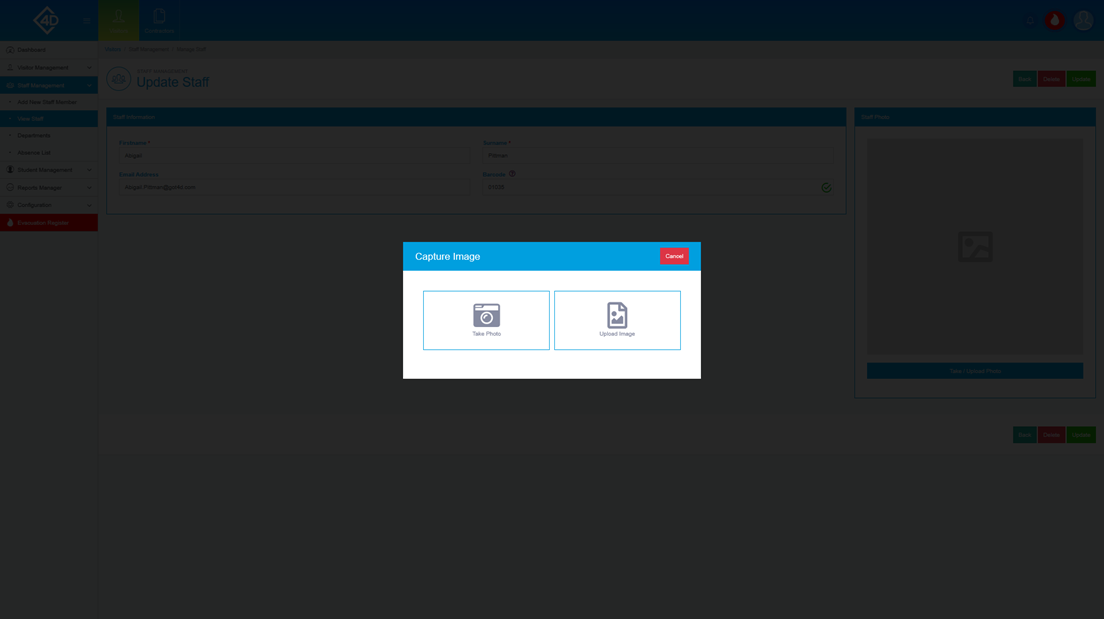
Once you have clicked the "Take / Upload Photo" button the following pop-up will appear.
If you would like to take a photo of the Staff Member using an attached webcam, click the "Take Photo" button, you will then be prompted to capture a photo.
If you already have a photo of the Staff Member saved on your PC, click the "Upload Image" button, you can then click the "Choose / Browse File" button, you will then be prompted to select the photo from your PC.
The "Document Management" section allows you to upload any relevant document to the Staff Member's record.
To view previously uploaded documents, click the drop-down box, you will then see a list of uploaded documents.
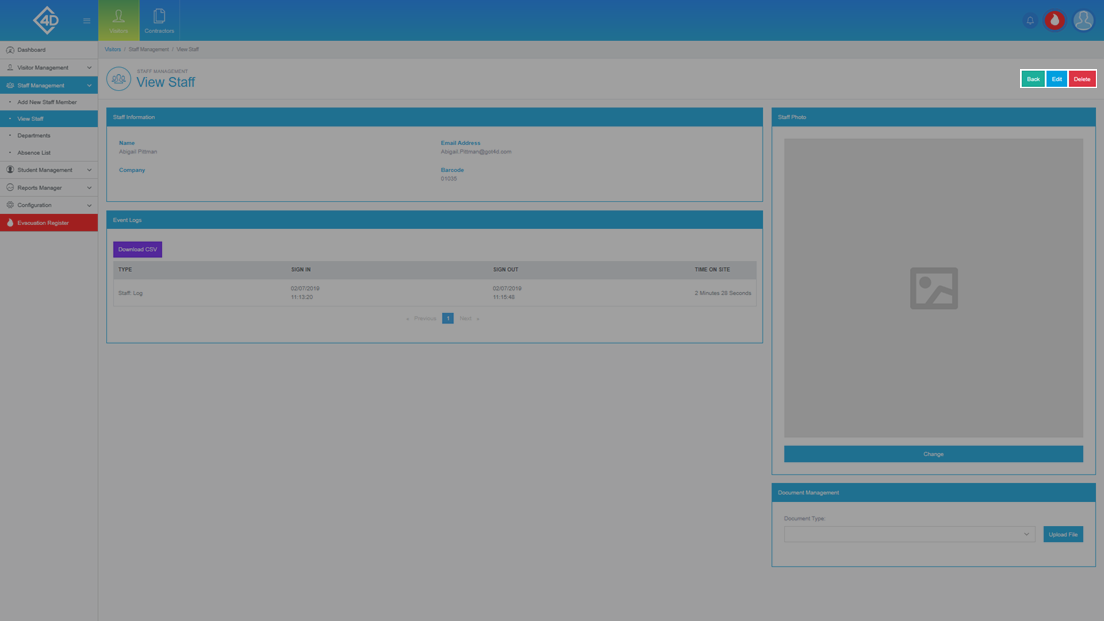
At the top-right of the screen, there are three buttons which you can use to "Back", "Edit" and "Delete", these functions are explained below.
If you want to return to the "View Staff" list, click the "Back" button.
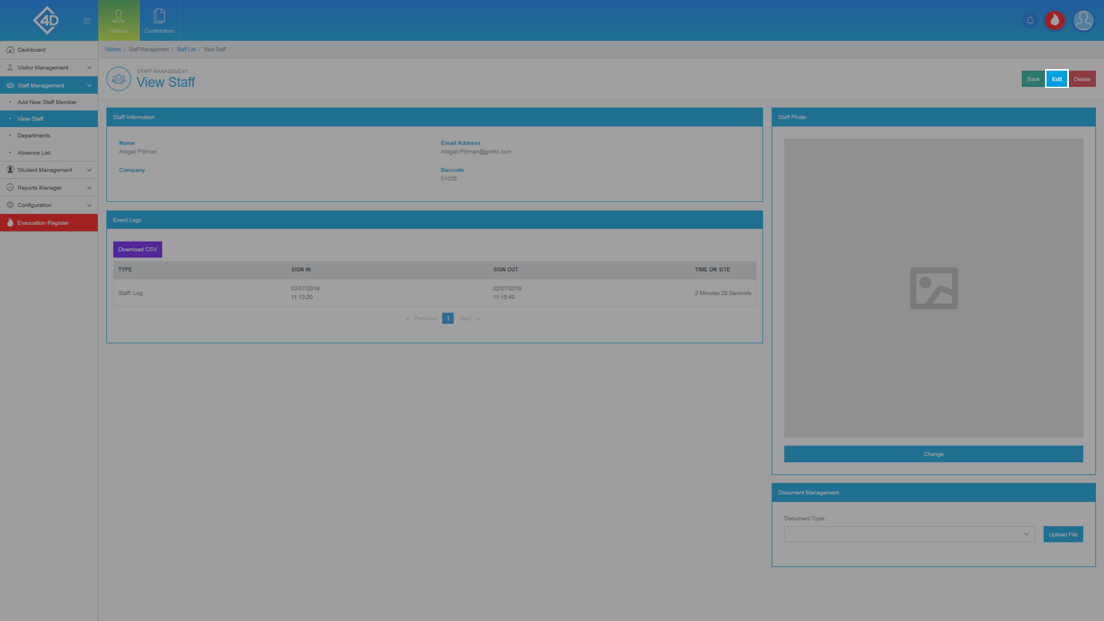
Edit
If you would like to edit the Staff Record, click on the blue "Edit" button.
Once you have clicked the “Edit” button you will be taken to the following page.
For more information on this, refer to the "Add New" section previously in this guide.
Delete
If you would like to delete a Staff Member from the system, click the red "Delete" button.

