5D Staff Management – Absence List
The following guide will show you how to navigate and use the 5D Staff Management Section.
To access the “Absence List” page click on the “Staff Management” tab on the left of the screen and then click on “Absence List”
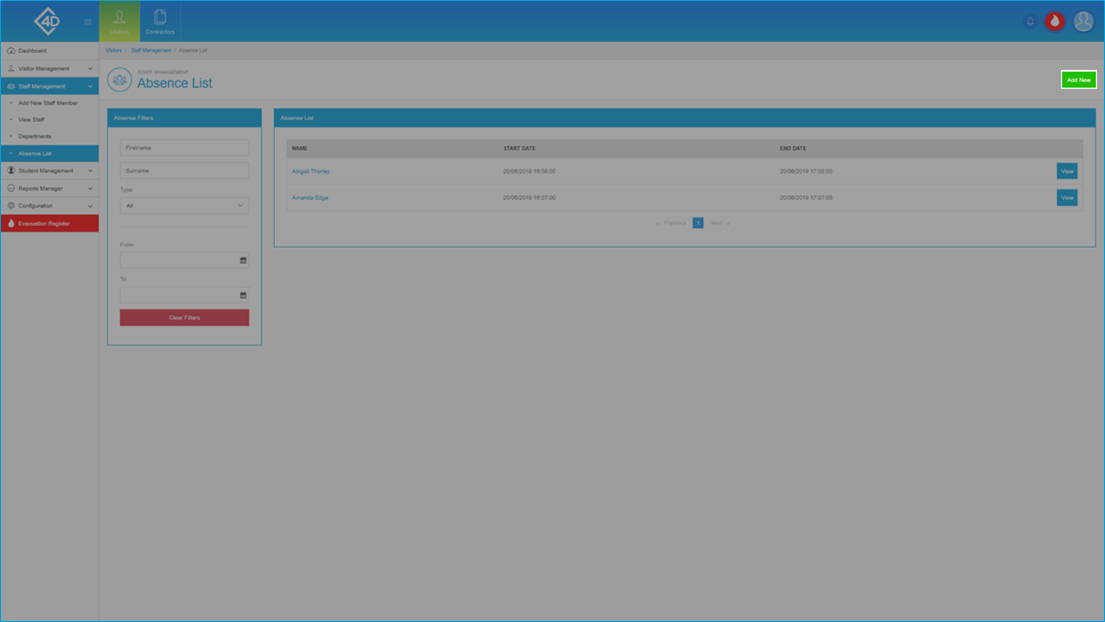
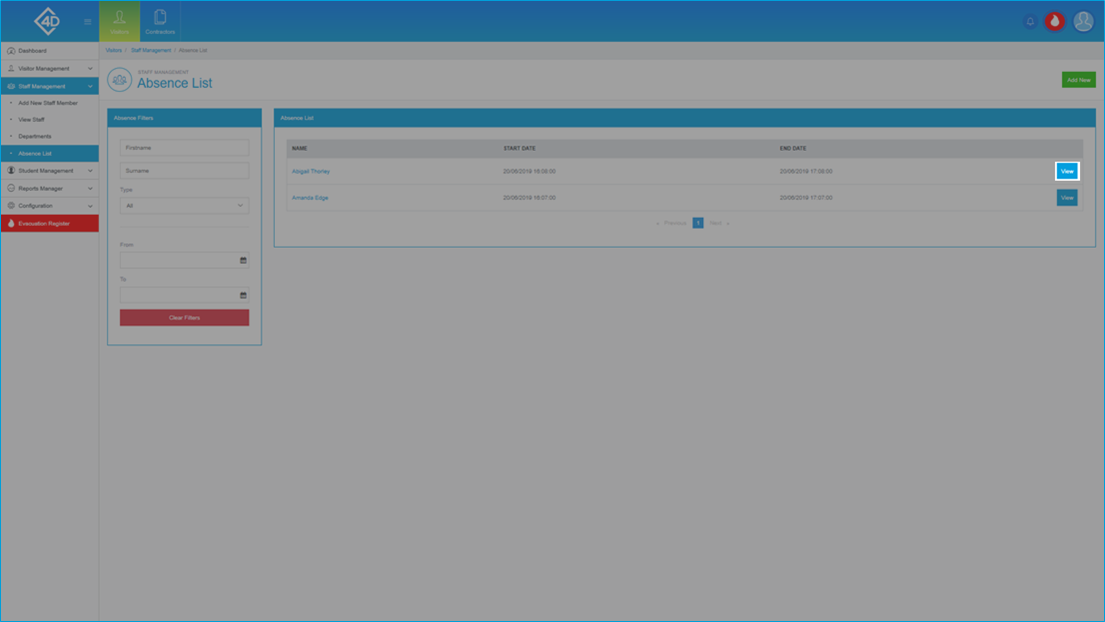
The “Absence List” page will then open and will look like the image below.
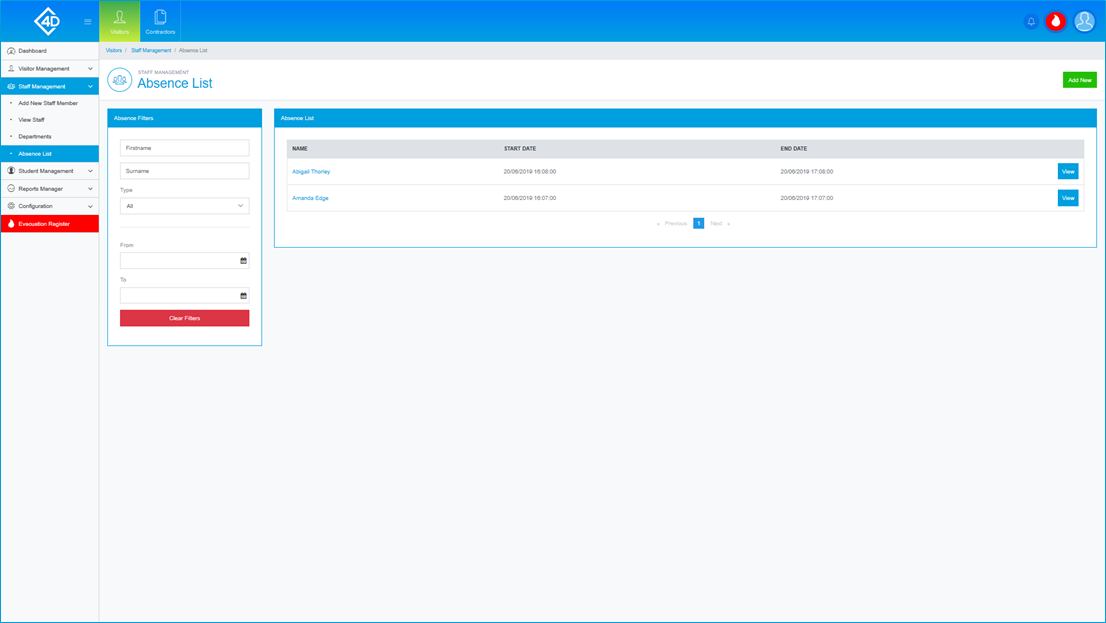
The “Absence List” section displays a list of all Staff who have been Absent, this includes the "Name", "Start Date" and "End Date".
On the left of the page is the “Absence Filters” list, this is where you can search for a Staff Member by "First Name", "Surname" and "Type".
You can also search for an Absence by date by using the "From" and "To" box.
The “Clear Filters” button will wipe both fields and display the default view.
If you would like to report an Absence, click the green "Add New" button.
Add New
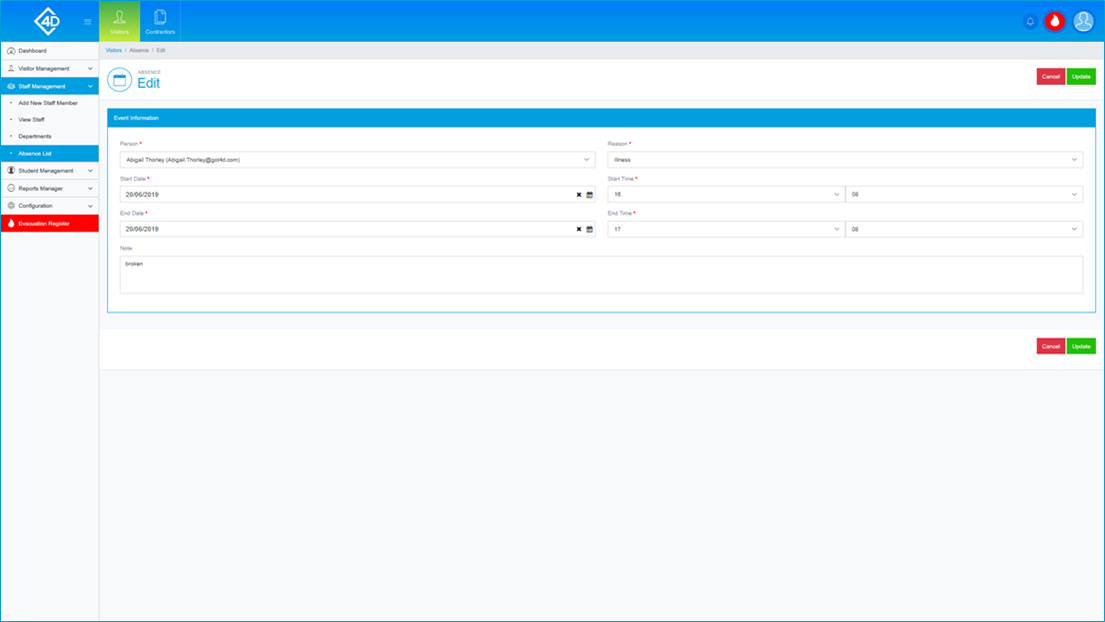
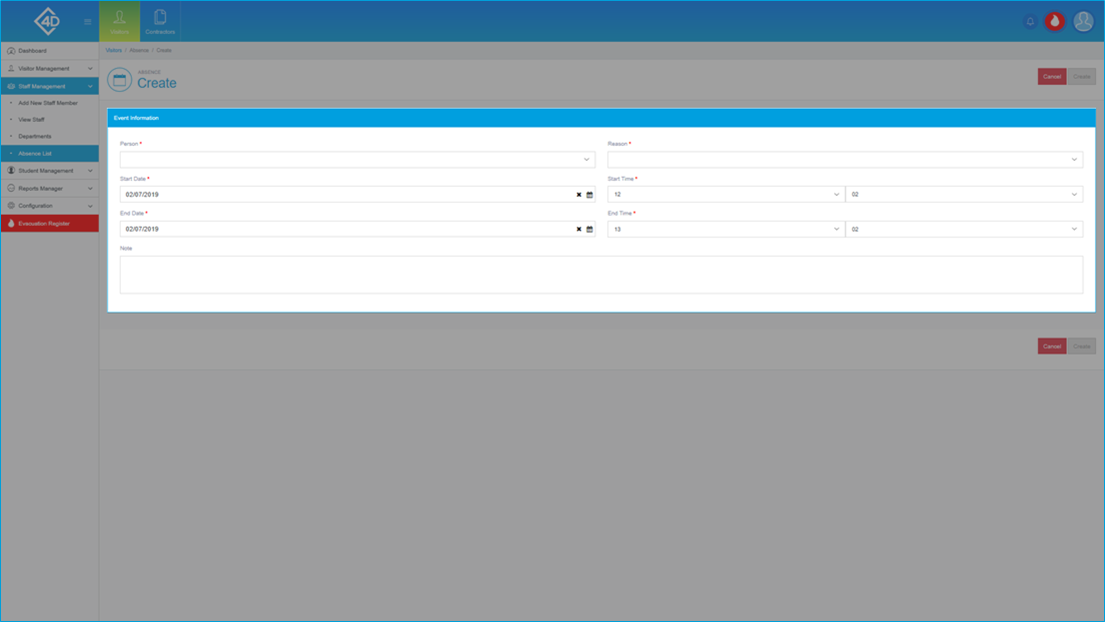
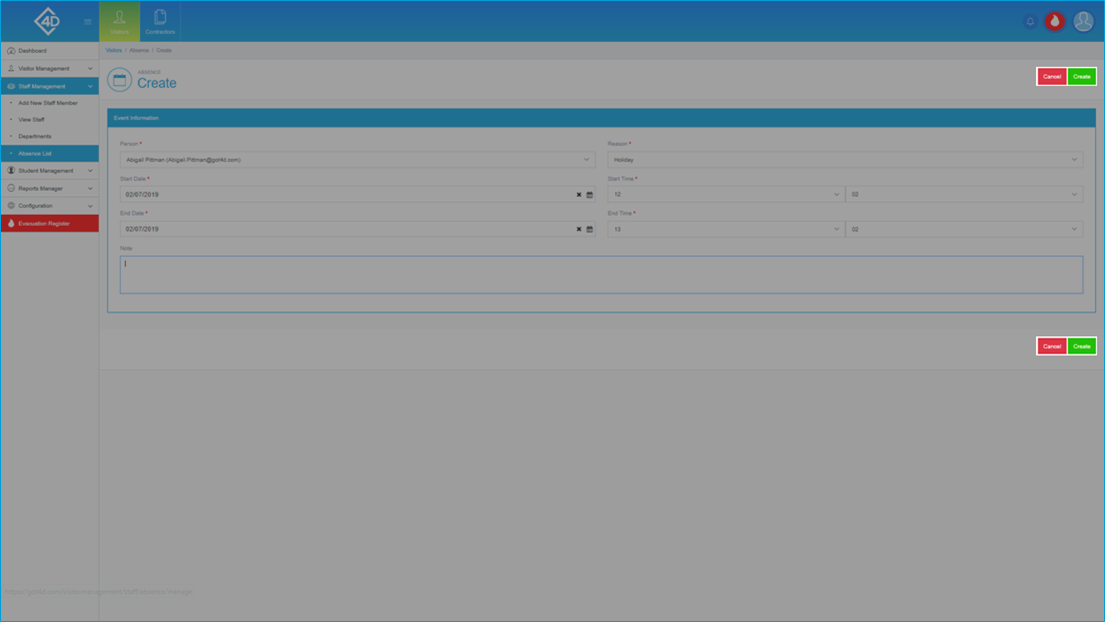
Once you have clicked the "Add New" button the following page will appear.
In the "Event Information" section you must fill out the following fields:
- Person - Click the dropdown box to select the Staff member that you would like to report as absent.
- Reason - This feature is explained further below.
- Start Date - Click the calendar button to select the Start Date of the Absence.
- Start Time - Use the dropdown boxes to select the Start Time of the Absence.
- End Date - Click the calendar button to select the End Date of the Absence.
- End Time - Use the dropdown boxes to select the End Time of the Absence.
You can also choose to add notes to the Absence record by using the "Notes" field.
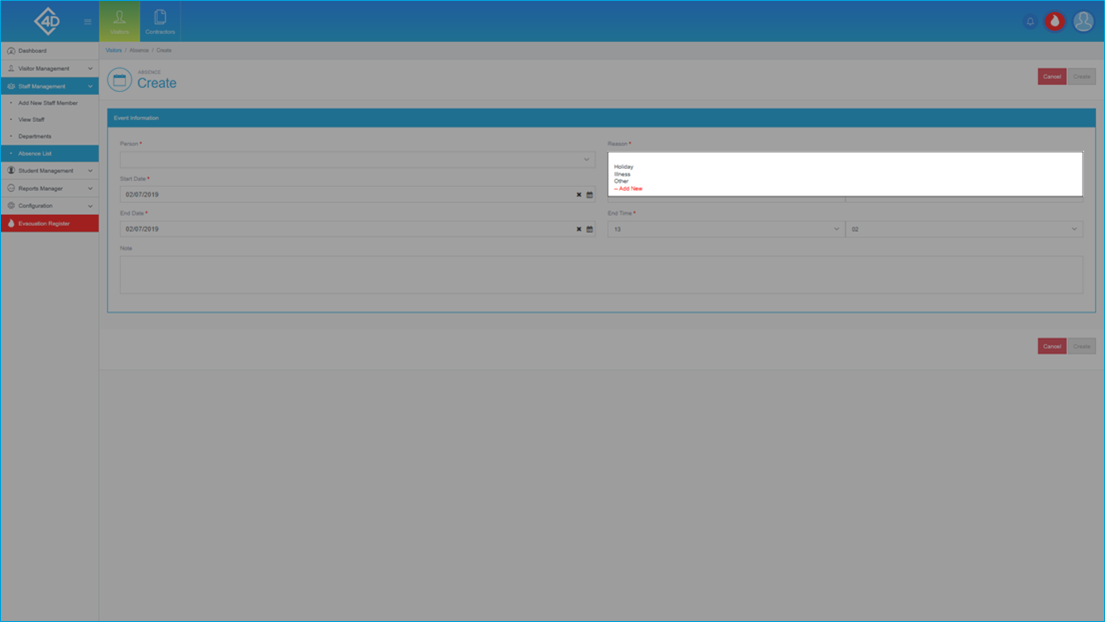
Click the "Reason" dropdown box to select a reason for the Absence, if there is not a relevant reason in the dropdown, click "Add New".
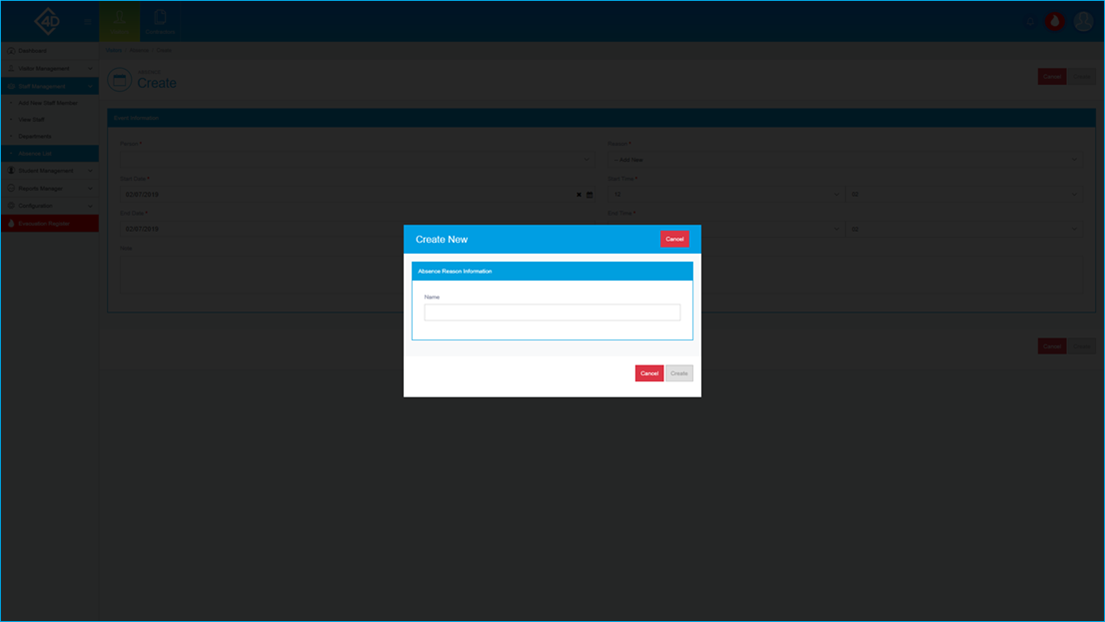
Once you have clicked the "Add New" field the "Create New" pop-up will appear, you must then fill in the "Name" box.
If you would like to cancel the creation of a new Reason, click the "Cancel" button.
If you are happy with the name of your new Reason, click the "Create" button.
Once you are happy with the Absence Record, click the green “Create” button.
If you would like to cancel the creation of a new Absence Record, click the "Cancel" button.
Viewing an Absence
To view an Absence Record, click the "View" button next to a relevant Staff Member.
In the "Absence Information" section is a breakdown of the Absence Record, this includes the "Person Name", "Start Date", "End Date", "Reason" and "Notes".
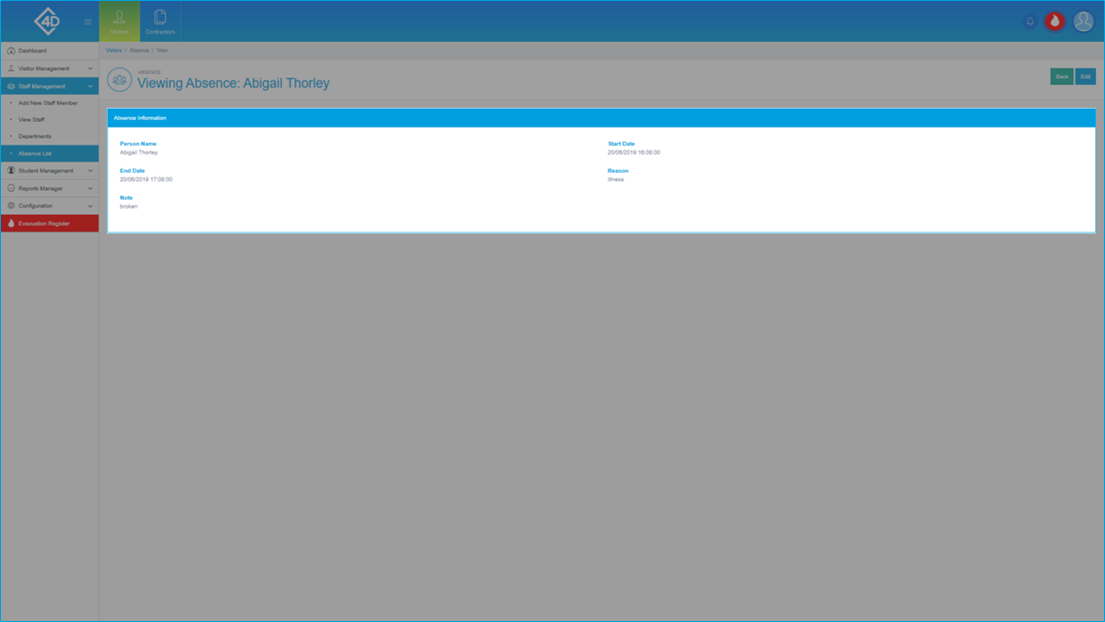
If you would like to edit the Absence Record click the "Edit" button.
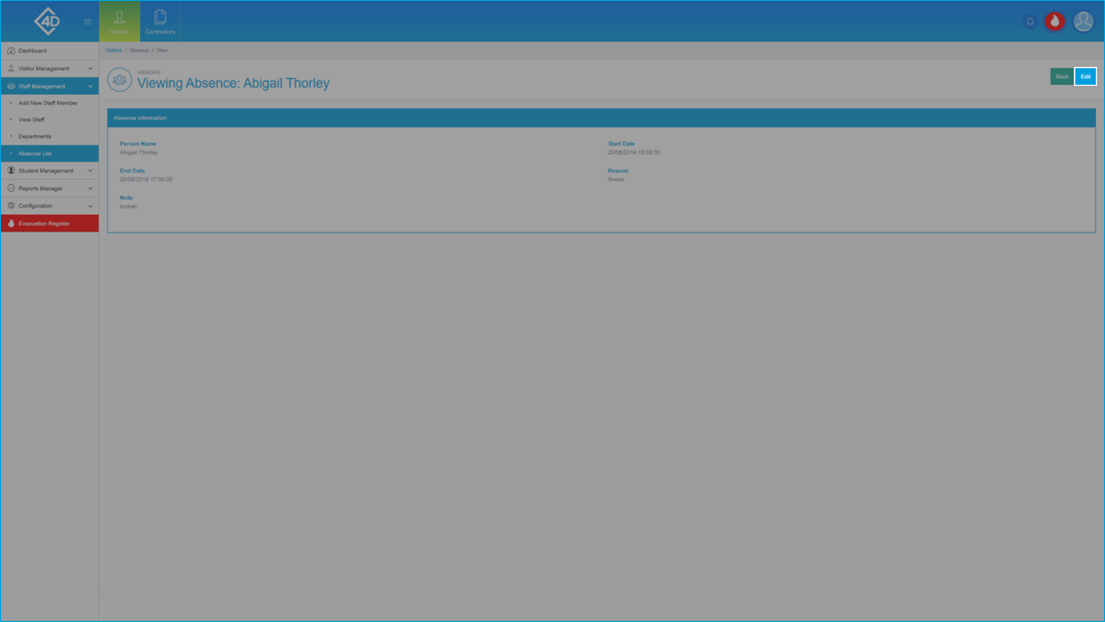
Editing an Absence.
For more information on how to edit an Absence Record, refer to the "Add New" section earlier in the guide.