5D Configuration – Touchscreens
The following guide will show you how to navigate and use the 5D Configuration Section.
To access the “Touchscreens” page click on the “Configuration” tab on the left of the screen and then click on “Touchscreens”
The “Touchscreens” page will then open and will look like the image below.
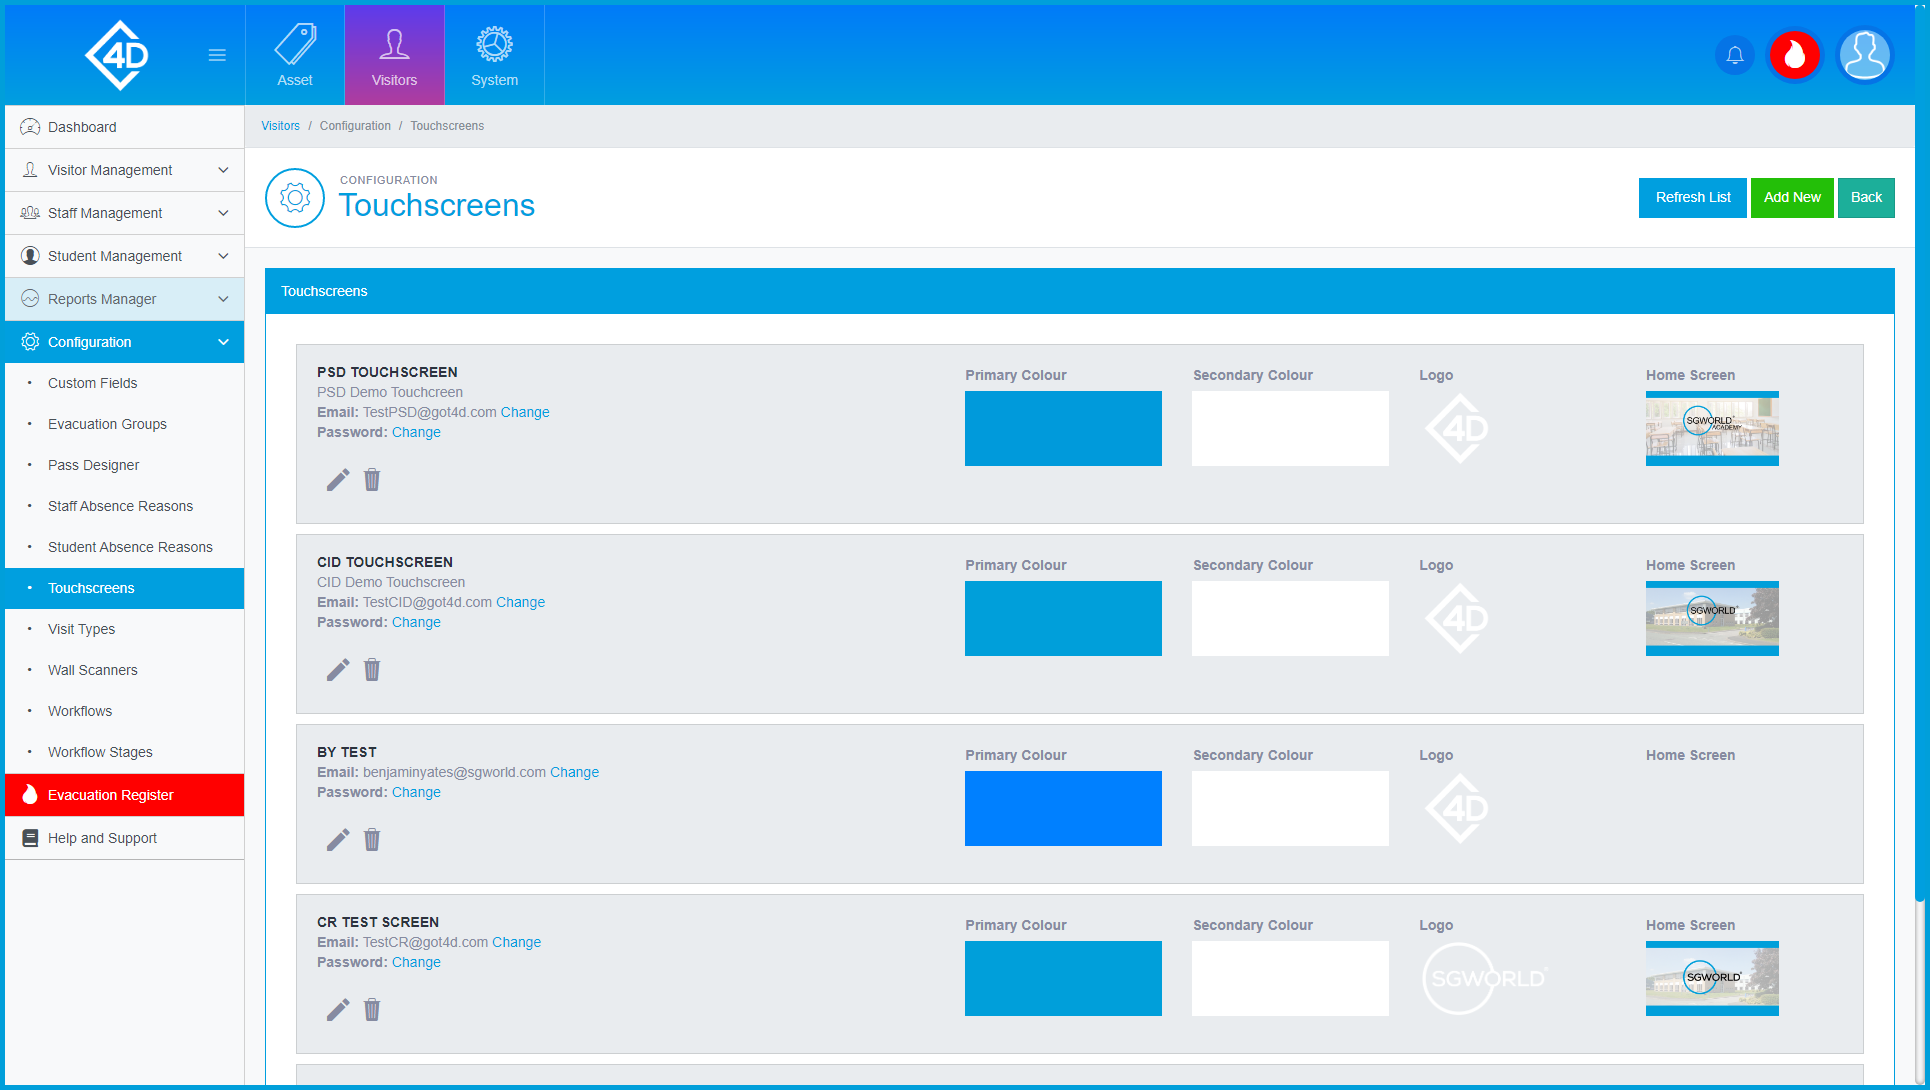
The “Touchscreens” table shows a list of the touchscreens that are currently active on your system.
Listed are the “Name” and “Email” of each touchscreen, there is also a brief rundown of the touchscreen design, this includes “Colour”, “Logo” and “Home Screen”.

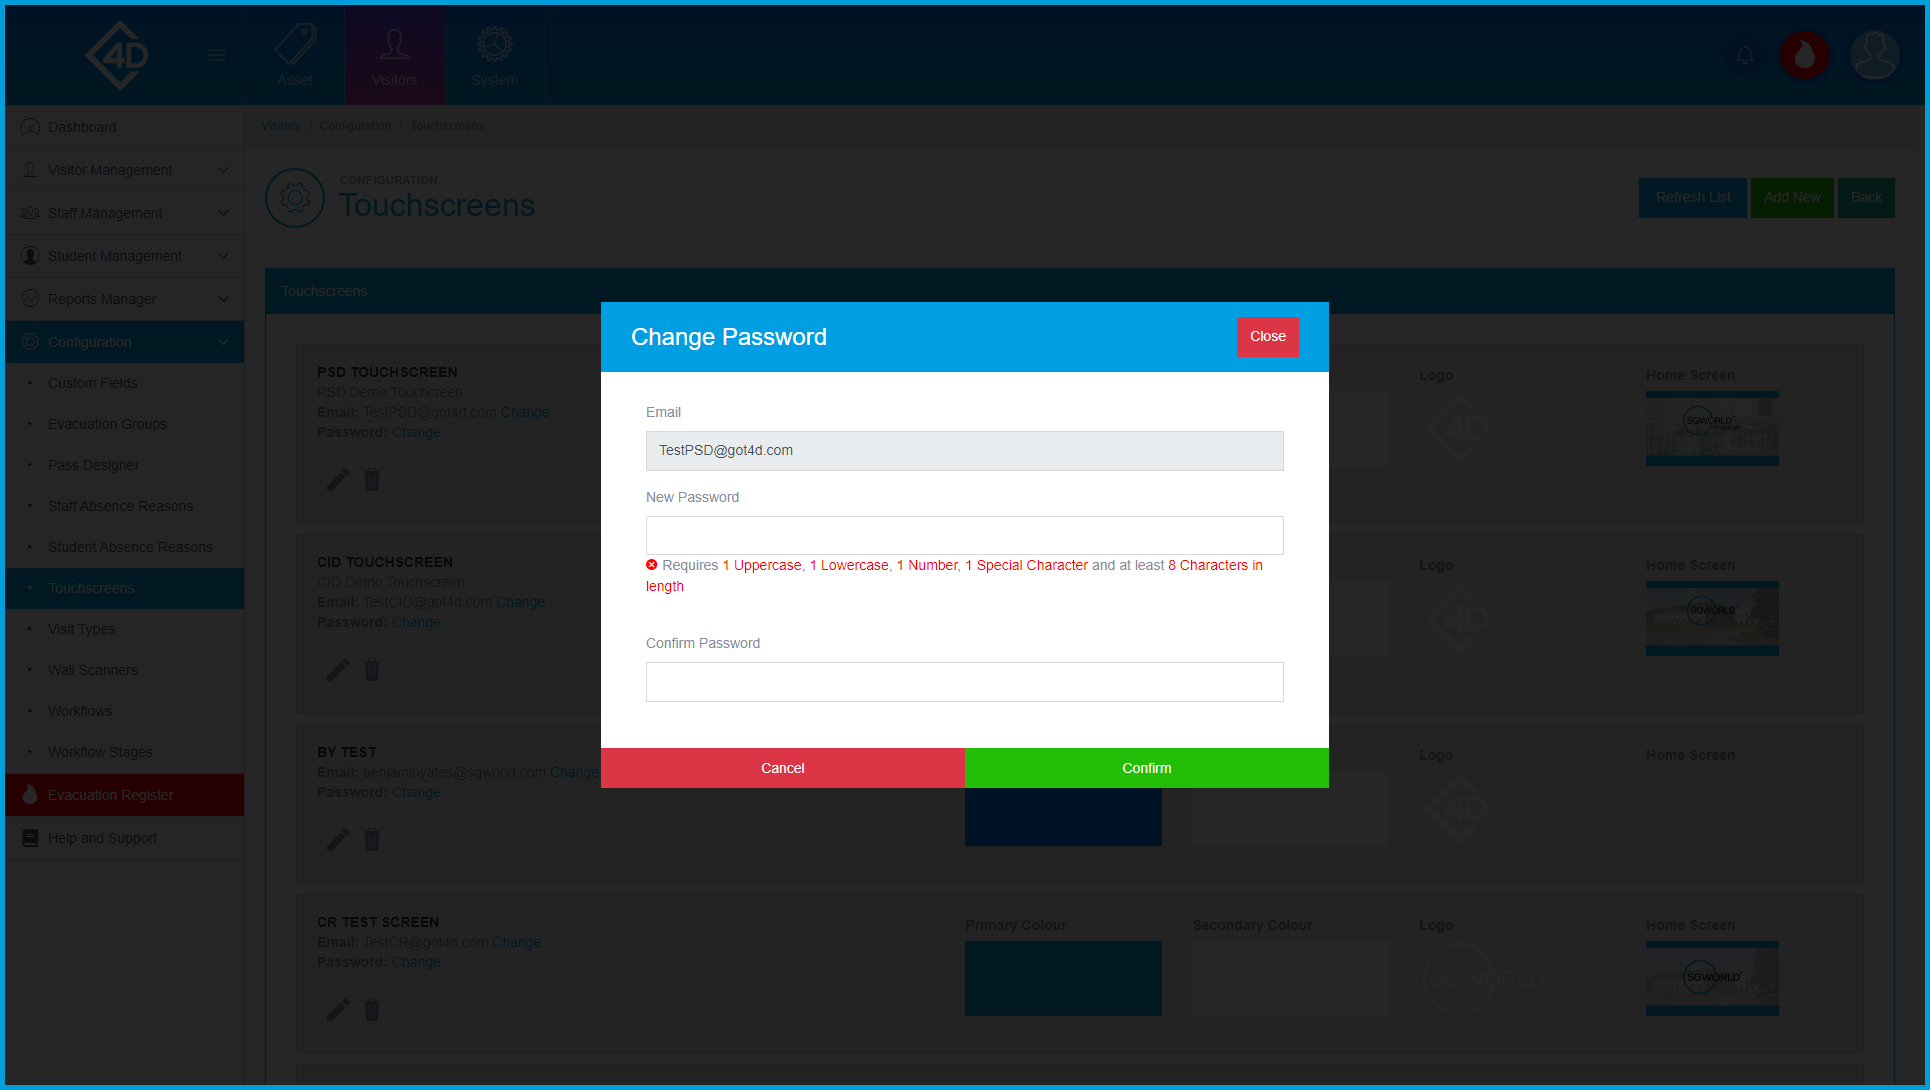
To change the touchscreen password click the “Change” button, you will then be taken to the following screen.
You will then be prompted to create a new password, to complete your changes click the “Confirm” button.
Changing a Touchscreen
To edit the touchscreen you can click on the grey pencil on the right of the page.
You can also delete the touchscreen by clicking on the grey bin, you will be prompted to confirm your choice if this is clicked.
Please note that deleted touchscreens cannot be reinstated so any change will be permanent.

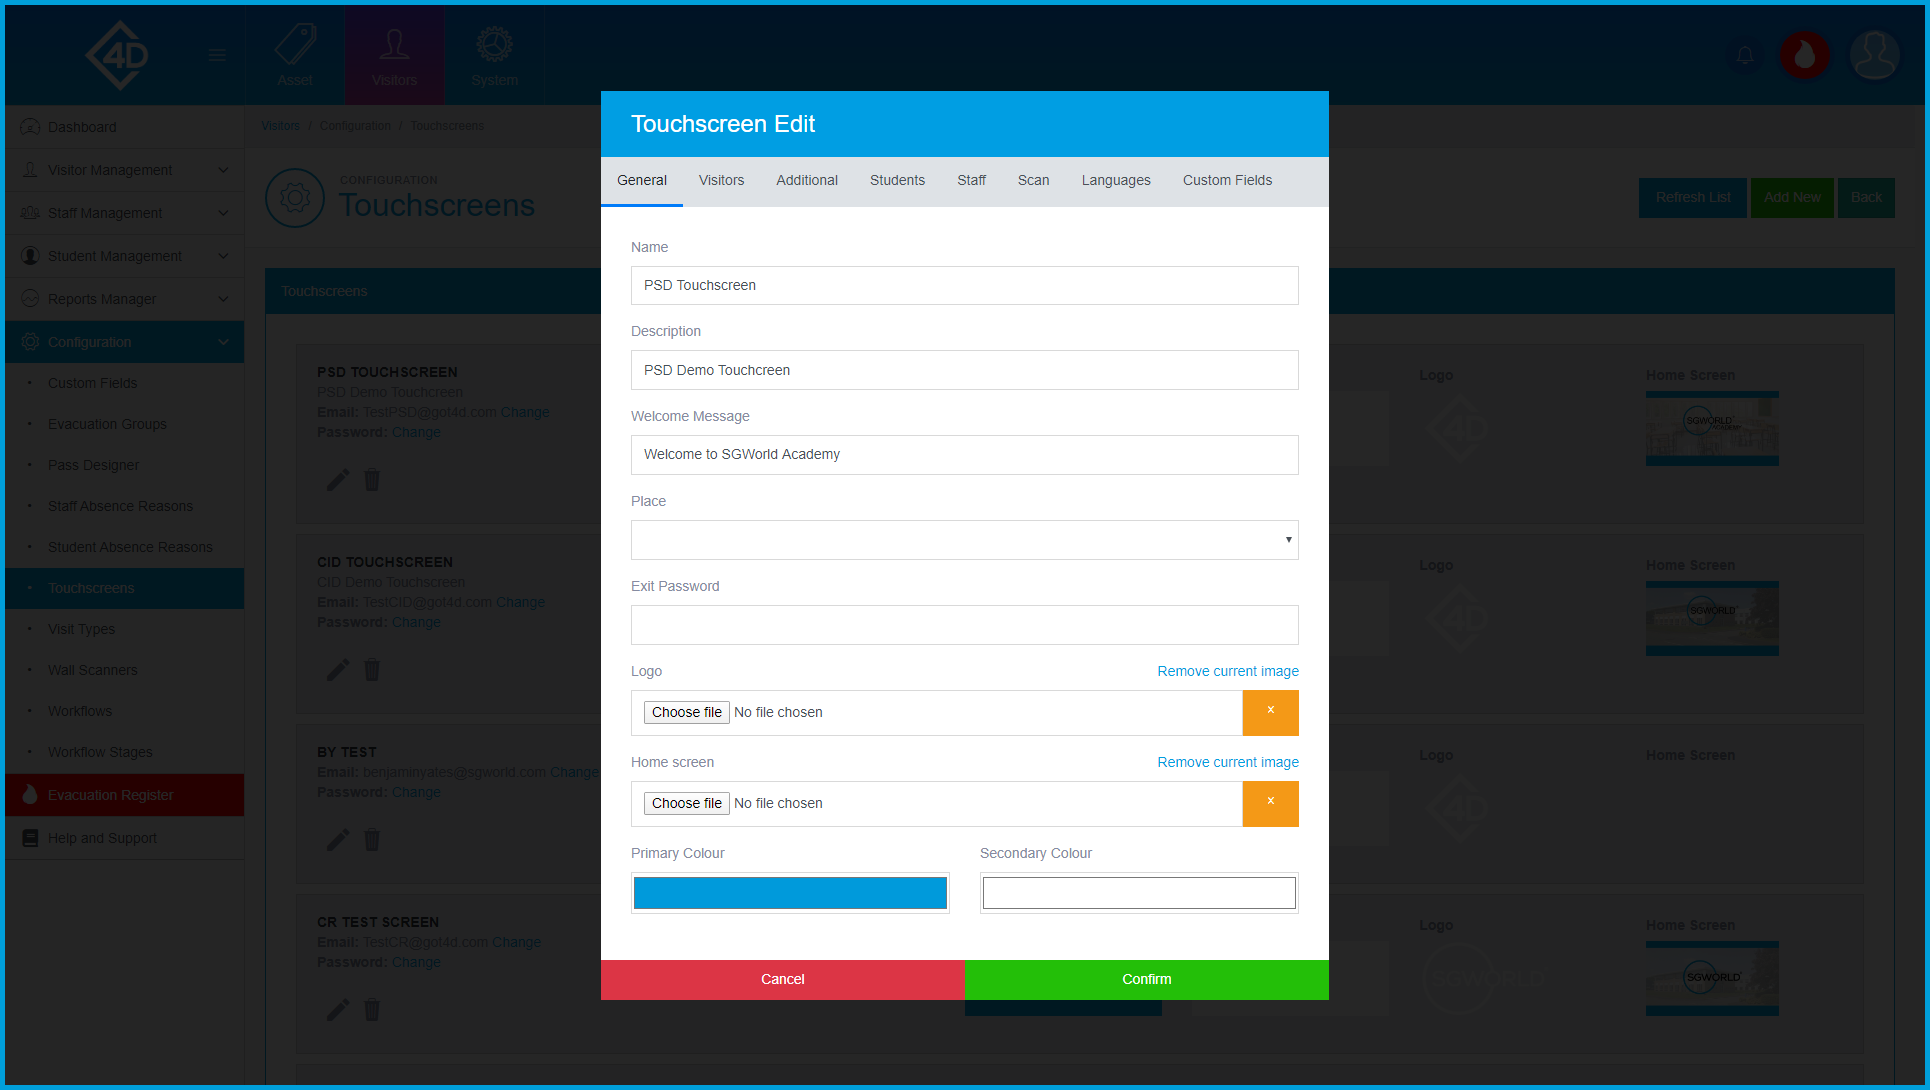
Once you have clicked on the grey pencil you will be taken to the following screen.
In the “General” tab you have the following categories:
- Name – This is the internal name for the touchscreen.
- Description – Use this to describe where or what the touchscreen is.
- Welcome Message – This is the message that is displayed on your home screen.
- Place – This is a dropdown box where you can select the location of your screen.
- Logo – You can upload your branded logo by clicking the “Browse” button.
- Home Screen – You can upload your branded home screen by clicking the “Browse” button.
- Primary Colour – You can set your brand colour, this shows on all screens.
- Secondary Colour – You can set your text colour, this will affect all text.
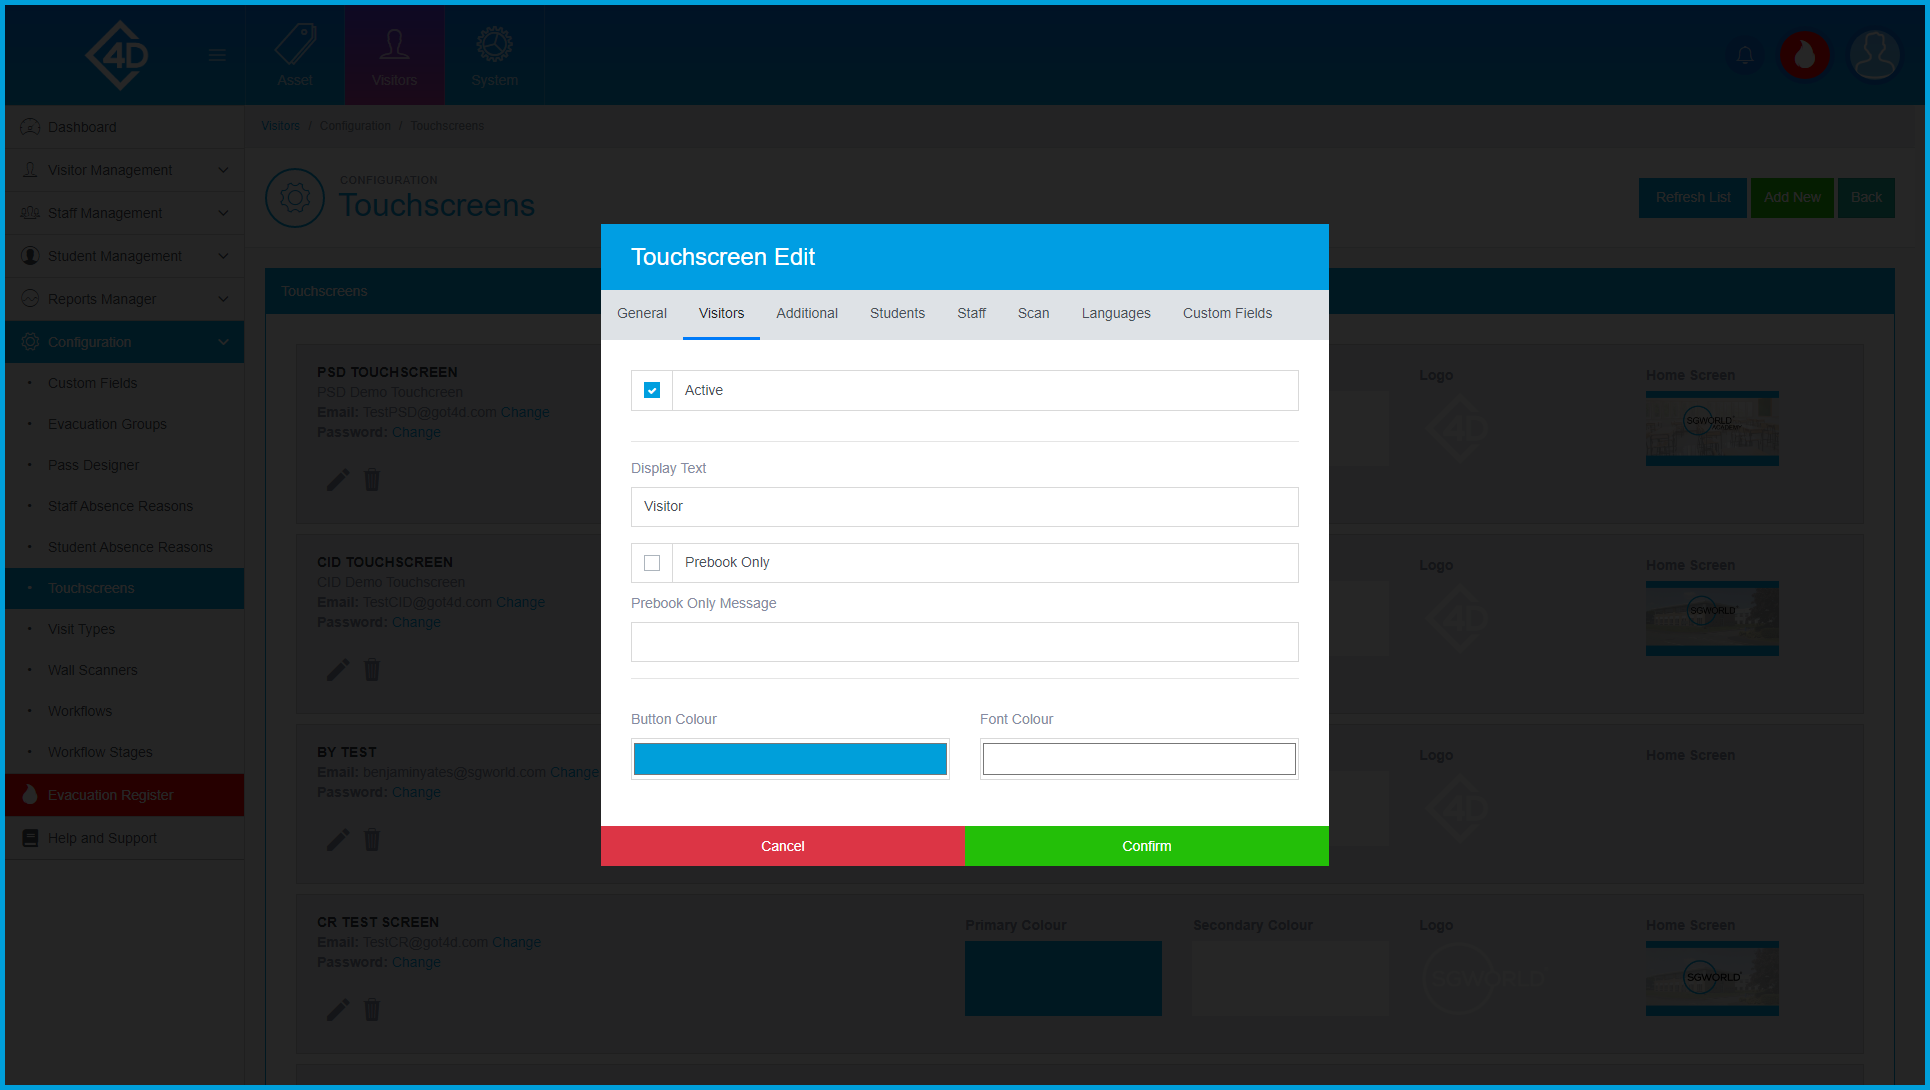
In the “Visitors” tab you have the following categories:
- Active - This is used to activate/deactivate the “Visitor” button.
- Display Text - This is used to change the text that the customer will see on the touchscreen.
- Prebook Only - If you would like to use the Prebook feature tick this button.
- Prebook Only Message - This is used to change the text message that the customer will see when signing in as a pre-booked visitor.
- Button Colour - This is used to set the colour of the button on the “Menu” screen.
- Font Colour - This is used to set the colour of your font, this only affects the font inside the button.
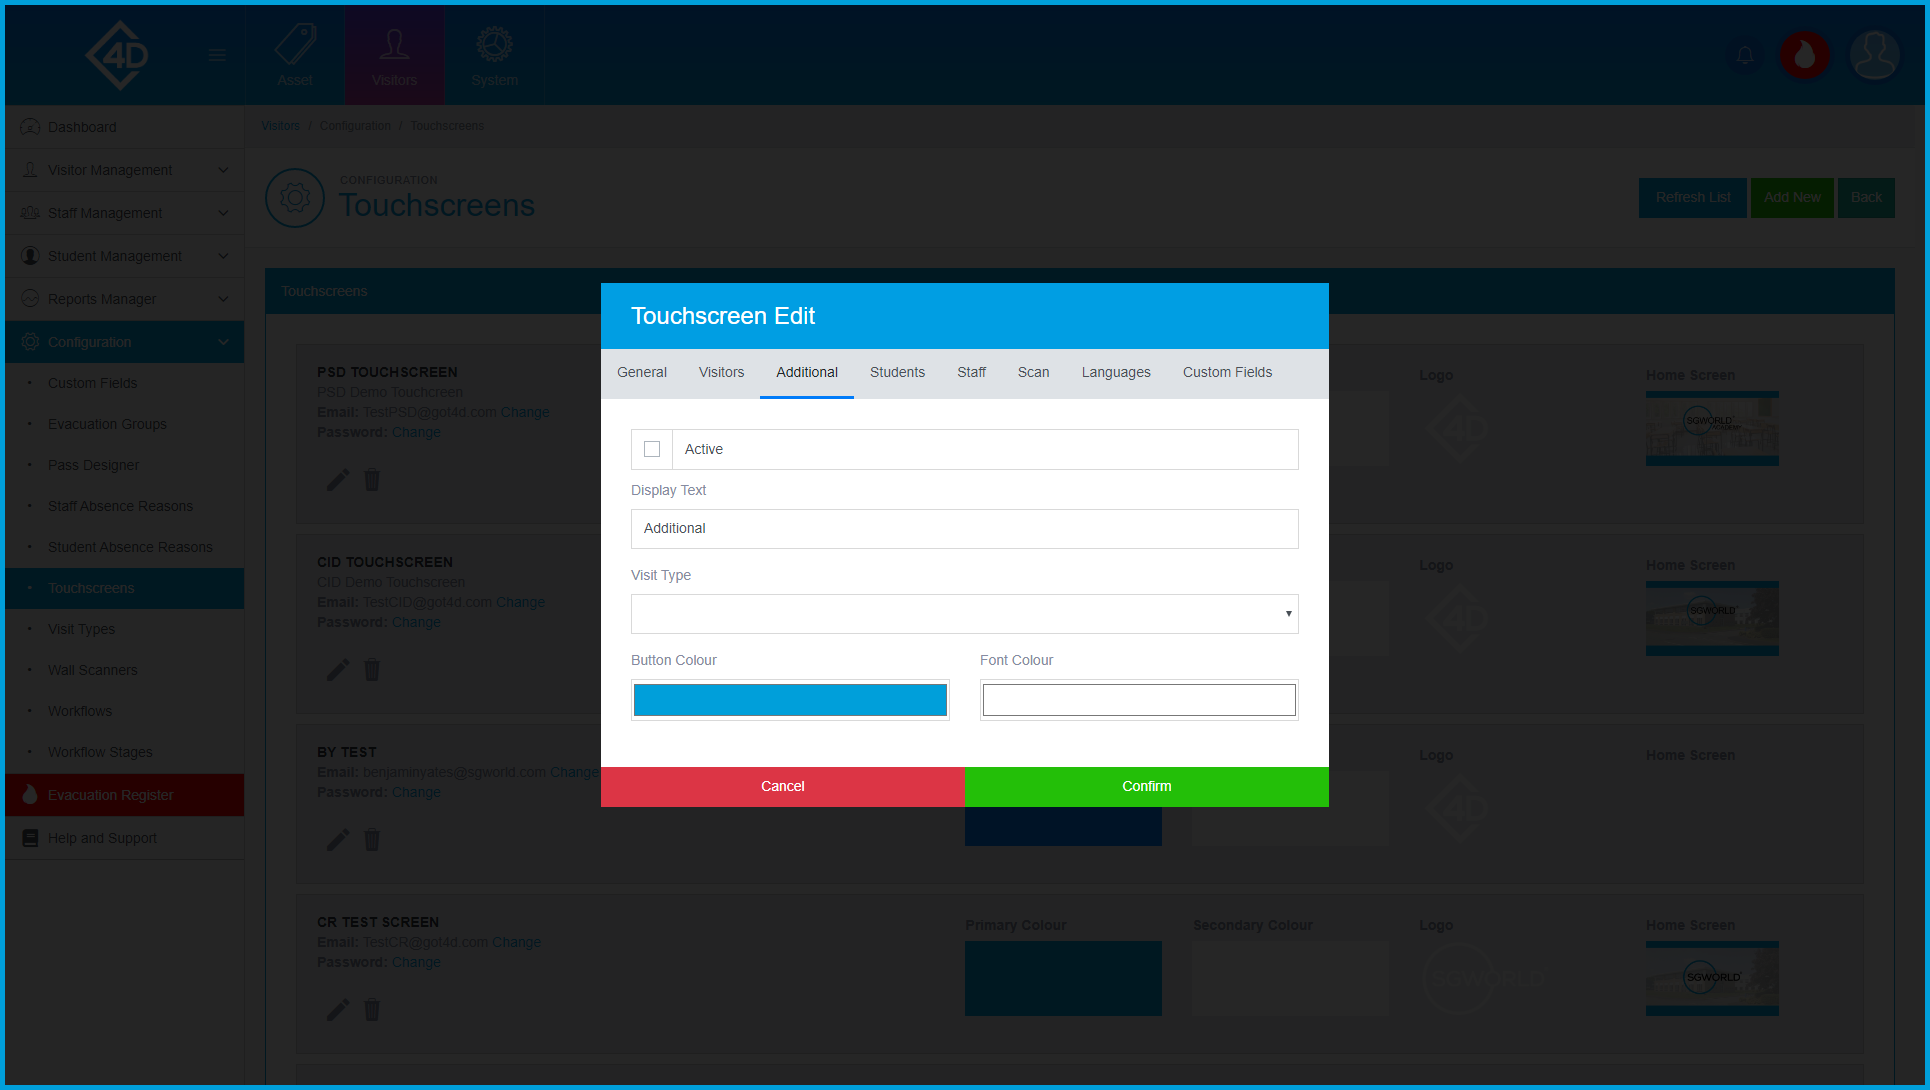
In the “Additional” tab you have the following categories:
- Active - This is used to activate/deactivate the “Additional” button.
- Display Text - This is used to set the title of the button on the “Menu” screen.
- Visit Type - This is used to specify the type of visitor that the button will use.
- Button Colour - This is used to set the colour of the button on the “Menu” screen.
- Font Colour - This is used to set the colour of your font, this only affects the font inside the button.
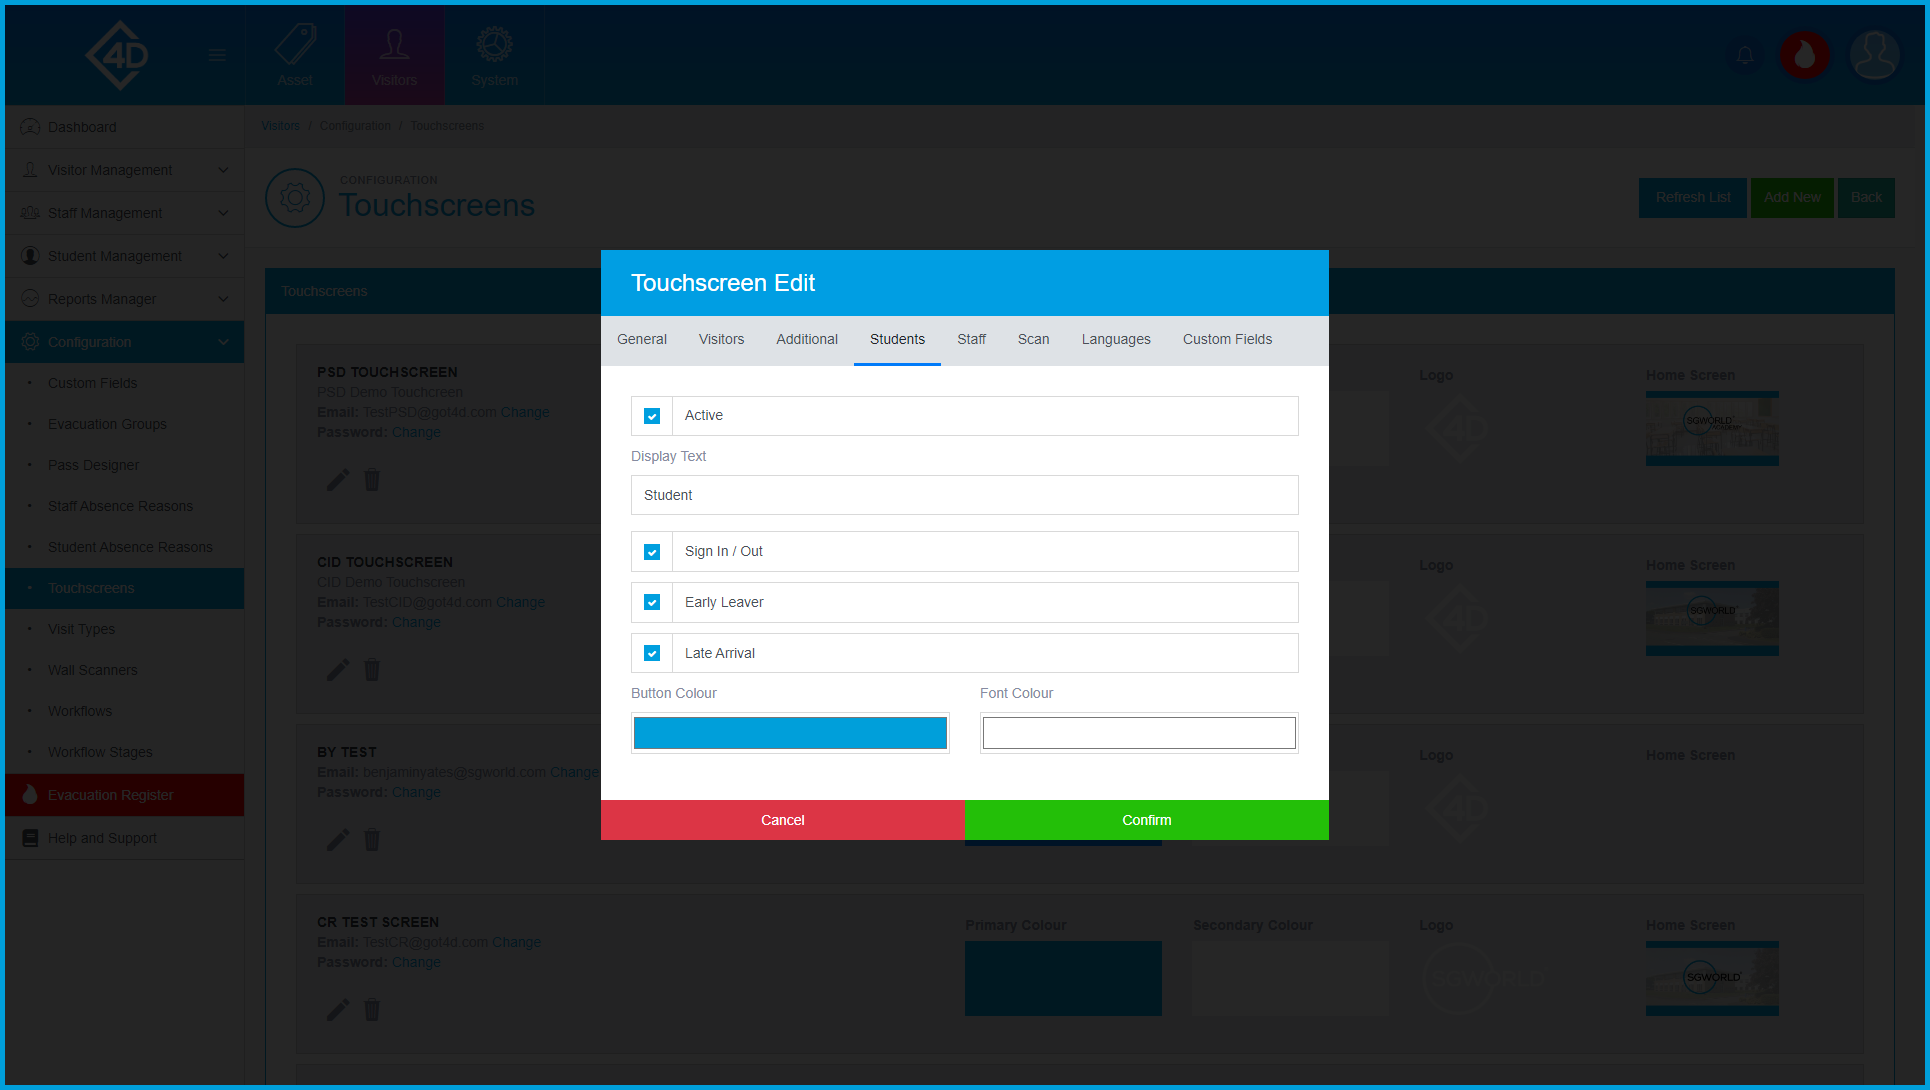
In the “Students” tab you have the following categories:
- Active - This is used to activate/deactivate the “Students” button.
- Display Text - This is used to set the title of the button on the “Menu” screen.
- Sign In / Out - This is used to activate/deactivate the Sign In / Out option for all Students.
- Early Leaver - This is used to activate/deactivate the Early Leaver option for all Students.
- Late Arrival - This is used to activate/deactivate the Late Arrival option for all Students.
- Button Colour - This is used to set the colour of the button on the “Menu” screen.
- Font Colour - This is used to set the colour of your font, this only affects the font inside the button.
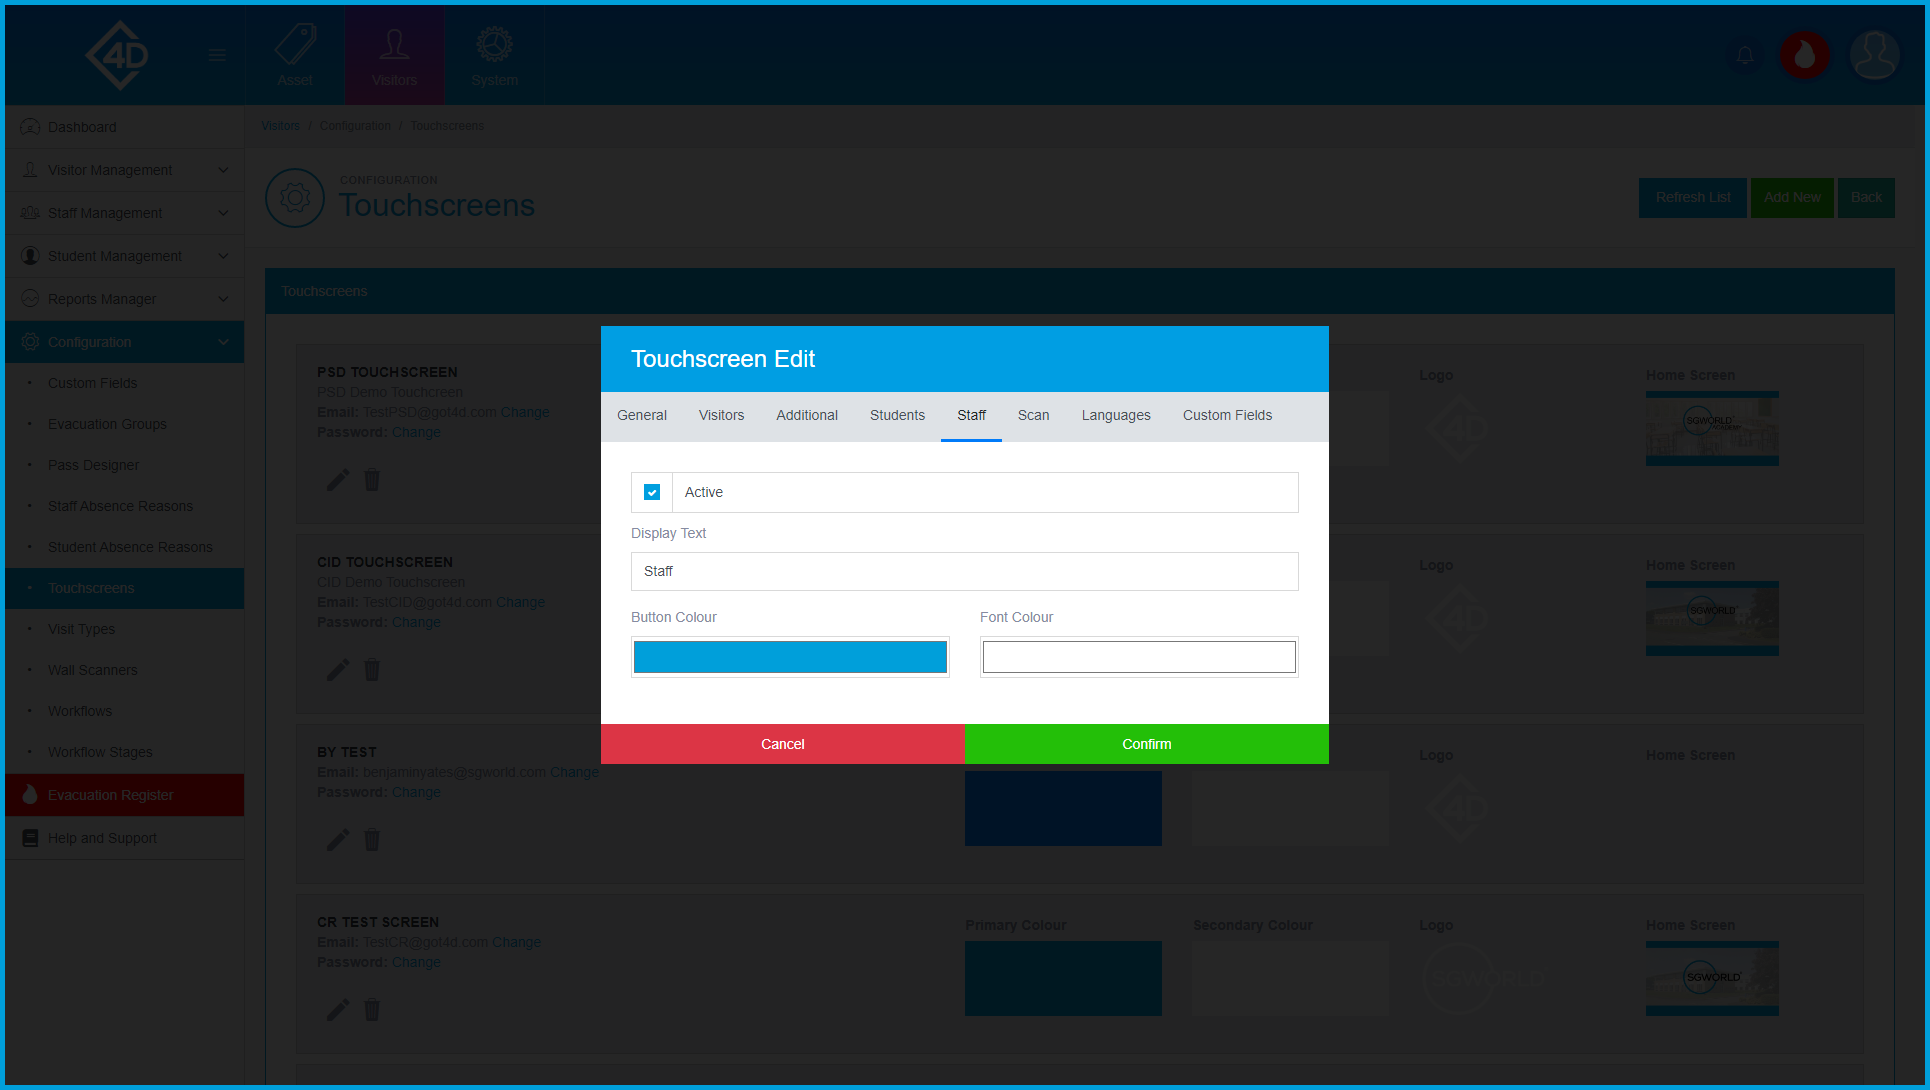
In the “Staff” tab you have the following categories:
- Active - This is used to activate/deactivate the “Staff” button.
- Display Text - This is used to set the title of the button on the “Menu” screen.
- Button Colour - This is used to set the colour of the button on the “Menu” screen.
- Font Colour - This is used to set the colour of your font, this only affects the font inside the button.
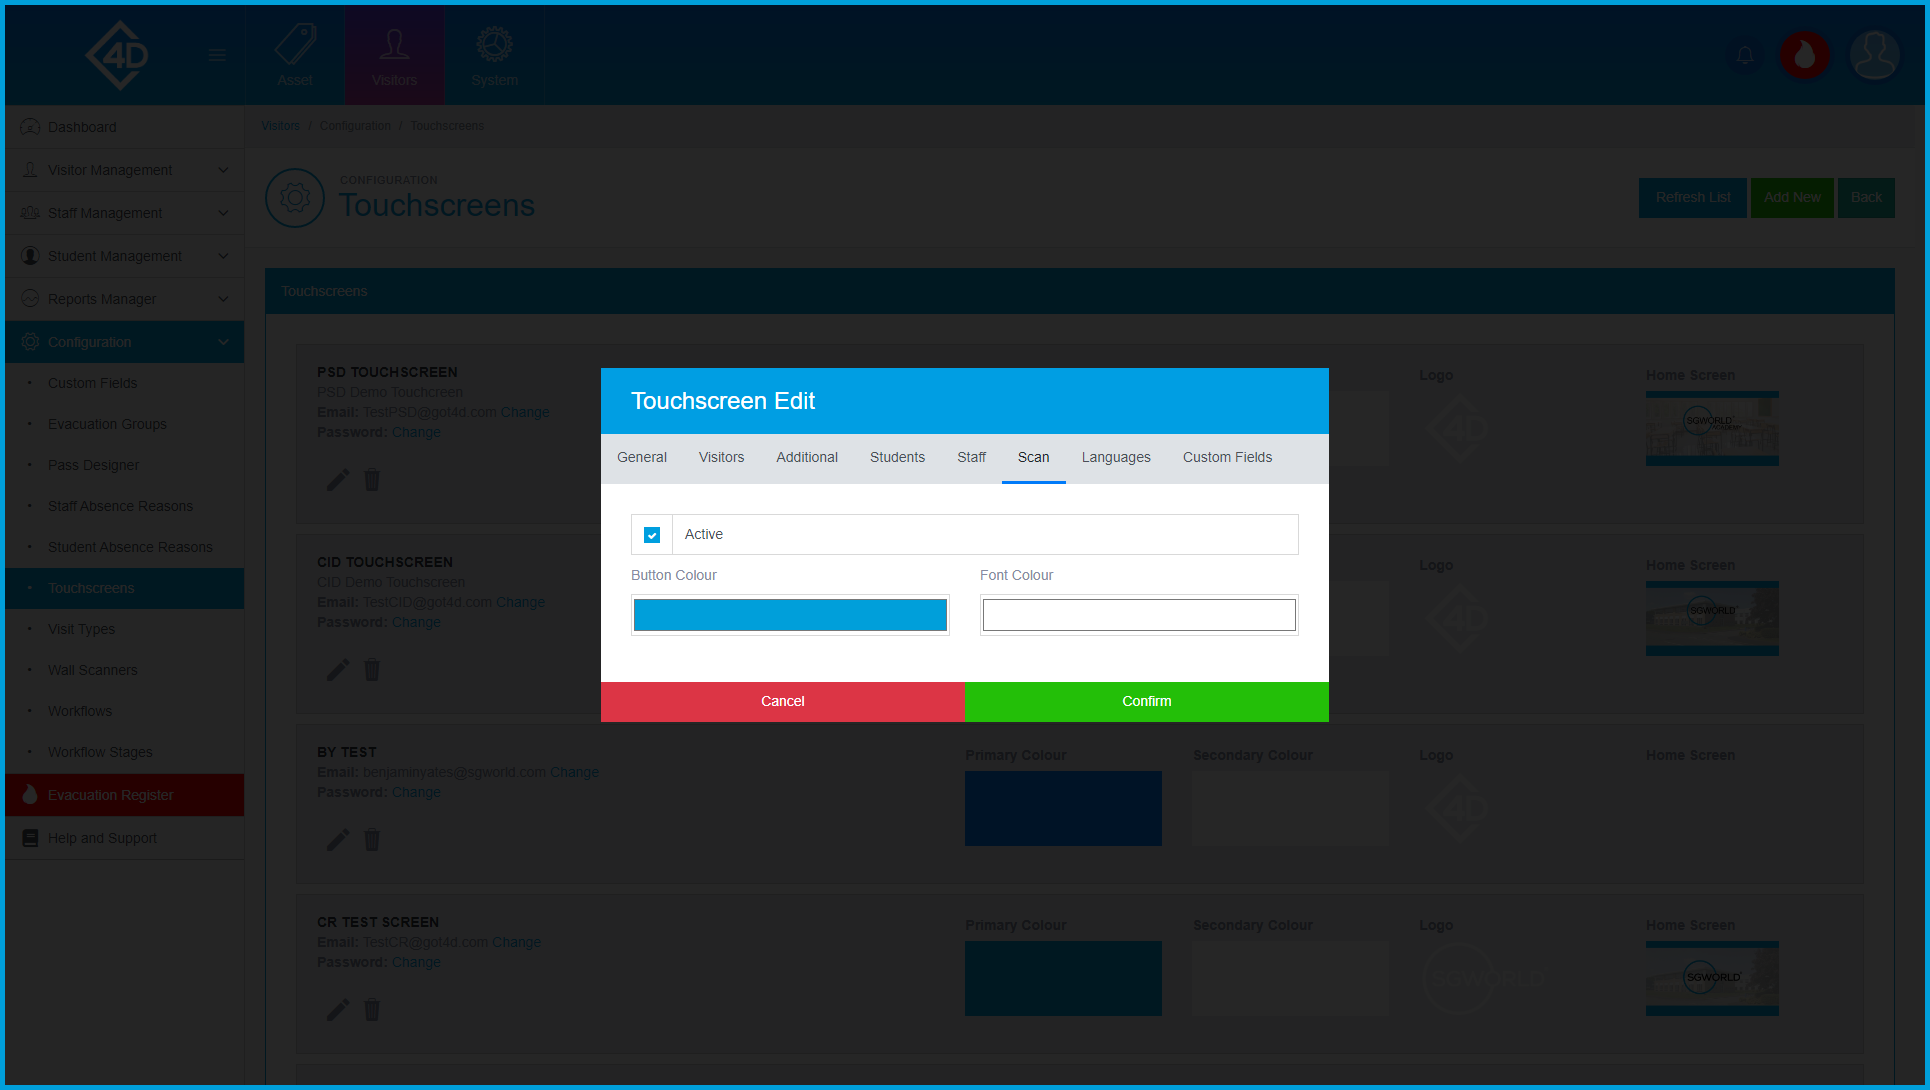
In the “Scan” tab you have the following categories:
- Active - This is used to activate/deactivate the “Scan” button.
- Button Colour - This is used to set the colour of the button on the “Menu” screen.
- Font Colour - This is used to set the colour of your font, this only affects the font inside the button.
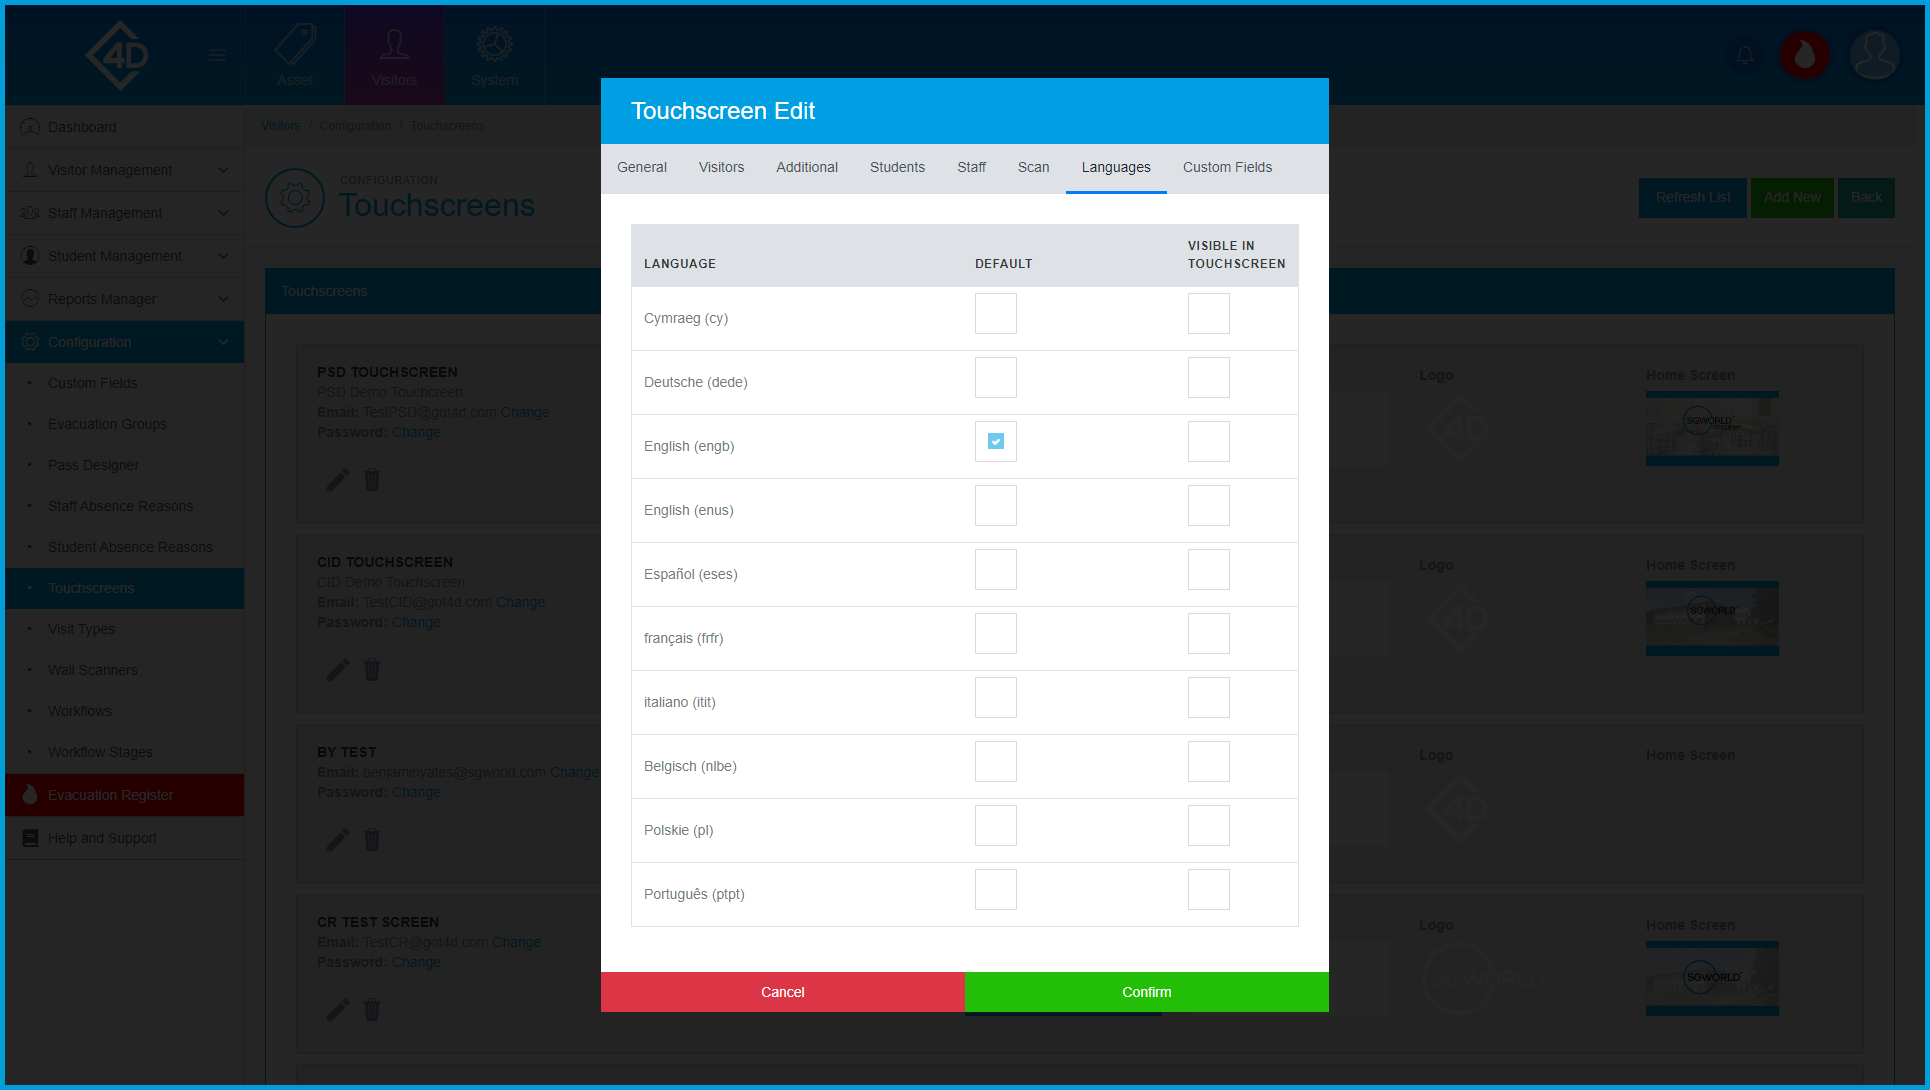
In the “Languages” tab you have the following categories:
- Language- This column displays the languages currently available in 4D.
- Default- This column allows you to select the default language for your 4D Touchscreen.
- Visible In Touchscreen - This column allows you to select which languages you want to show as options on the language selection screen.
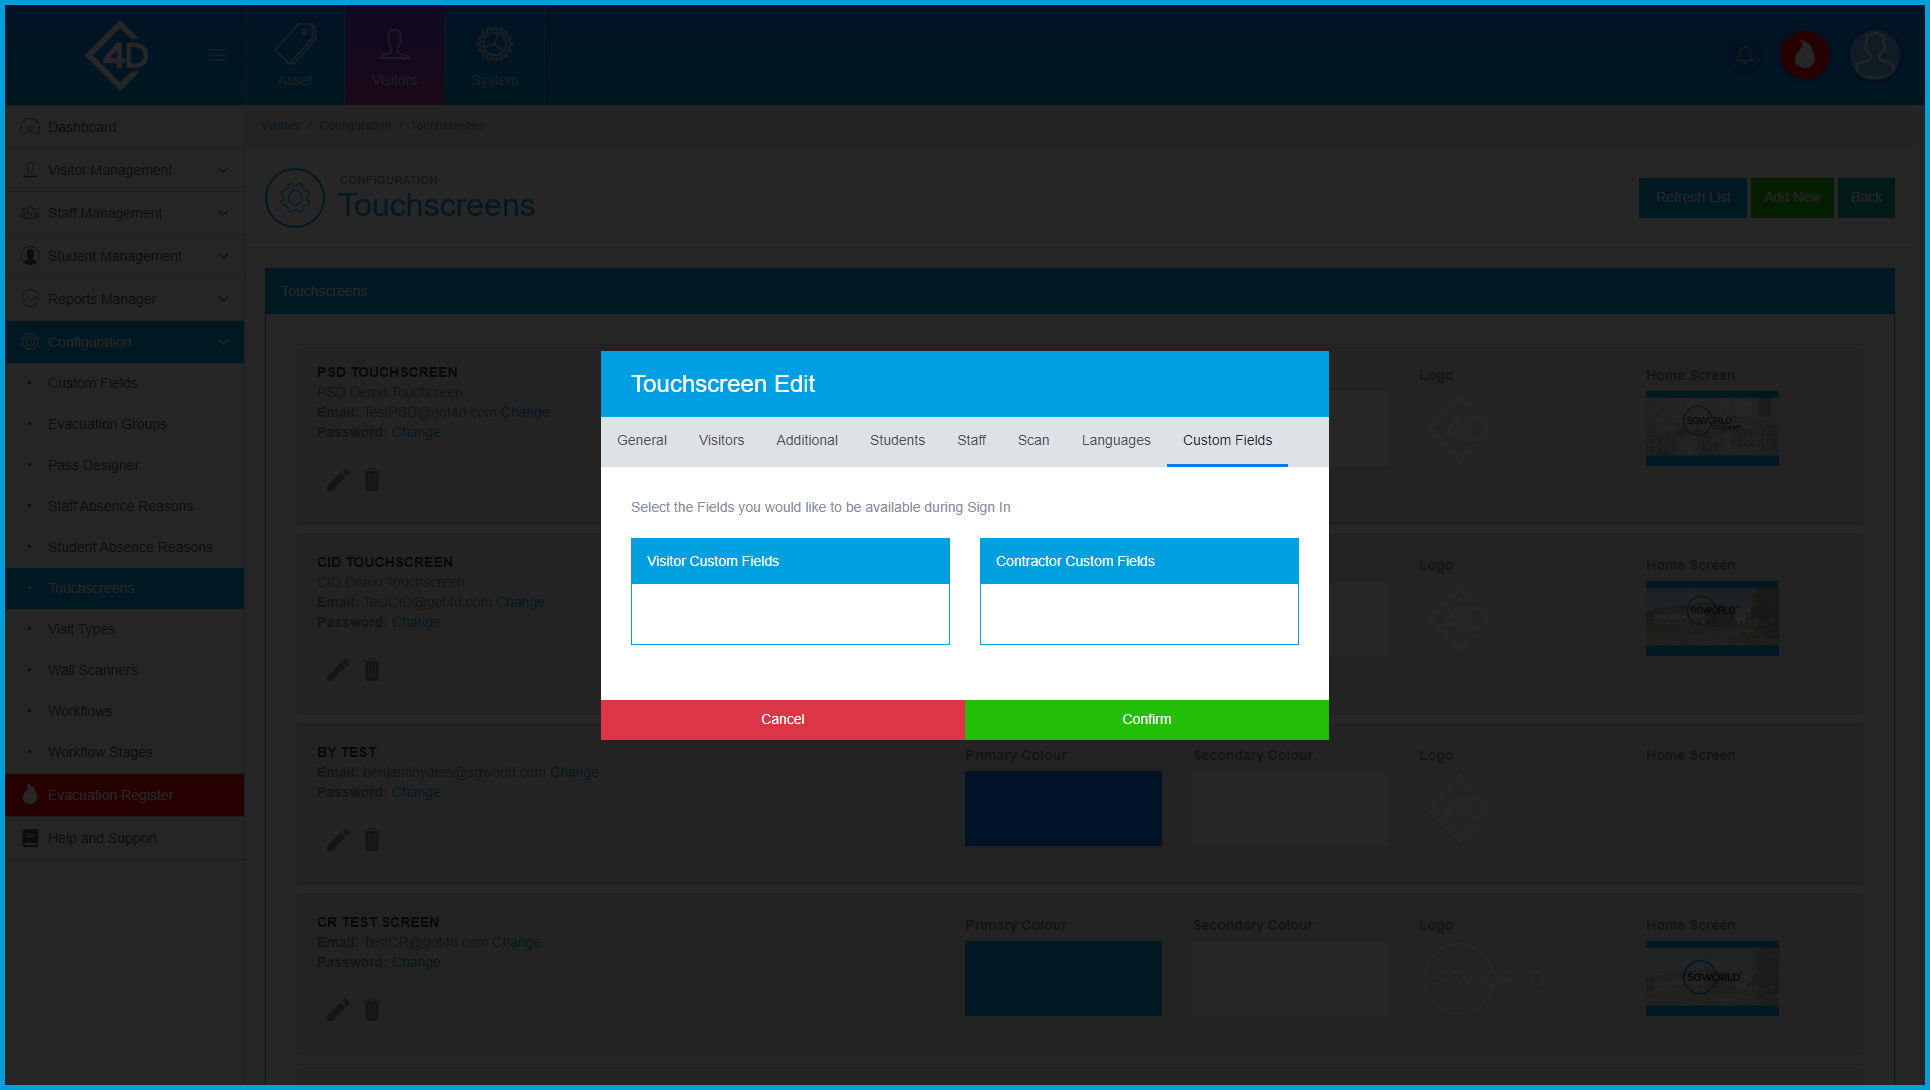
In the “Custom Fields” tab you have the following categories:
- Visitor Custom Fields - This box displays any custom fields that you have created.
- Contractor Custom Fields - This box displays any custom fields that you have created.
The Custom Fields tab allows you to activate/deactivate any custom fields that you have created, these fields will then display during the sign-in process.