5D Configuration – Roles
The following guide will show you how to navigate and use the 5D Configuration Section.
To access the “Roles” page click on the “Configuration” tab on the left of the screen and then click on “Roles”
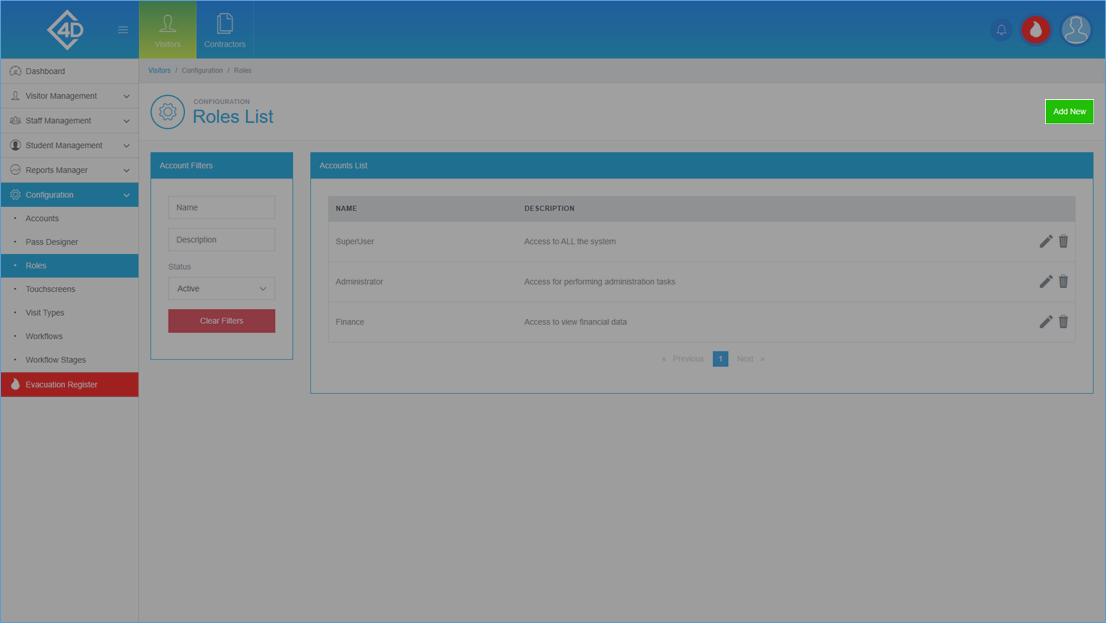
The “Roles” page will then open and will look like the image below.
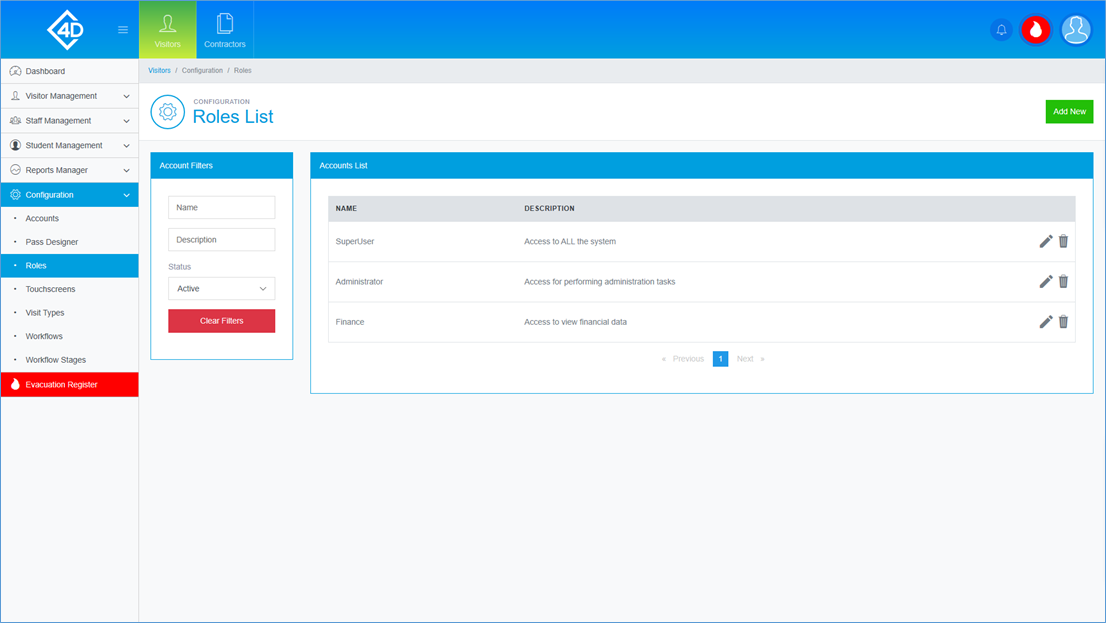
The “Accounts List” table shows a list of the accounts that are currently active on your system.
Listed are the “Name” and “Description” of each account, the “Description” is used to describe the permissions of the role.
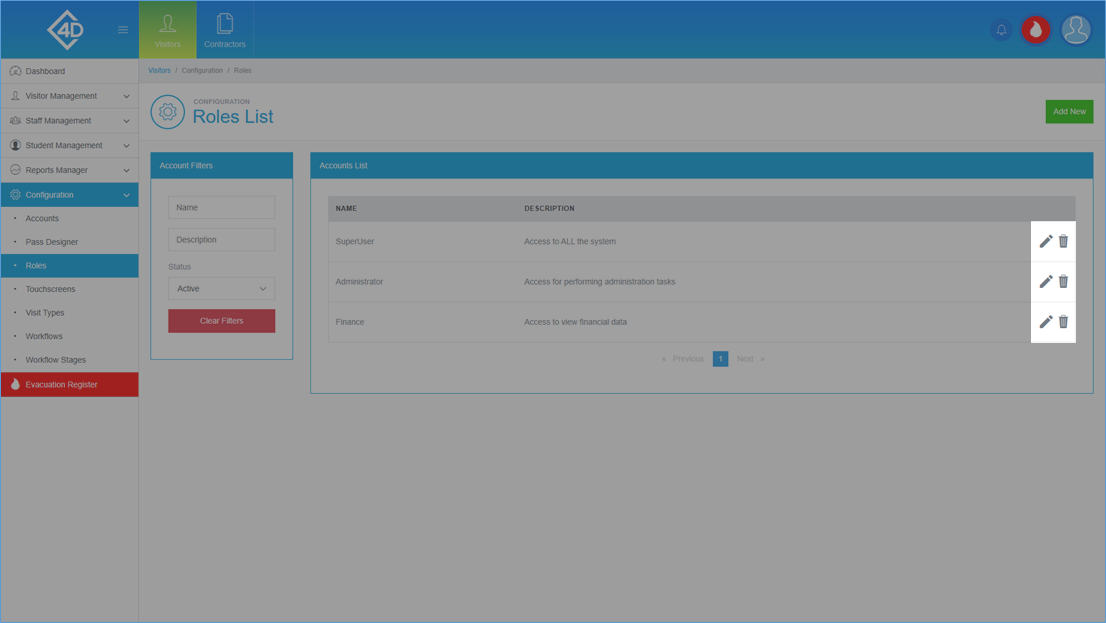
To edit the roles you can click on the grey pencil on the right of the page.
You can also delete the role by clicking on the grey bin, you will be prompted to confirm your choice if this is clicked.
Please note that deleted roles cannot be reinstated so any change will be permanent.
On the left of the page, you can search for roles by their “Name” and “Description”.
You can also search for a role by its “Status”.
The “Clear Filters” button will wipe both fields and display the default view.
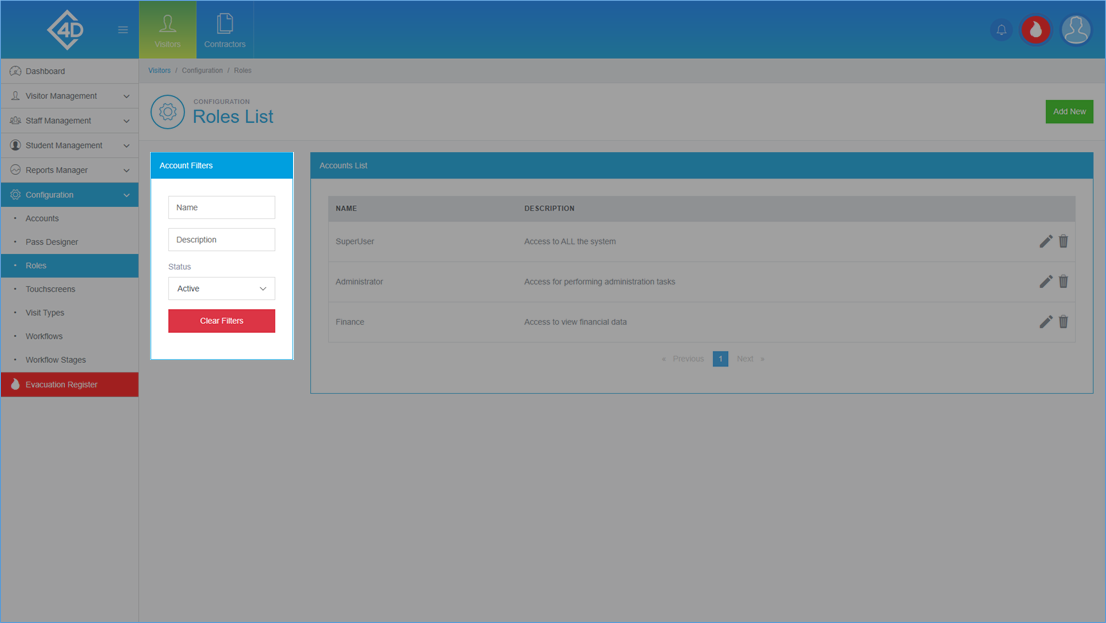
To add a new role click the green “Add New” button in the top-right of the screen.
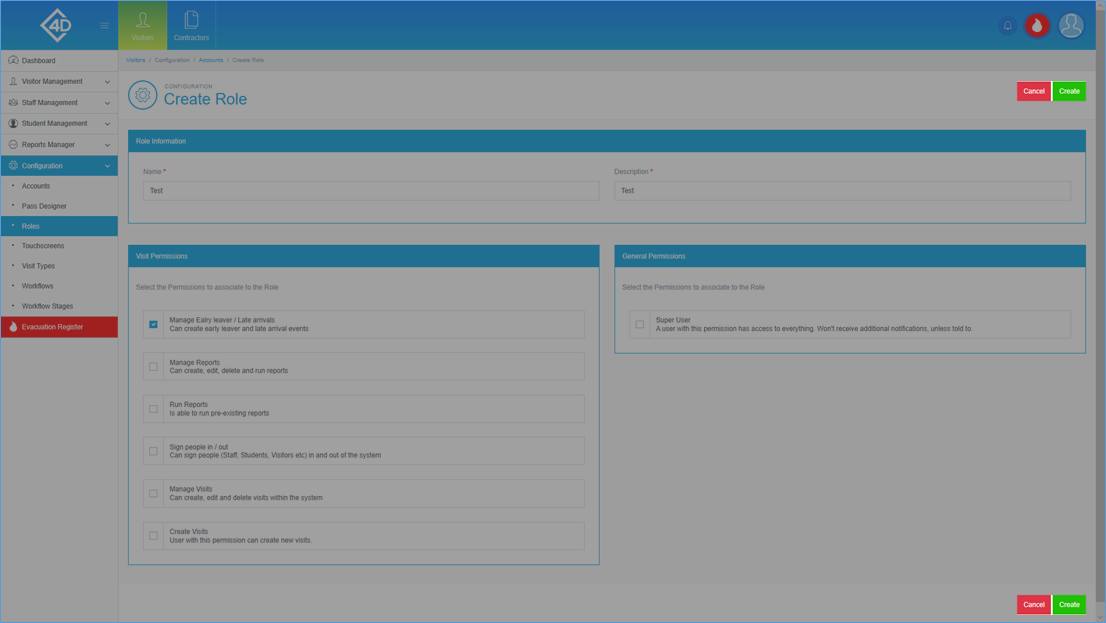
Creating a new Role
Once you have clicked “Add New” you will be taken to the following page.
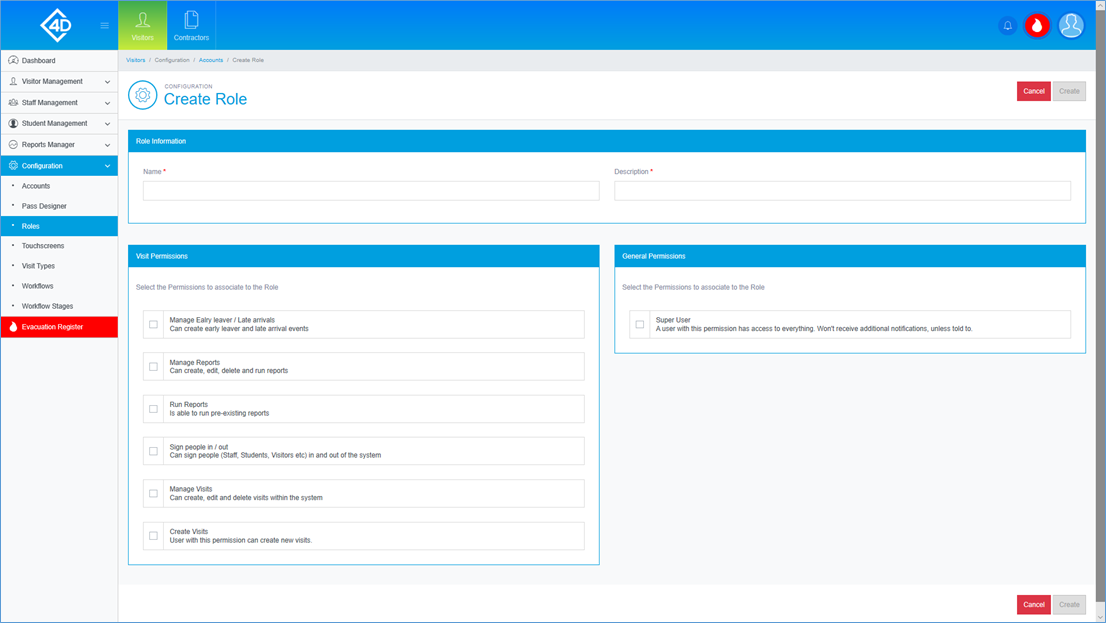
When creating a role you must fill in the “Name” and “Description” box, this is used to filter the Role.

To set individual permissions check any relevant box in the “Visit Permission” section.
You can also add “Super User” permissions by ticking the box in the “General Permissions” section.
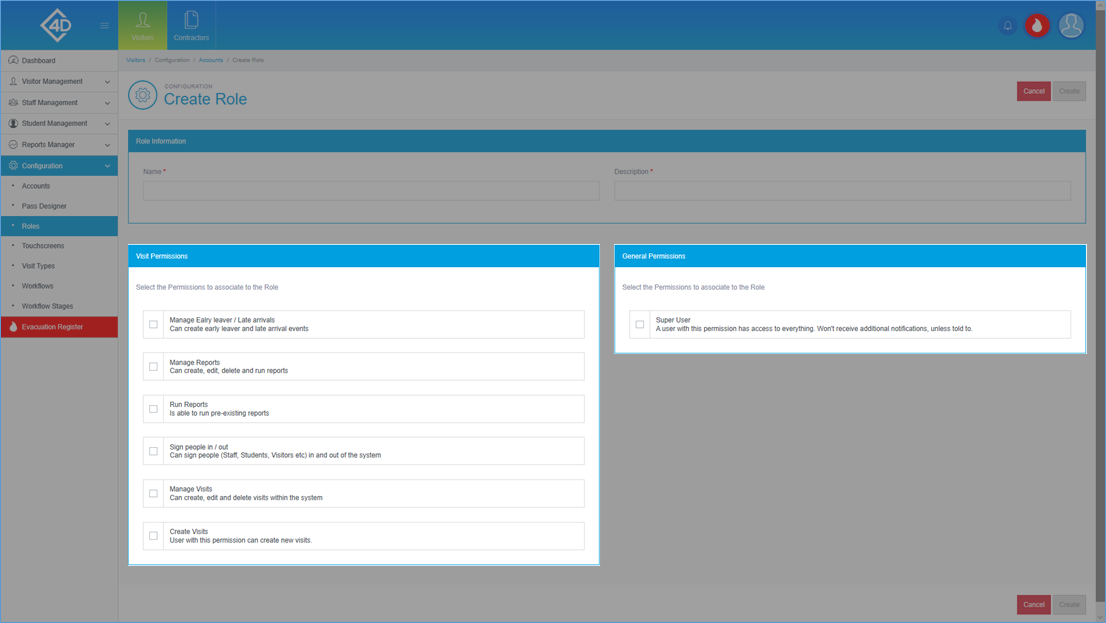
Once you have finished creating your new role click the green “Create” button on the right side of the screen, you can also cancel creation by clicking the red “Cancel” button.
You will then be redirected to the “Roles” page.