5D Configuration - Custom Fields
The following guide will show you how to navigate and use the 5D Configuration section.
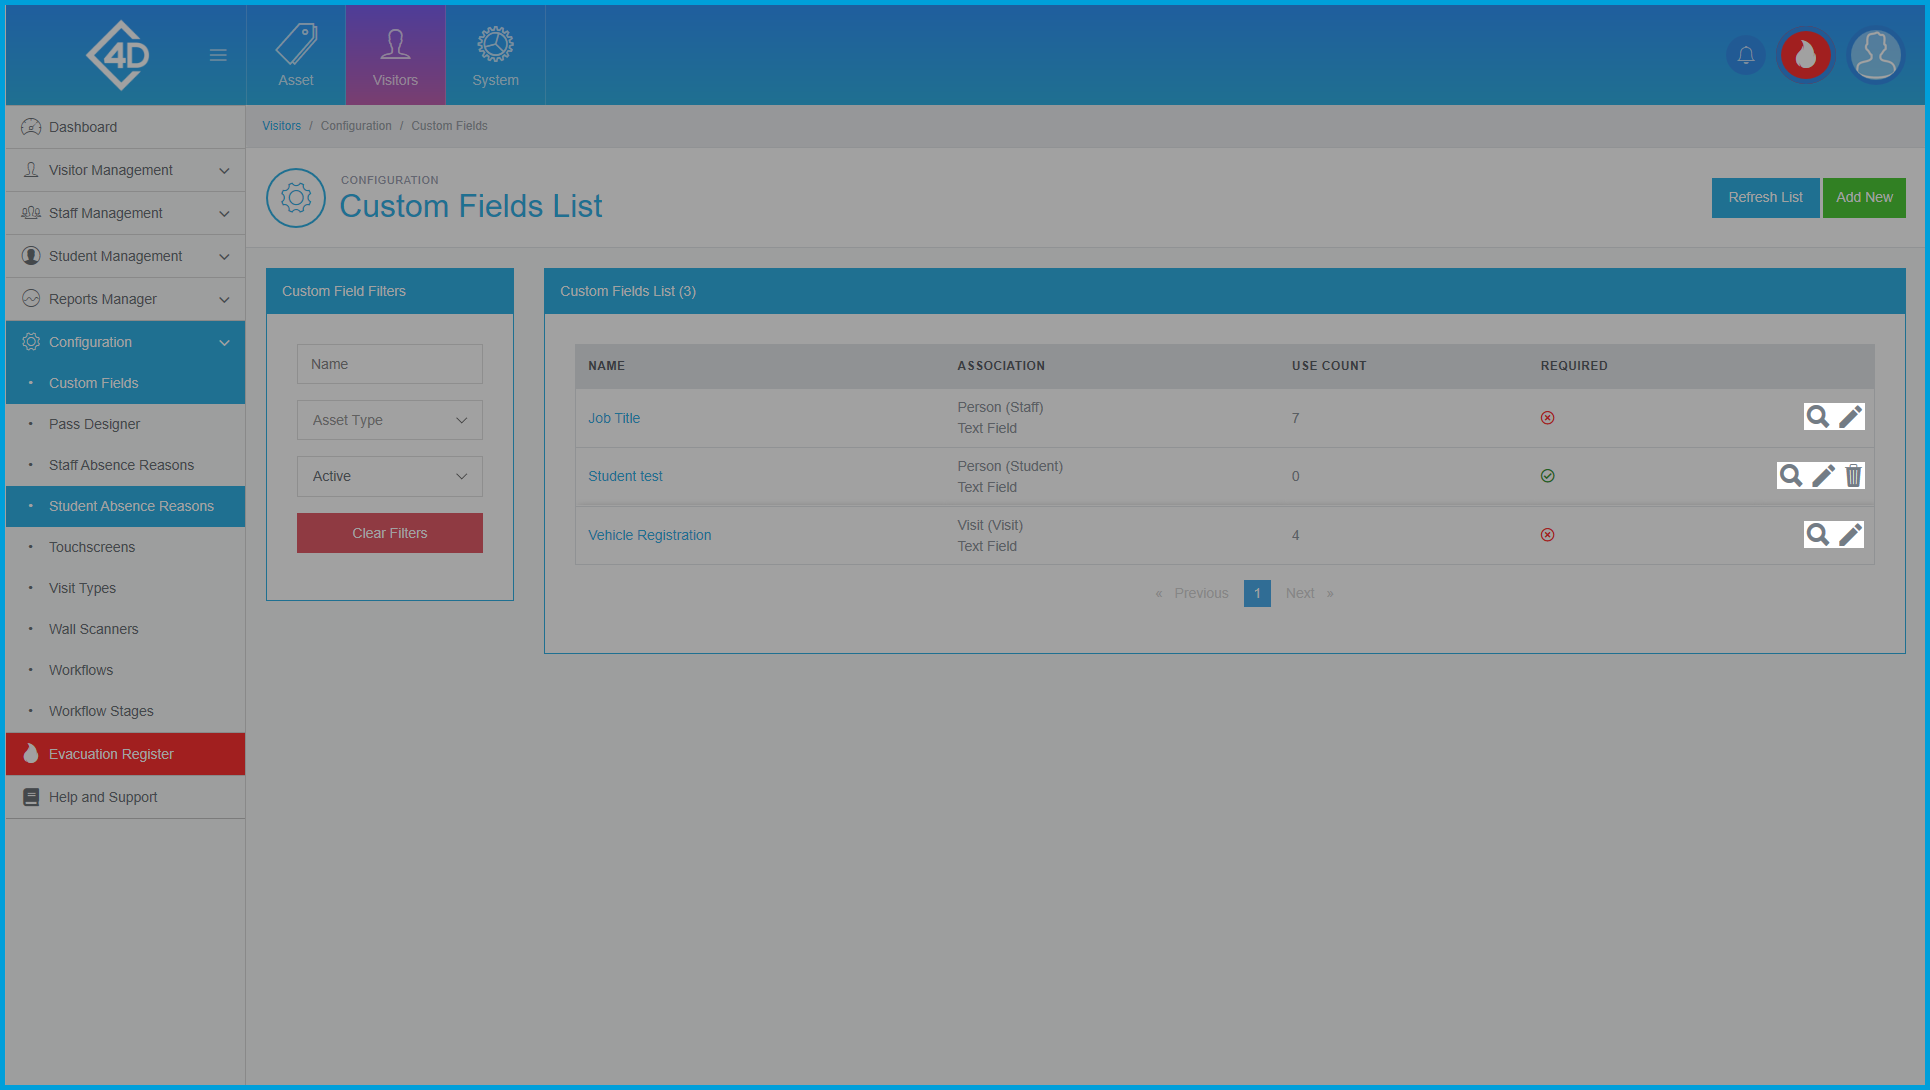
To access the “Custom Fields” page click on the “Configuration” tab on the left of the screen and then click on “Custom Fields”
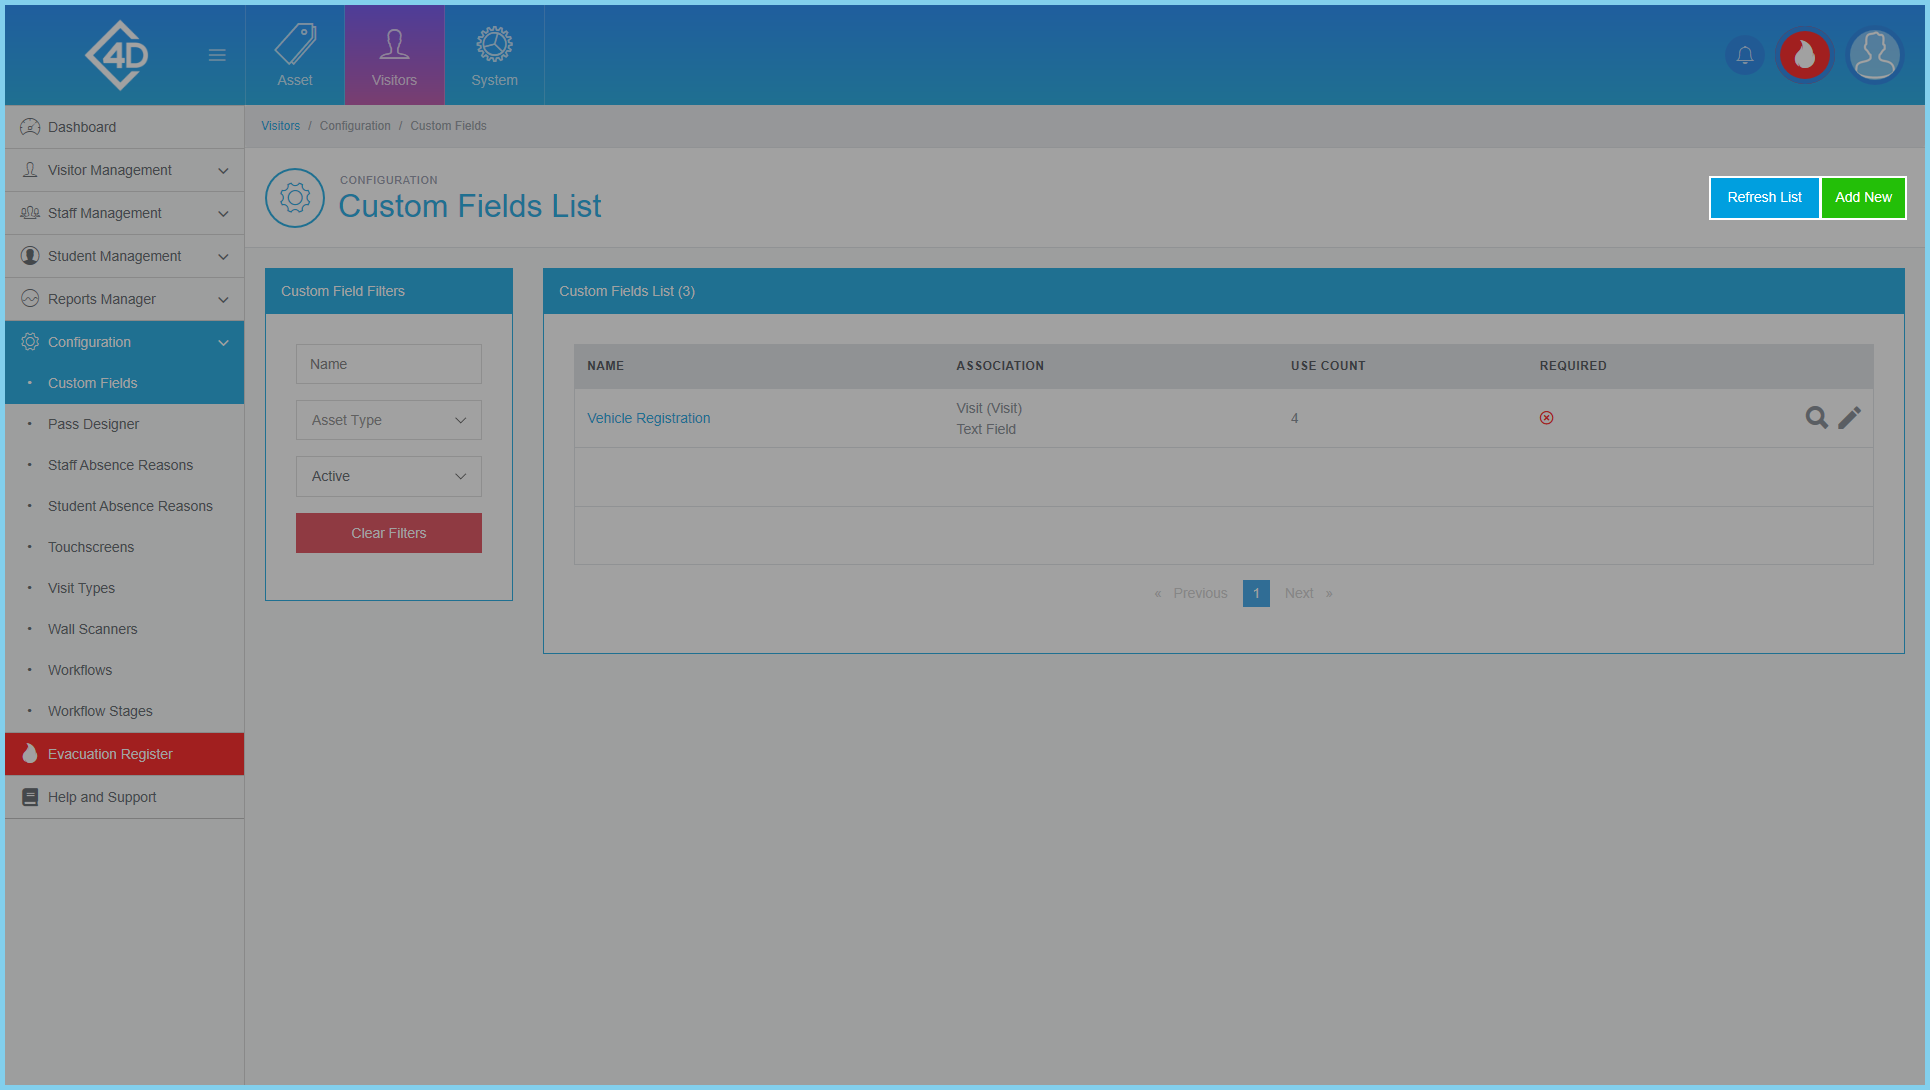
The “Custom Fields” page will then open and will look like the image below.
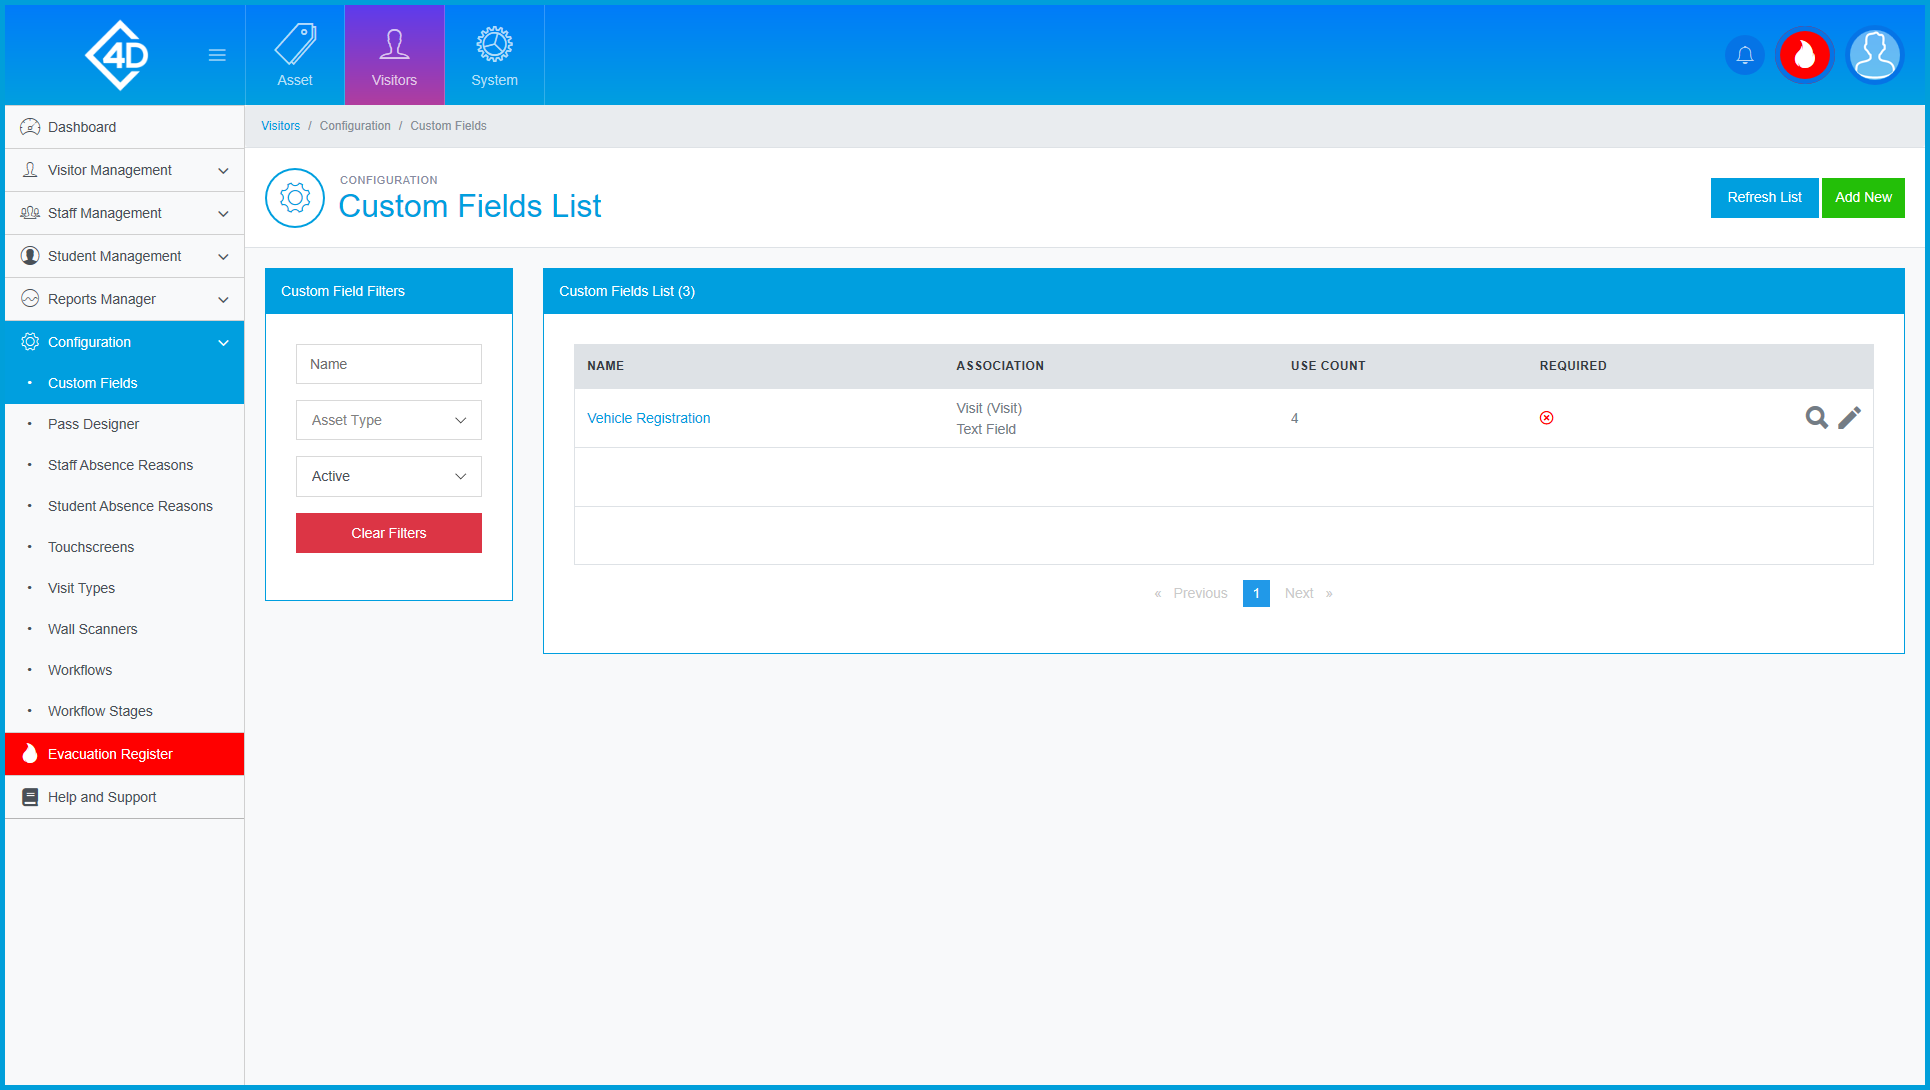
The "Custom Fields List" section displays a list of all Custom Fields that have previously been created on the system.
Listed are the "Name", "Association", "Use Count" and "Required" information for each of the Custom Fields.
On the left of the page is the “Custom Field Filters” list, you can search for a Custom Field by "Name" and "Asset Type"
You can also find a Custom Field by the "Active" state,
The “Clear Filters” button will wipe all fields and display the default view.
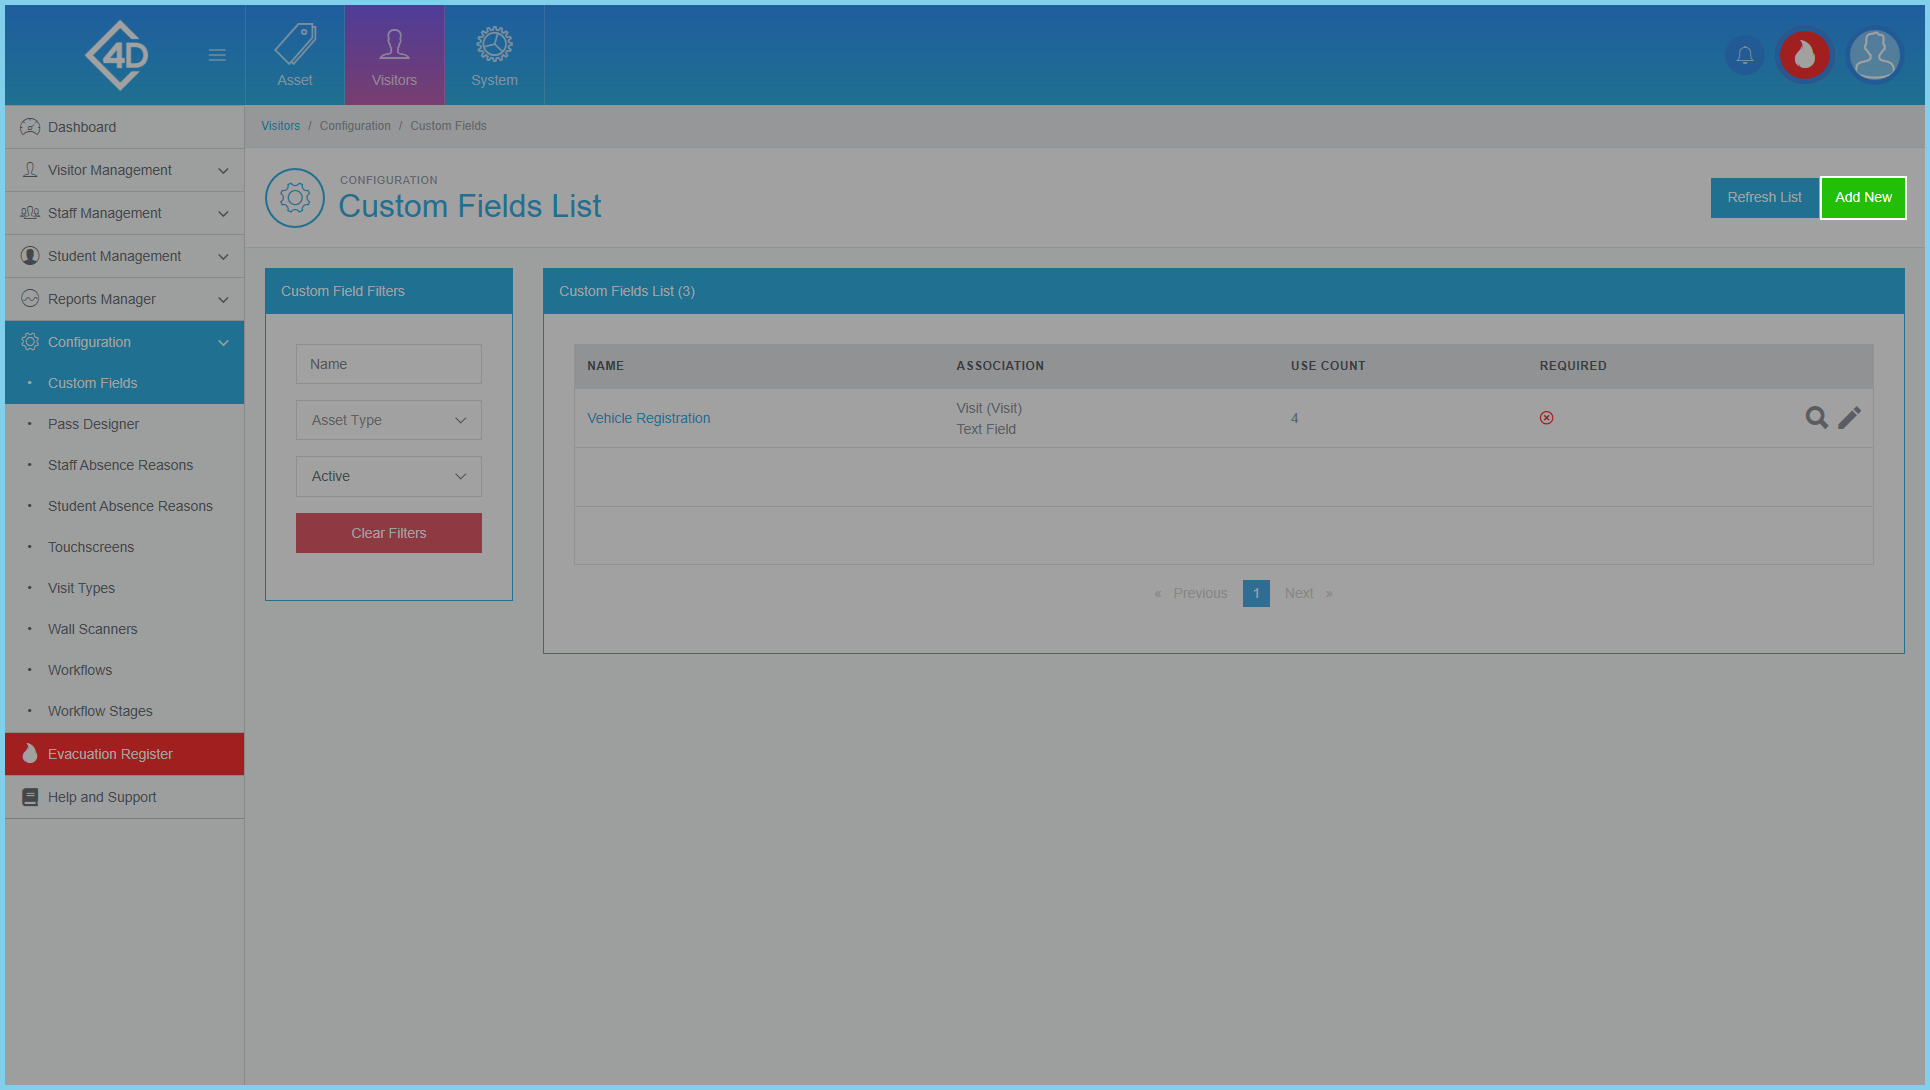
At the top-right of the screen, there are two buttons which you can use to "Refresh List" and "Add New".
Click the "Refresh List" button to reload the page and display an up-to-date Custom Fields List.
Add New
If you would like to add a new Custom Field click the green "Add New" button.
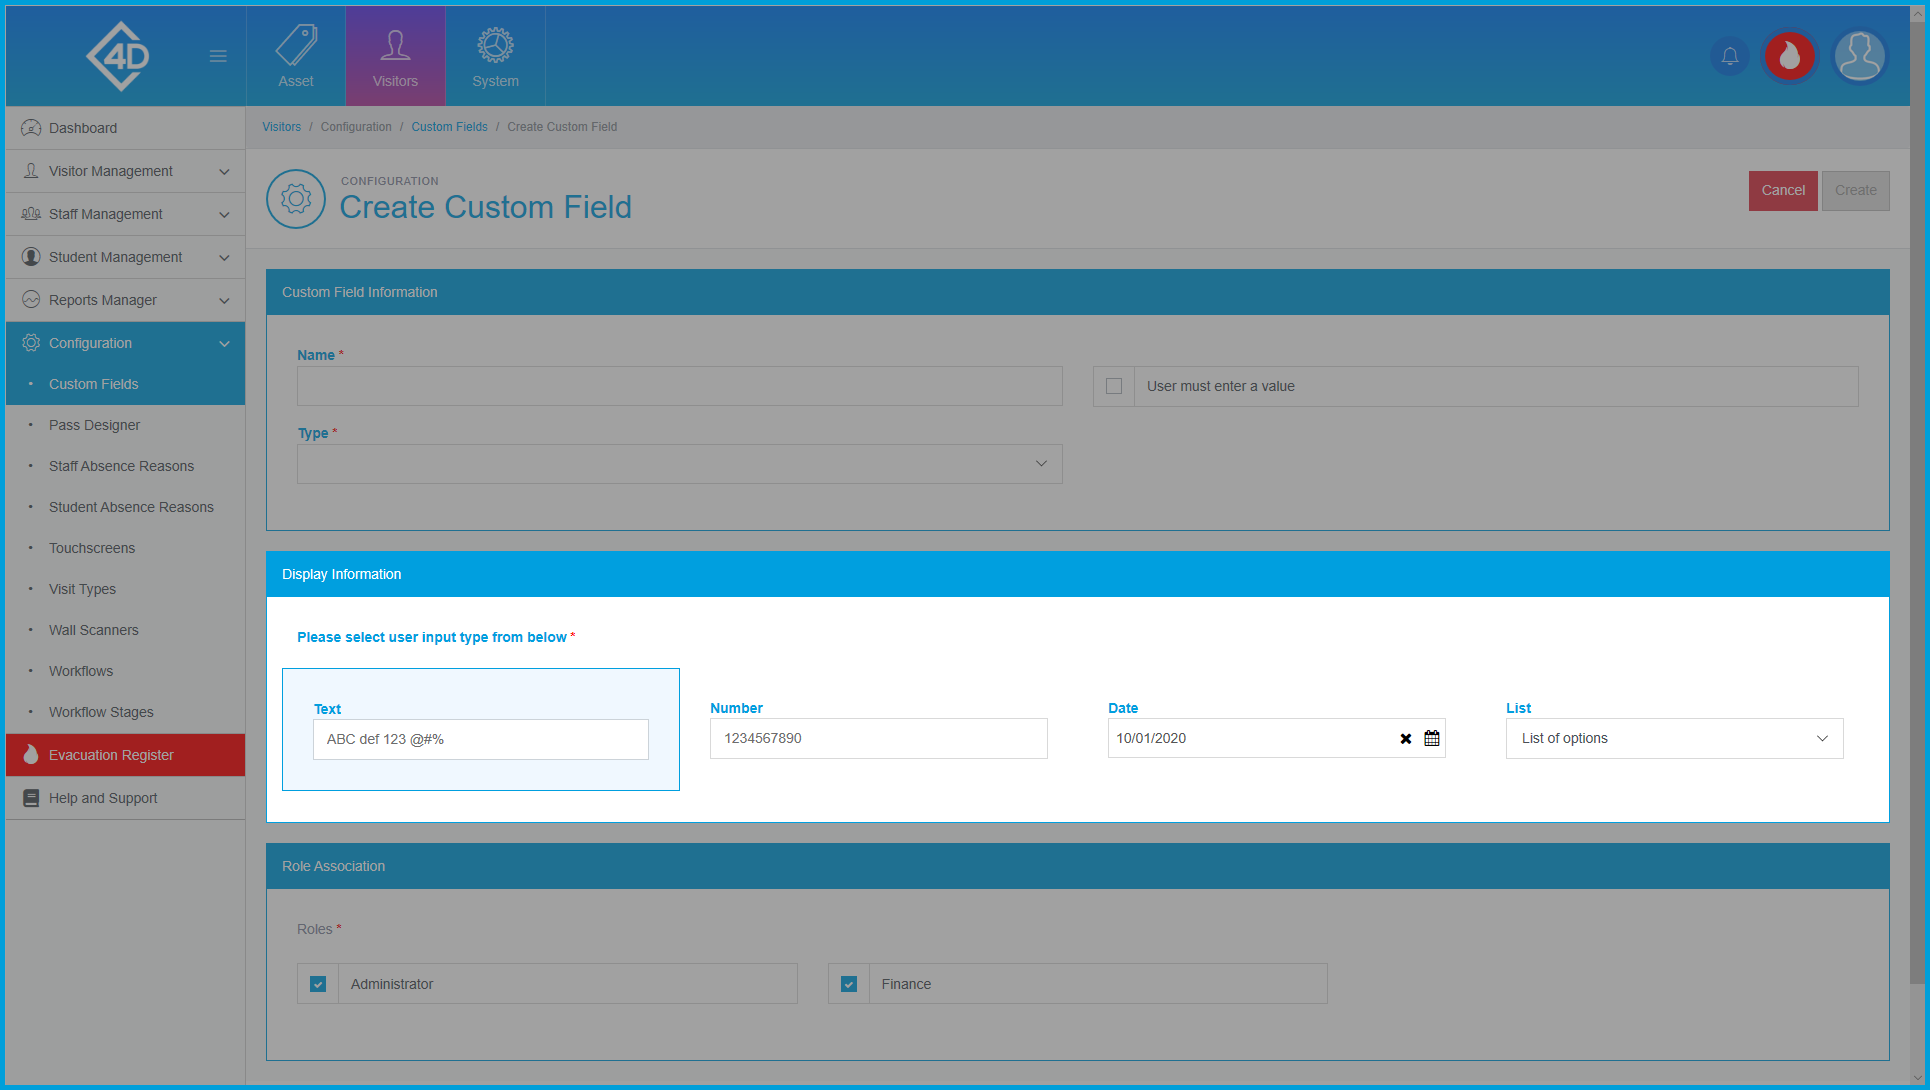
Once you have clicked the “Add New” button you will be taken to the following page.
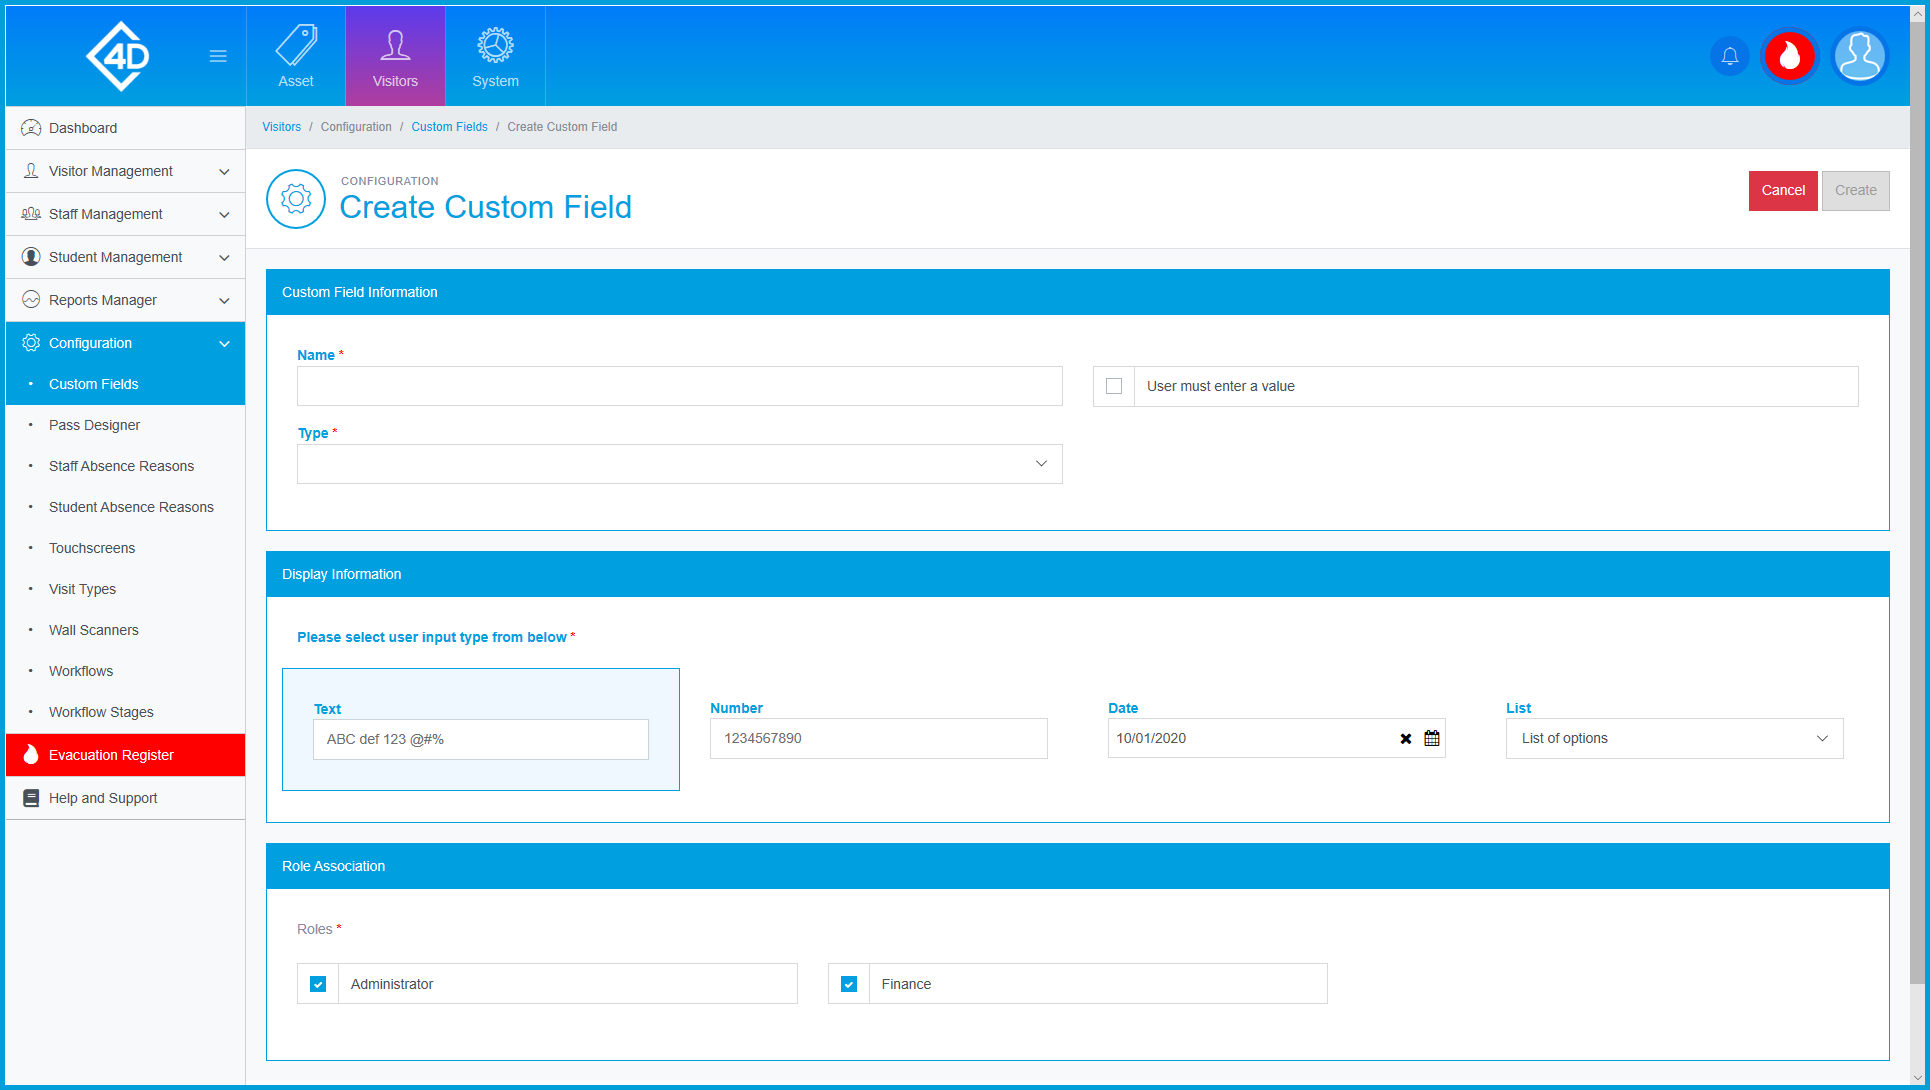
You must then fill in the following fields that are marked with a red asterisk in the "Custom Field Information" box.
- Name - You must choose a name for the Custom Field, please note that this is how it will be shown to visitors.
- Type - You must choose between "Person" and "Visit".
- The "Person" type should be used if the Custom Field will be used for individual visitors, (Staff, Visitors, Students etc...).
- The "Visit" type should be used if the Custom Field will be used for a Visit or an Event.
- Sub Type - This field will appear once you have selected a "Type". You must then select the Sub Type that the Custom Field will apply to, a drop down menu will show you the current options that are available on your system.
If you would like certain fields to be a requirement, you can tick the "User Must Enter a Value" box. This will force the visitor to fill in this field when they are visiting the site.
You must then select an input type from the "Display Information" box:
- Text - The visitor can fill the field with free text, this includes letters, numbers and special characters.
- Number - The visitor can fill the field with only numbers.
- Date - The visitor can select a date from the date selection tool.
- List - The visitor can select from a list of options, this is explained in further detail below.
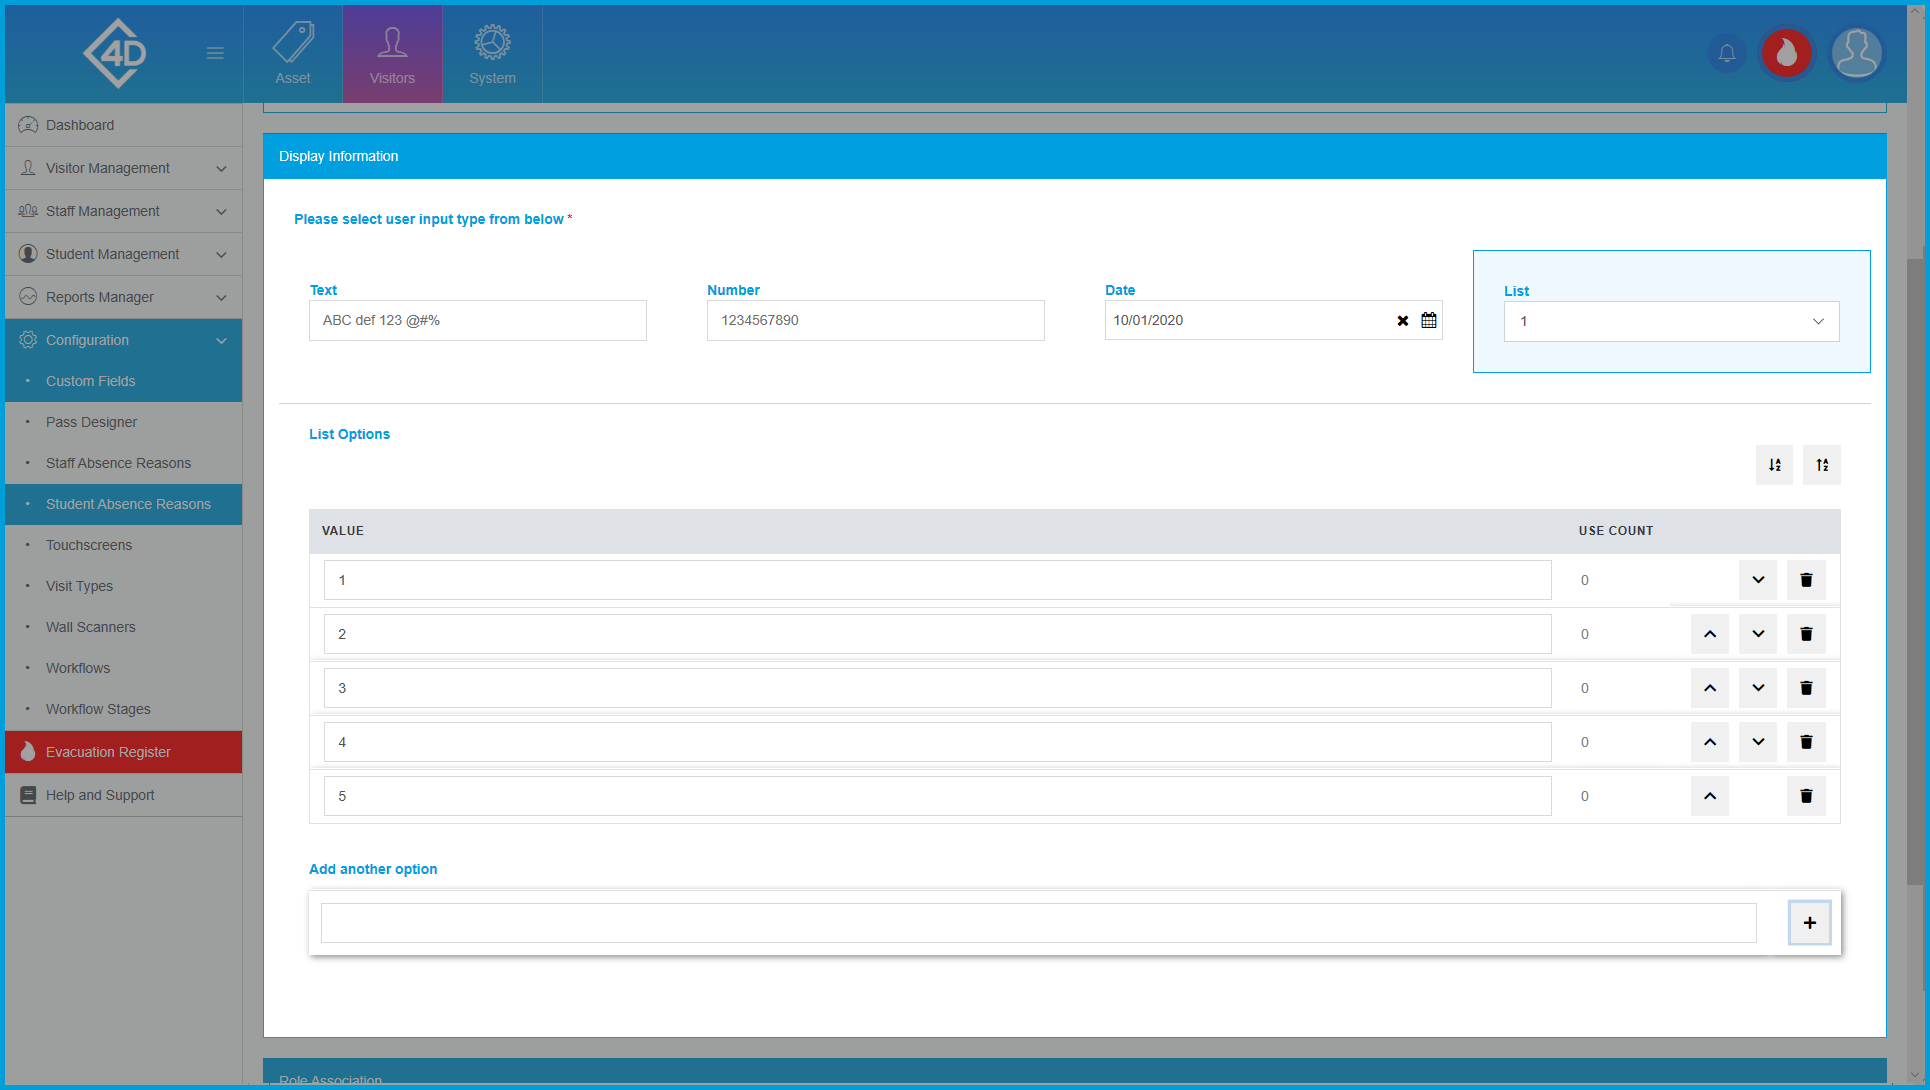
Once you have clicked on the "List" option you will be able to add options for your Visitor to select.
To add an option, type your option into the "Add an option" box, once you are happy with the wording, click the "Plus" button to the right of the box.
You can then choose to alter the order of the options, you can do this by clicking the "Move Up" and "Move Down" buttons.
You can also choose to delete an option if you are not happy with it.
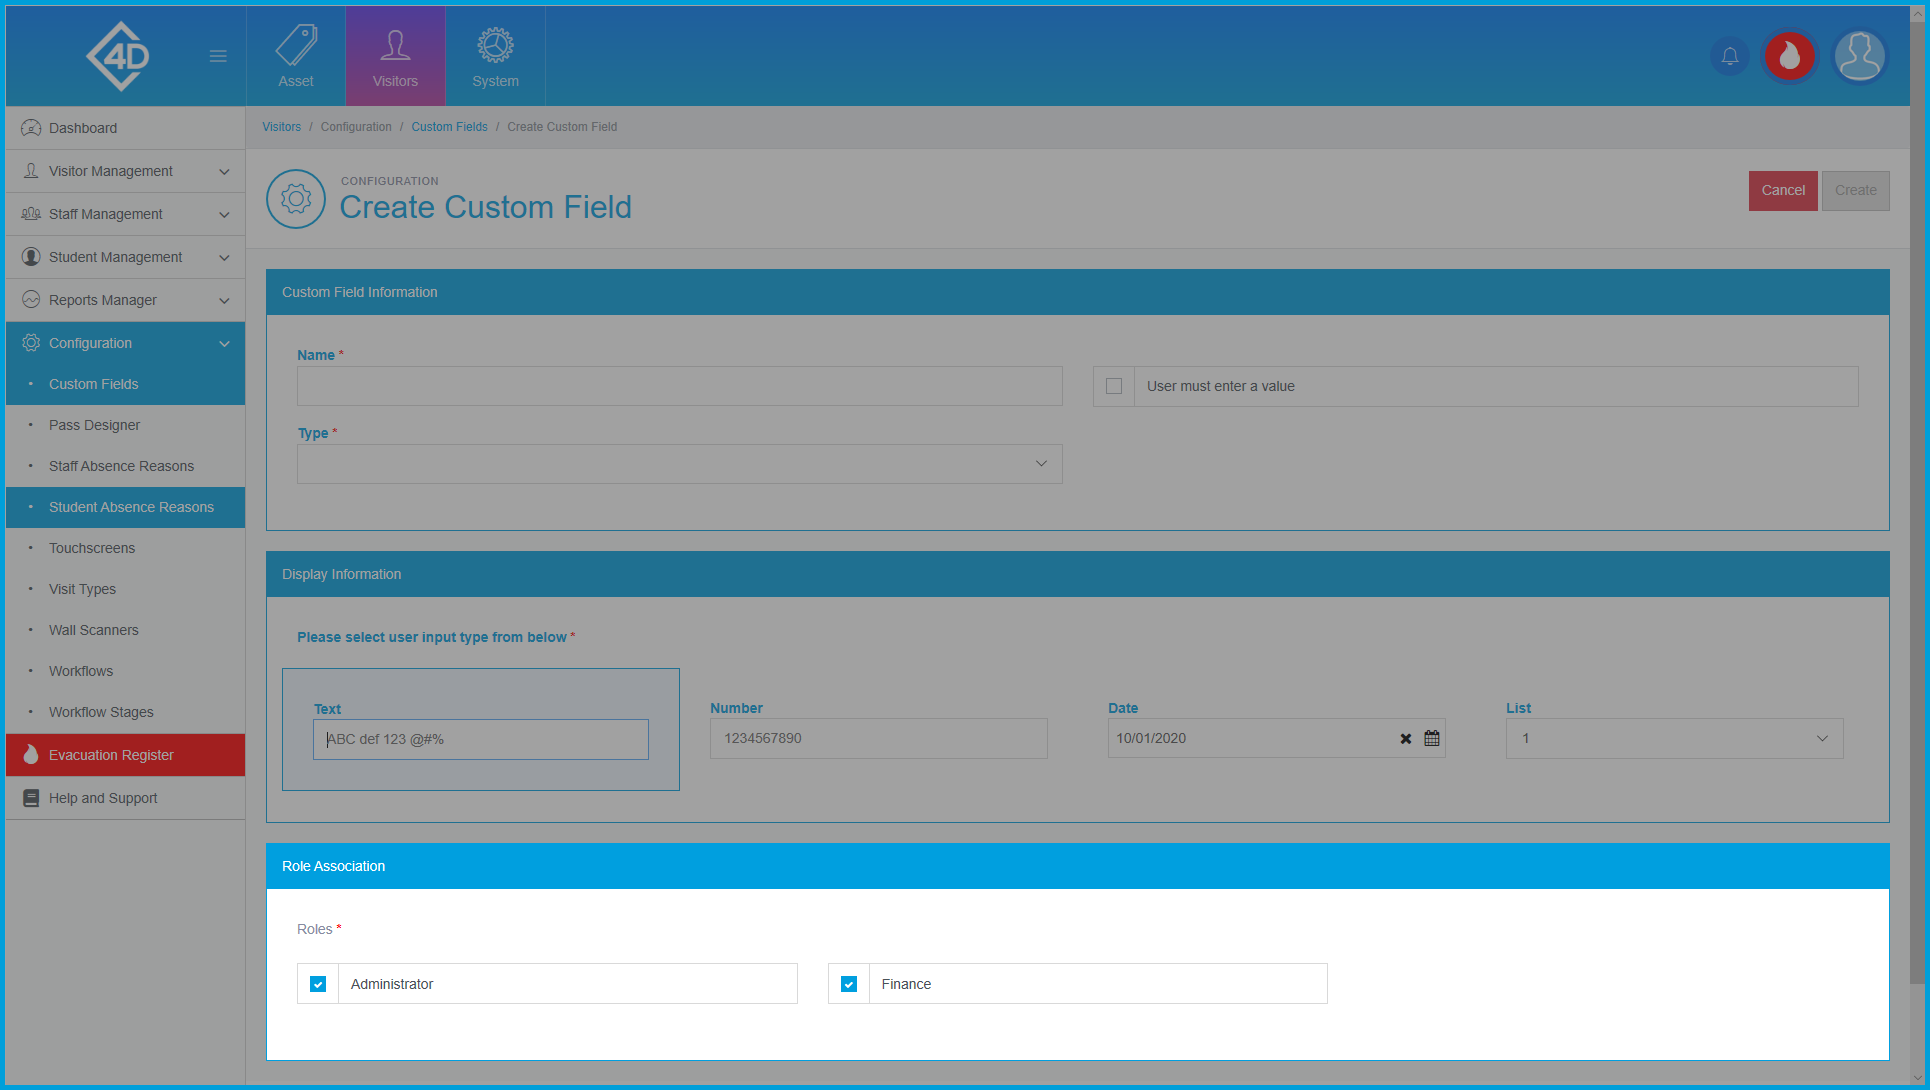
You can allow or deny roles within your system in the "Role Association" box.
This prevents some users of the system from editing or deleting your Custom Field.
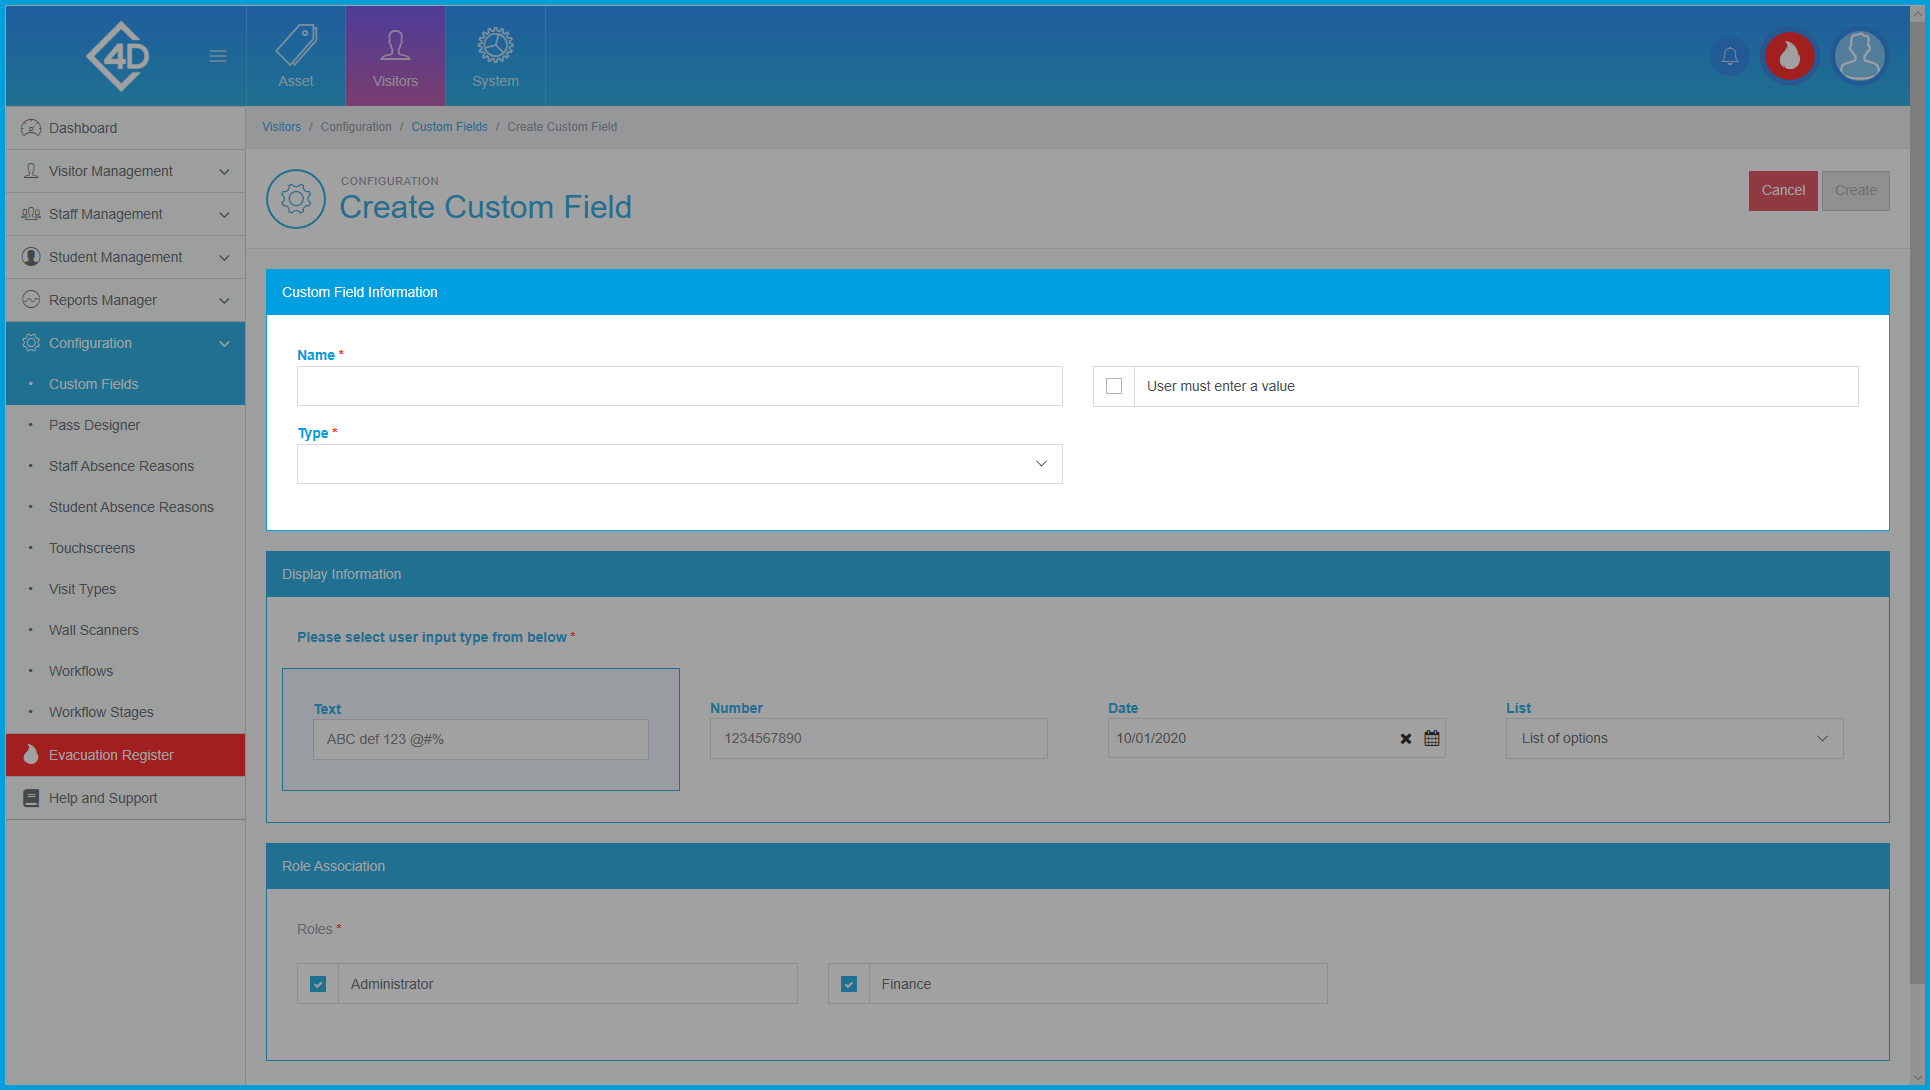
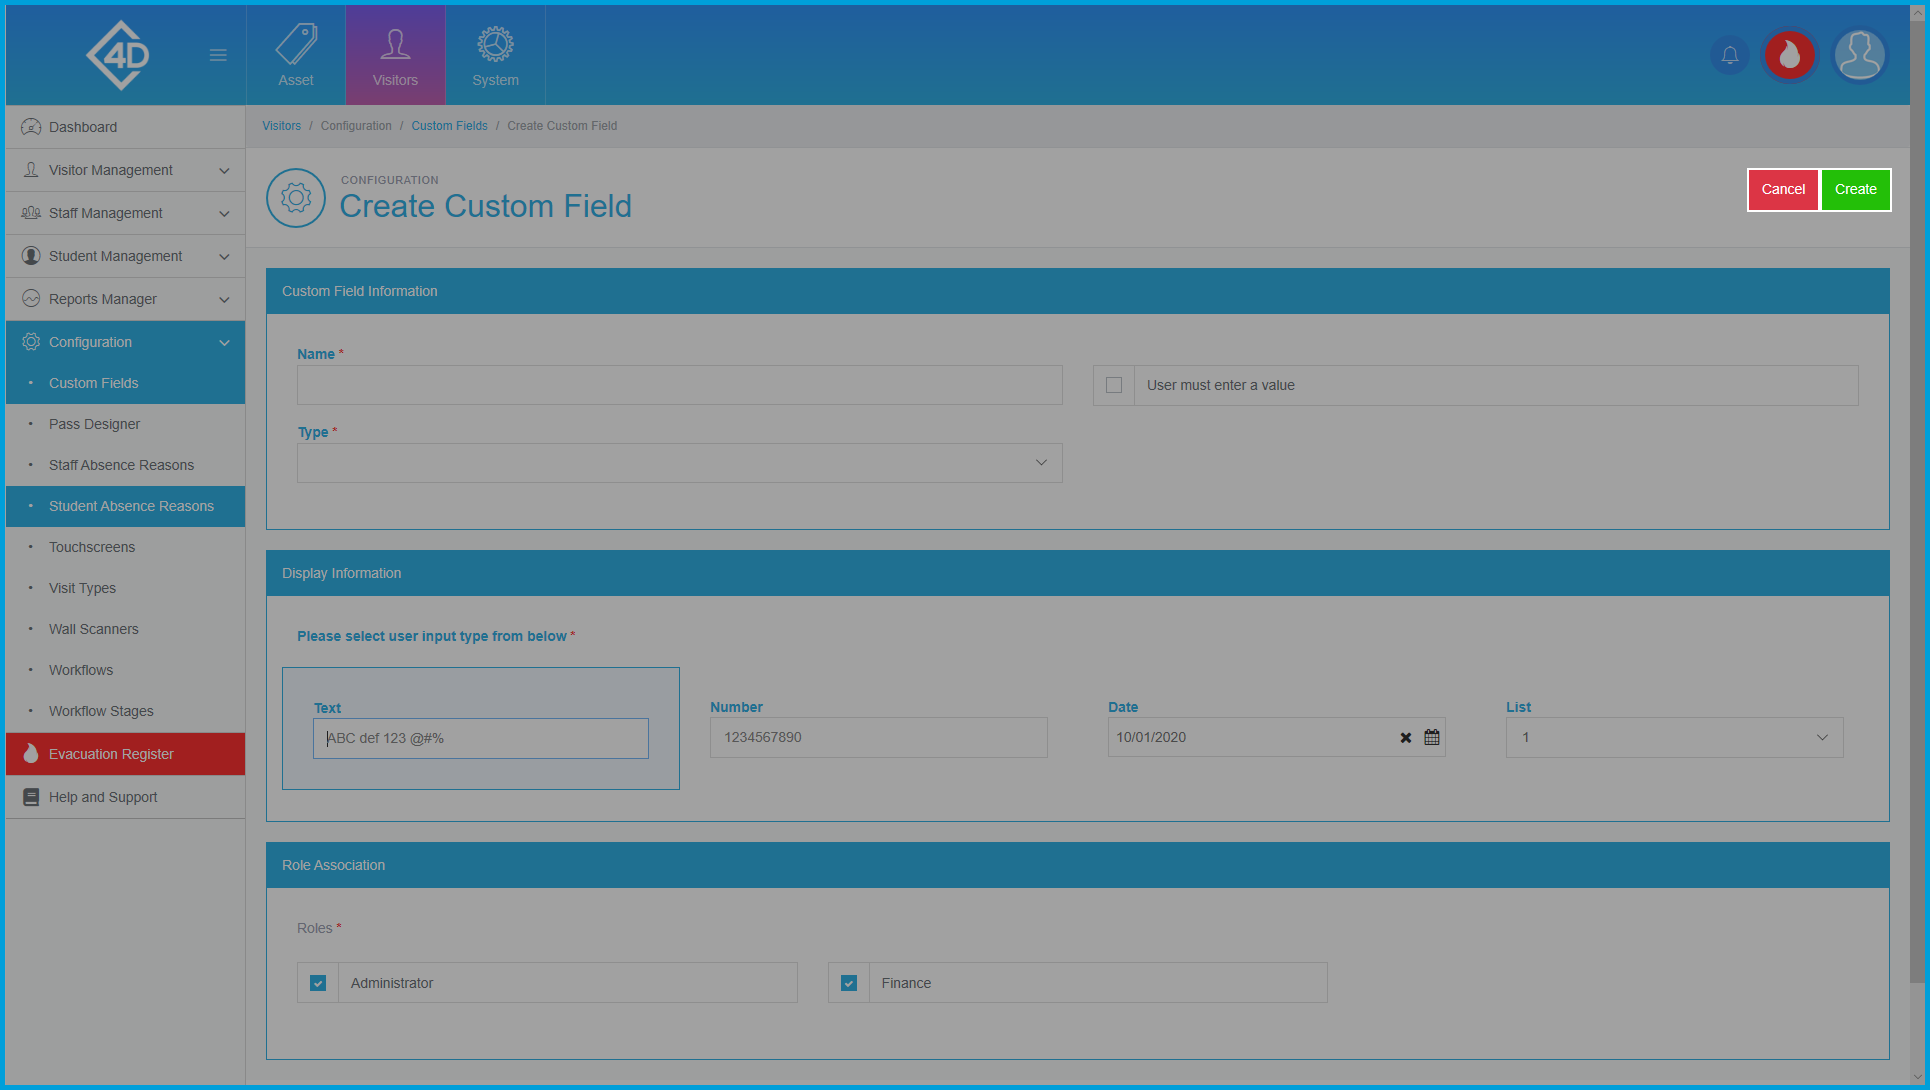
Once you are happy with the Custom Field, click the green “Create” button.
If you would like to cancel the creation of a new Custom Field, click the "Cancel" button.
Managing Custom Fields
If you would like to view a Custom Field at a glance, click the grey "Magnifying Glass" to the right of the Custom Field.
If you would like to edit the Custom Field, click the grey "Pencil" to the right of the Custom Field, you should then follow the "Add New" process.
If you would like to remove a Custom Field and have the correct access, click the grey "Bin" to the right of the Custom Field.
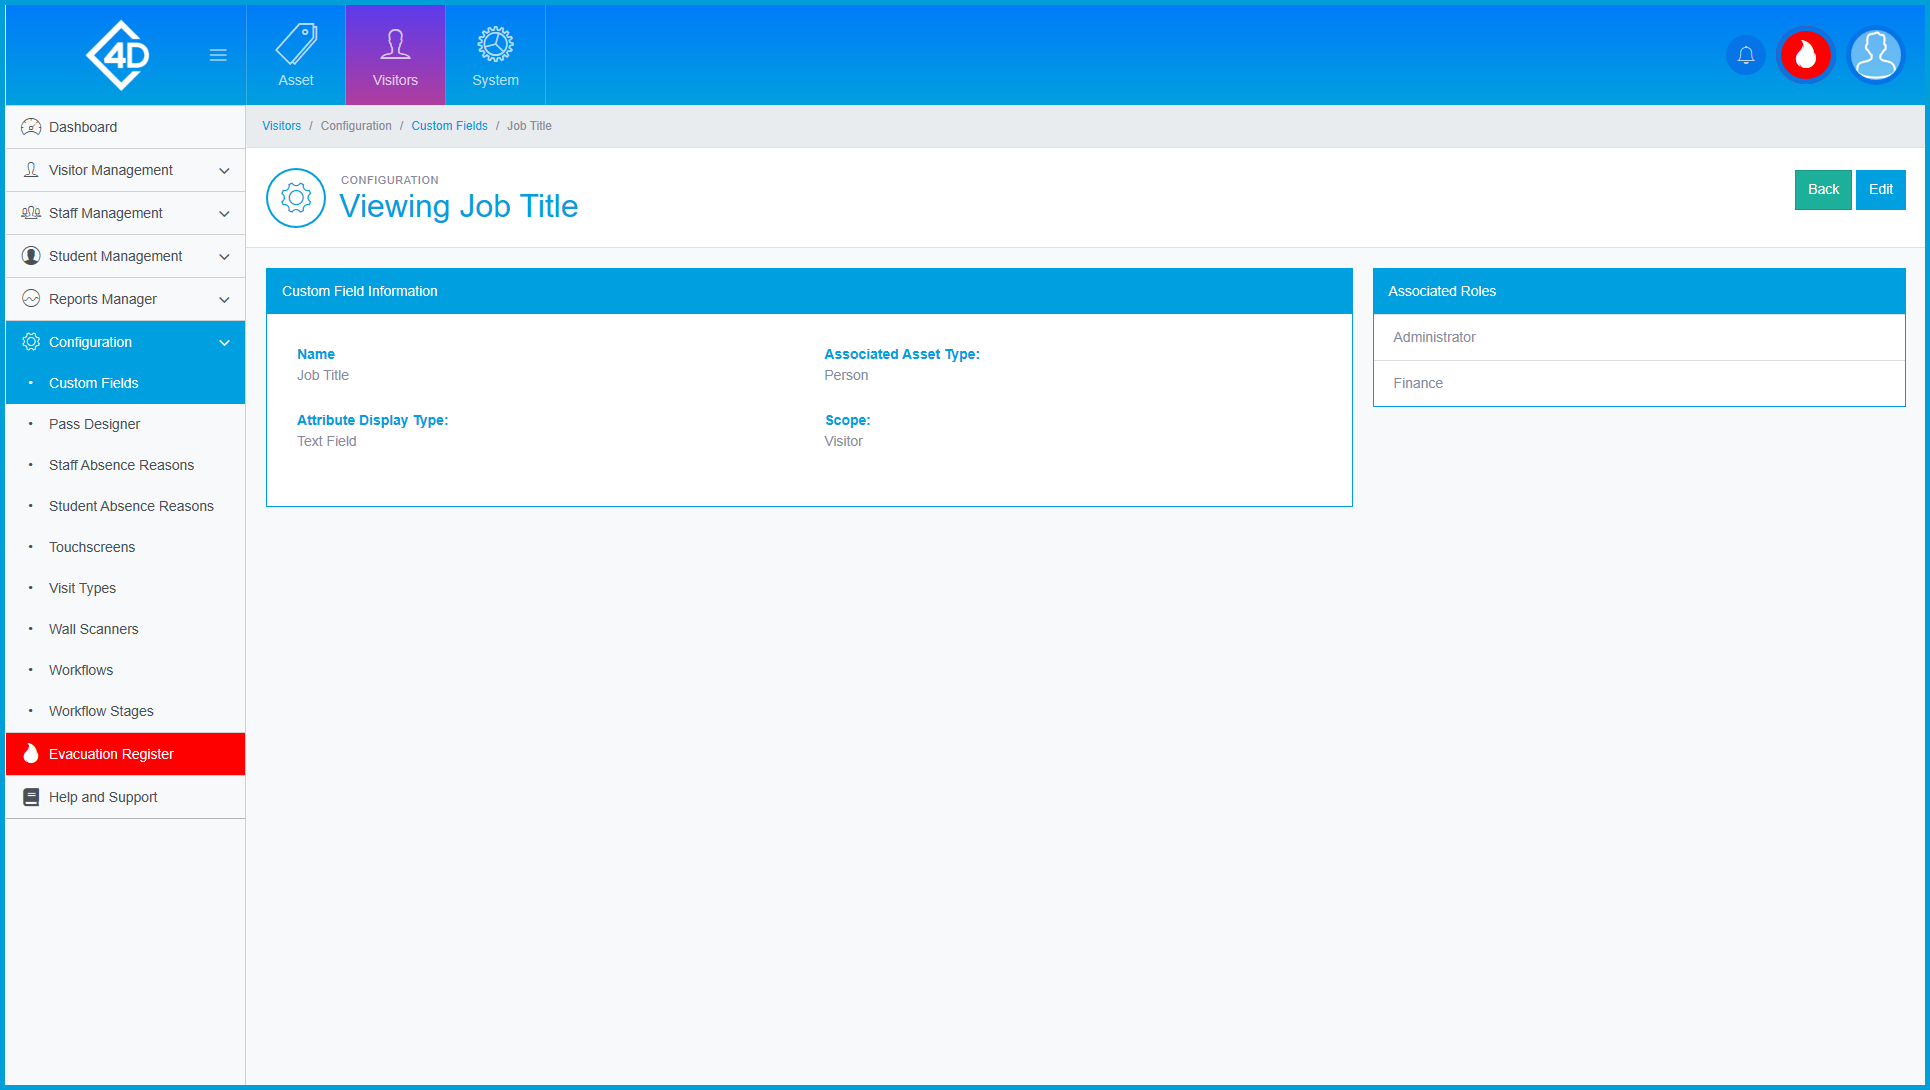
Once you have clicked on the "Magnifying Glass" you will be presented with the following page.
If you would like to change the Custom Field, click the blue "Edit" button, you should then follow the "Add New" process.