
5D Evacuation Register
The following guide will show you how to navigate and use the 5D Evacuation Register.
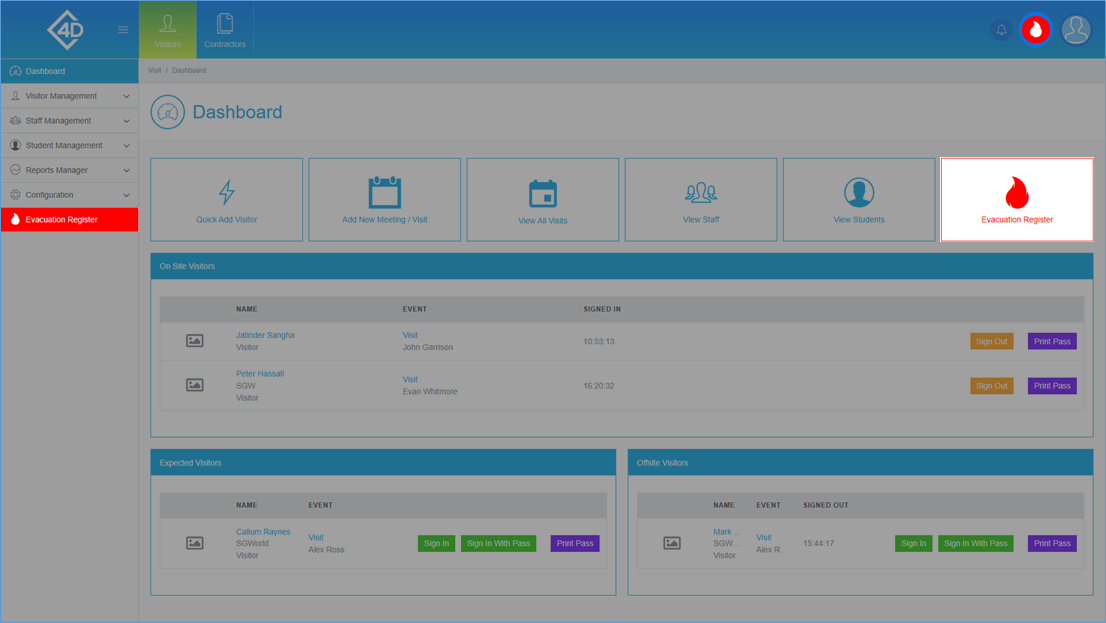
To access the “Evacuation Register” page click on any of the 3 buttons pictured below.
The “Evacuation Register” page will then open, please note that once this page has been opened you must “Finish” the evacuation register.
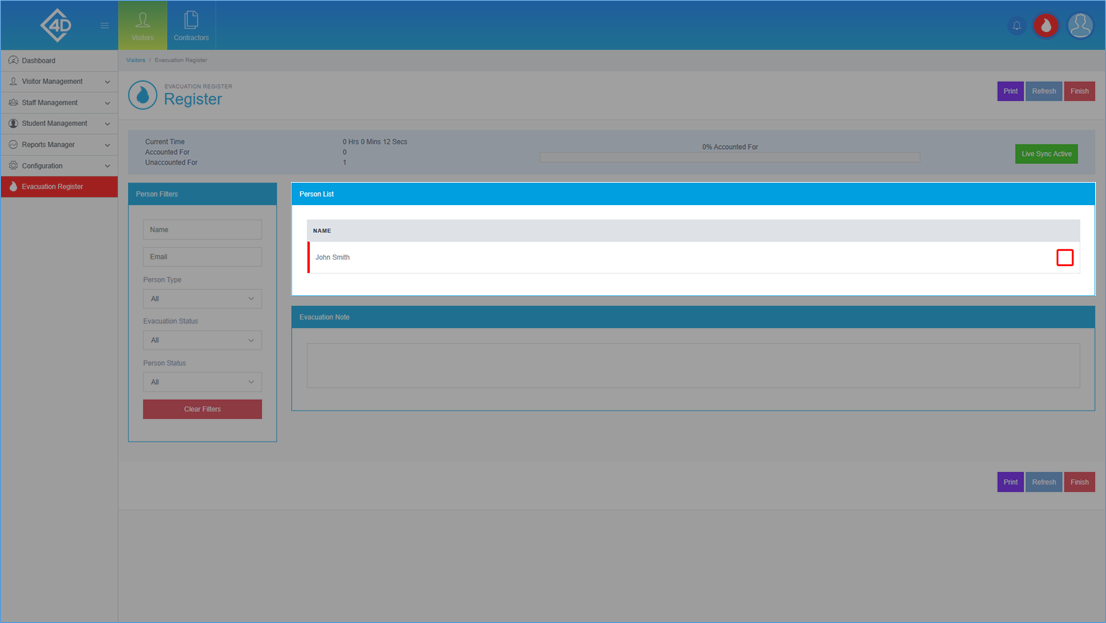
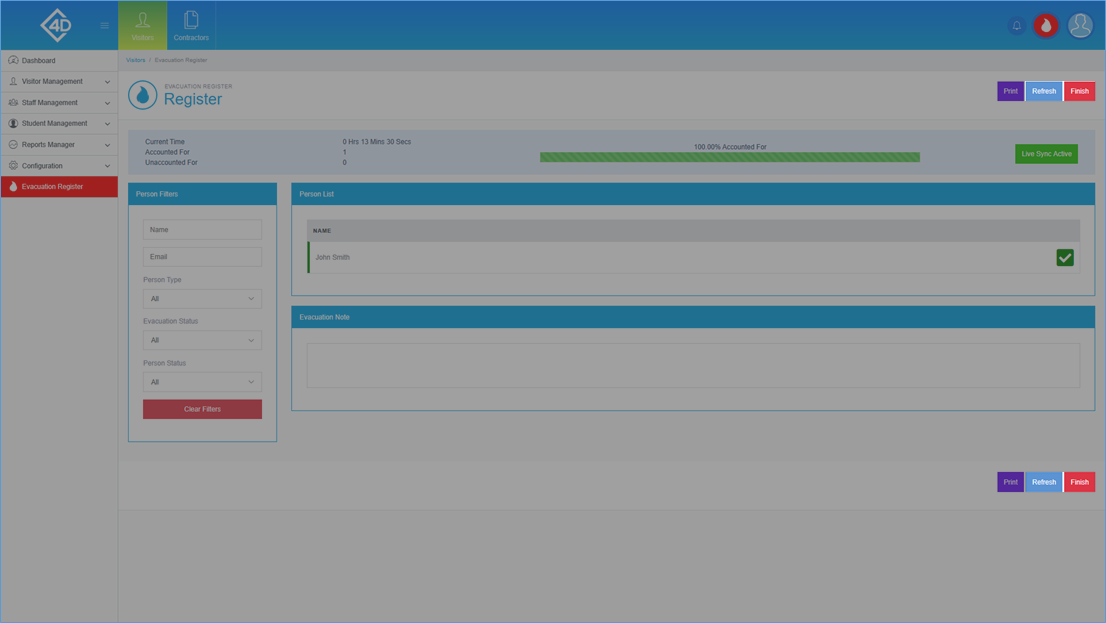
Once you have clicked on the “Evacuation” button you will be taken to the following page, the evacuation register will then start to count the time taken.
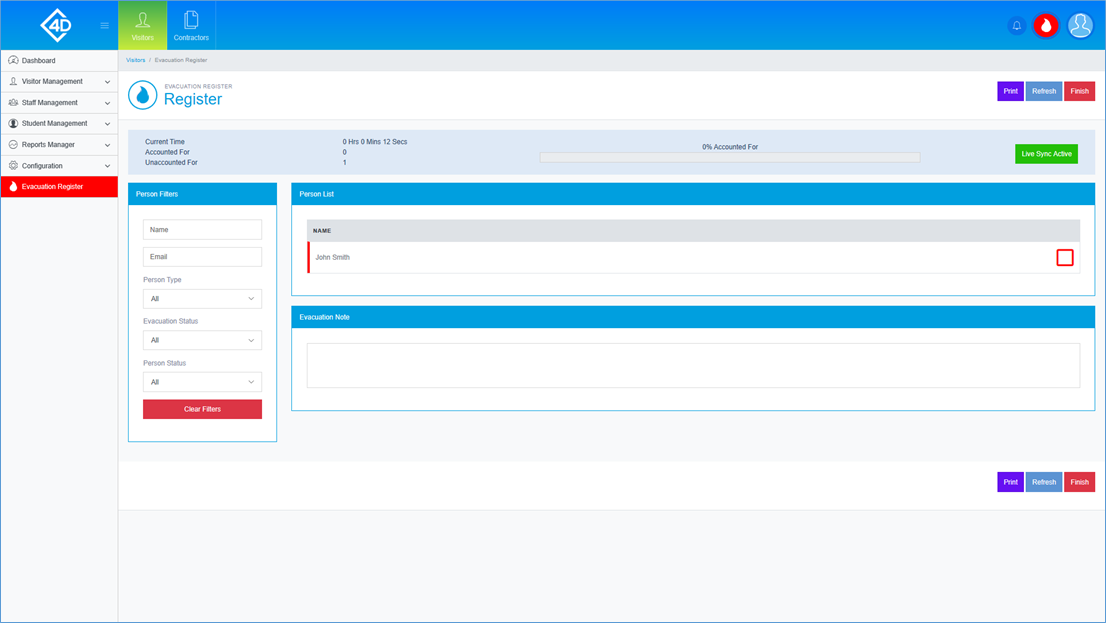
At the top of the page there is a box which tracks the following information;
- Current Time – The register will track how long it takes for it to be completed.
- Accounted For – The register will count how many of the visitors have been ticked off, this is also shown in the “Accounted For” percentage box.
- Unaccounted For – The register will count how many of the visitors are still unaccounted for.
- Live Sync Active/Inactive – When active, the list below will be continually up to date with the server, if inactive, you will need to refresh to get an update.
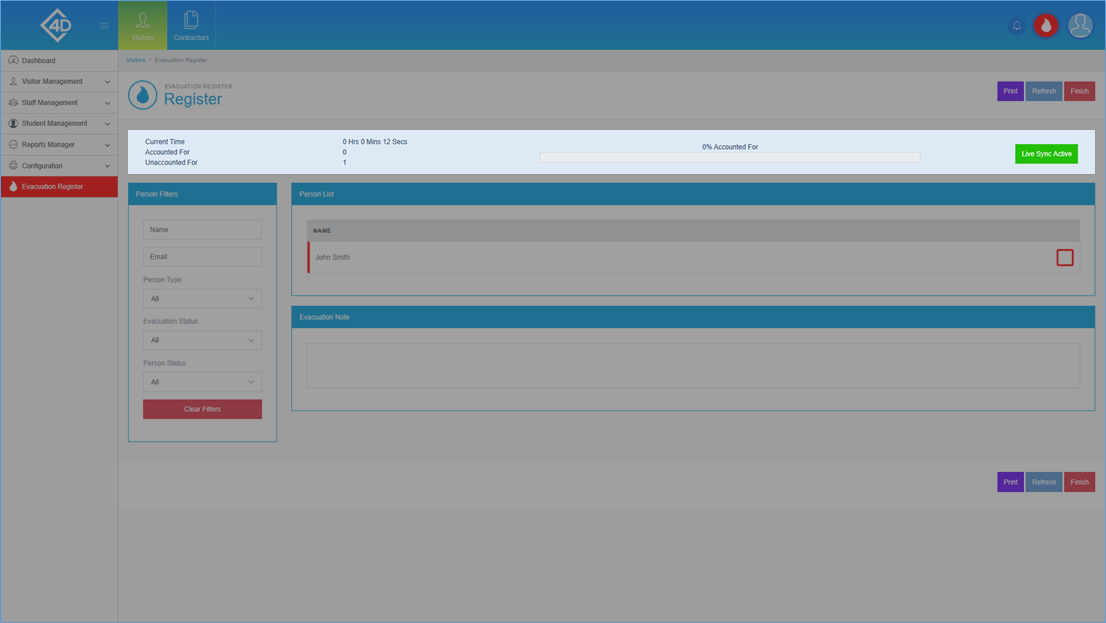
The “Person List” table shows a list of the visitors that are currently marked as on-site.
Listed is the full name of the visitor, if you have accounted for the visitor, click the “Check Box” on the right of their record.
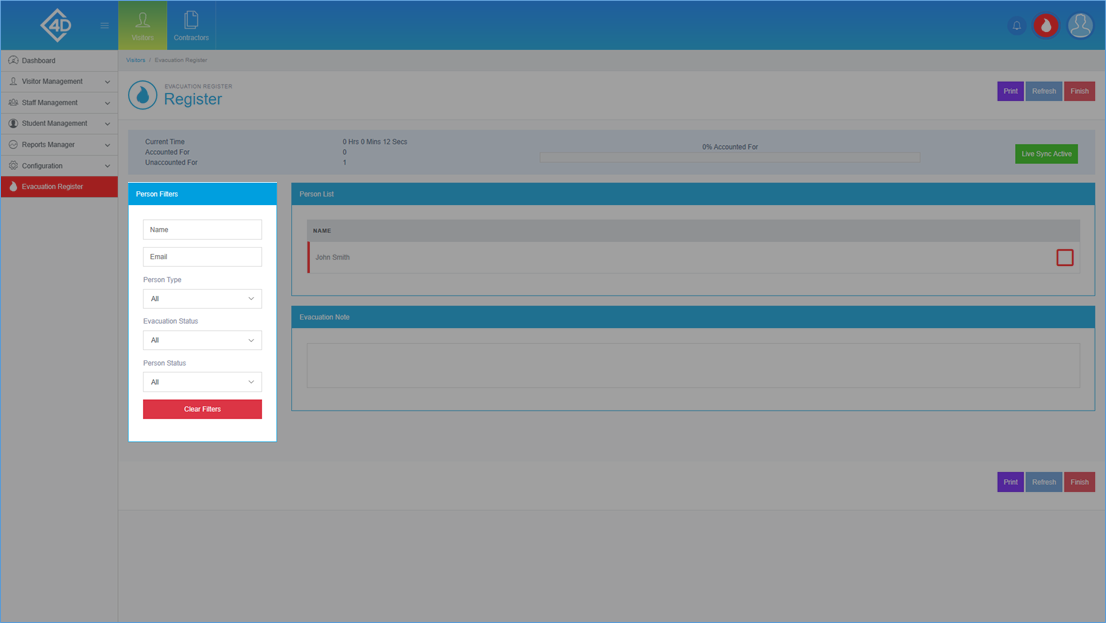
You can search for a visitor by using the “Person Filters” section on the left side of the screen.
You can filter by their “Name”, “Email”, “Person Type”, “Evacuation Status” and “Person Status”.
To reset the filter click the “Clear Filters” button.
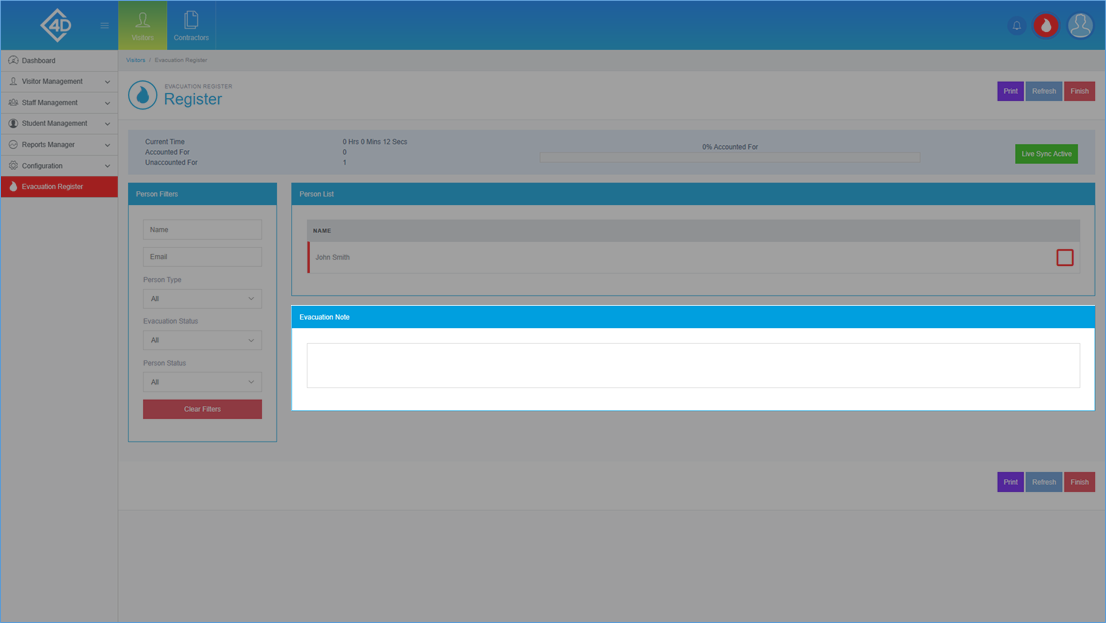
If you would like to add any notes please do so in the “Evacuation Note” section, this may be useful for reporting purposes.
If you would like to print a copy of your evacuation register, click the purple “Print” button, you will then be prompted to select a printer.
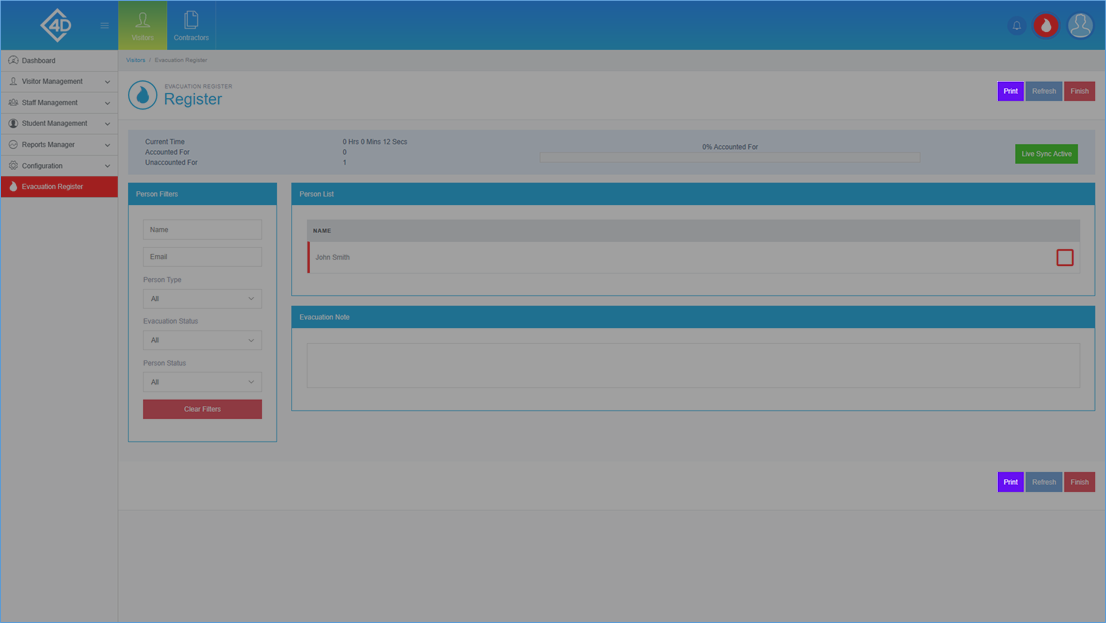
Once you are happy with the evacuation register click the red “Finish” Button.
If you need to refresh the page, click the blue “Refresh” button.
Historic Registers
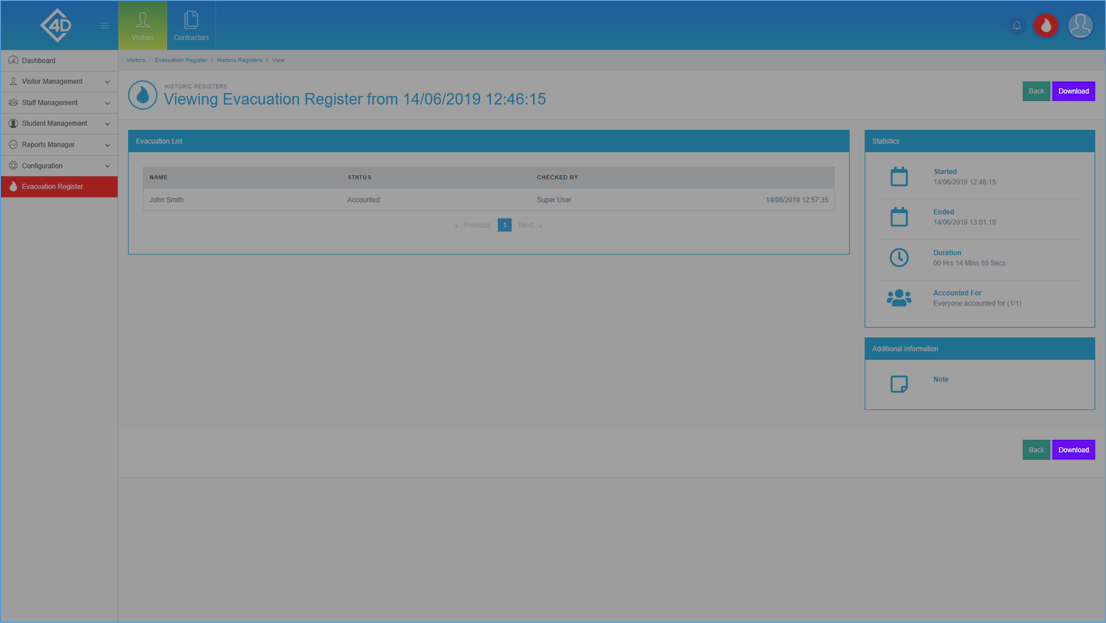
Once you have completed a register you will be taken to the following screen.
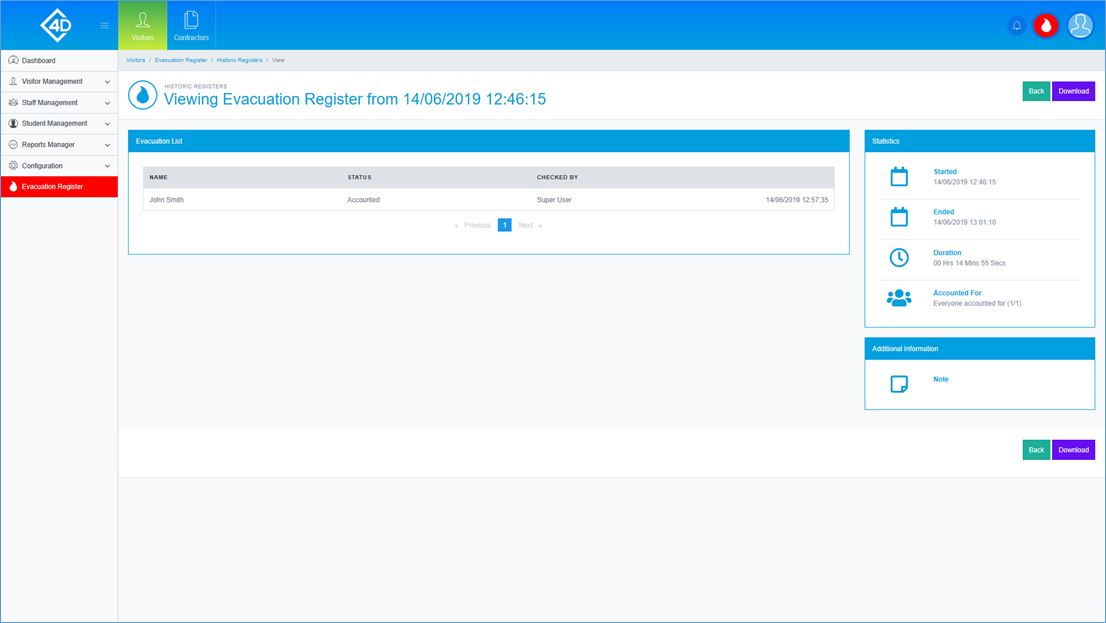
The “Evacuation List” section shows a complete list of any visitor that has been checked in.
Listed is the visitor’s “Name”, “Status” and who the visitor was “Checked By”.
Also listed is the time when the visitor was checked off.
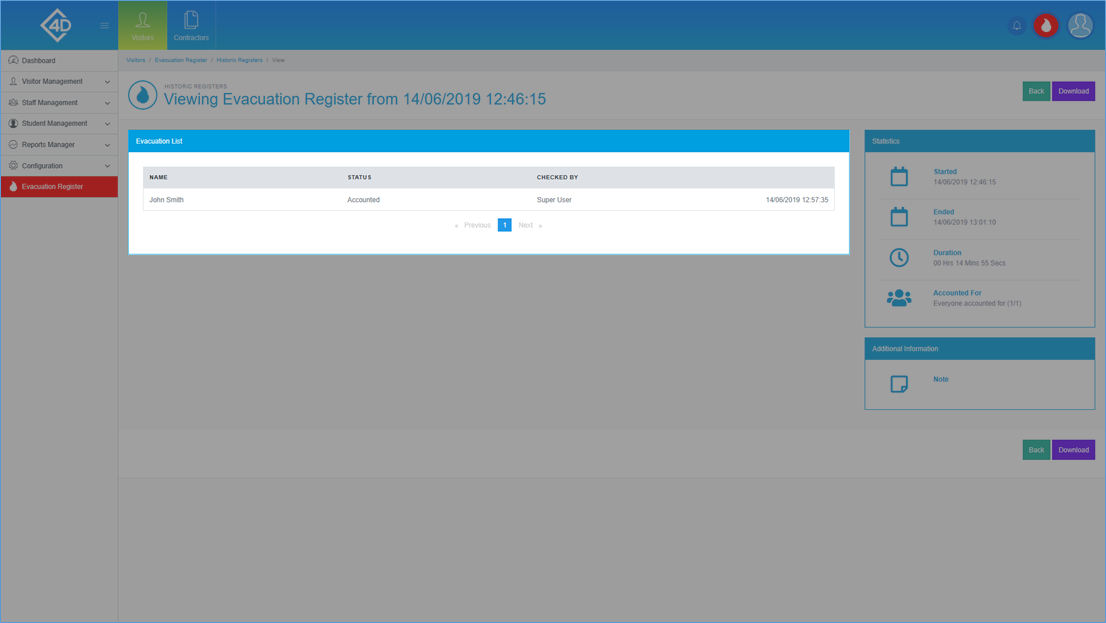
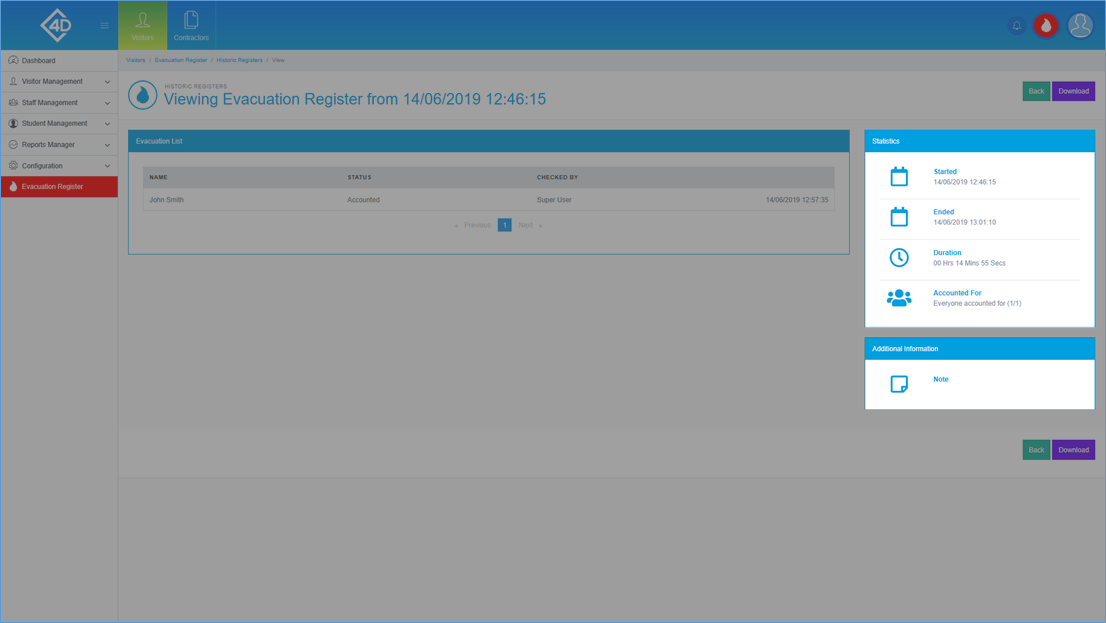
The “Statistics” section gives you a rundown on the history of the register.
- Started – This shows you the time and date in which the register was started.
- Ended – This shows you the time and date in which the register was ended.
- Duration – This shows you how long the register took to complete.
- Accounted For – This shows you how many people were accounted for and if there were any that weren’t.
- Note – If a note was added to the register it will be displayed here.
If you would like to download the register click the purple “Download” button, you will then get a pop-up which prompts you to save a .csv file.
Historic Registers
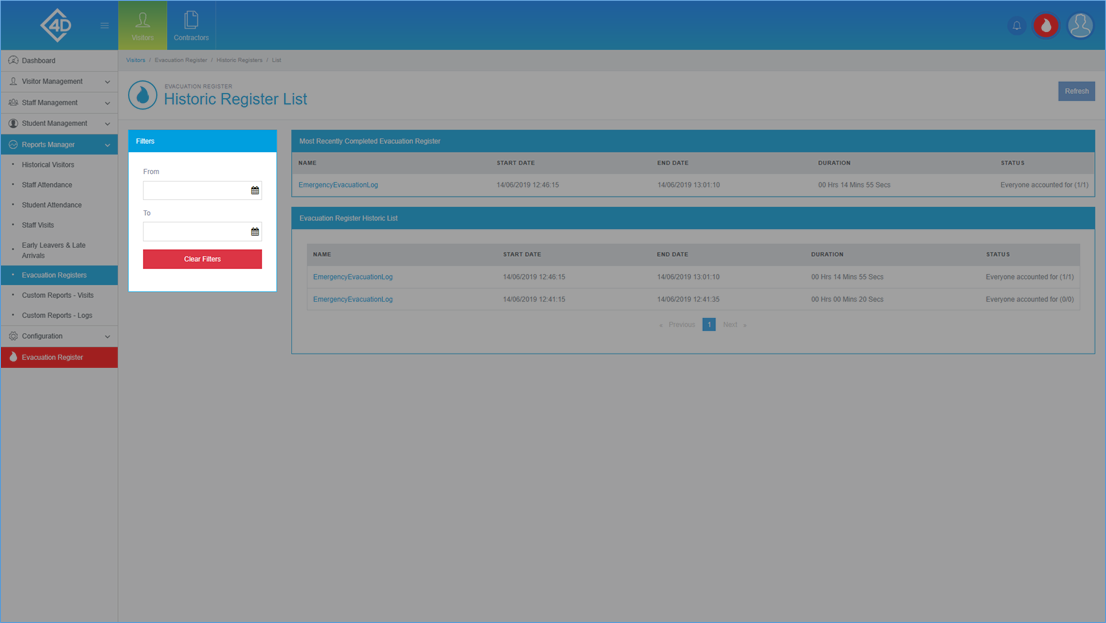
To access a list of historic registers click on “Reports Manager” and then on “Evacuation Registers”.
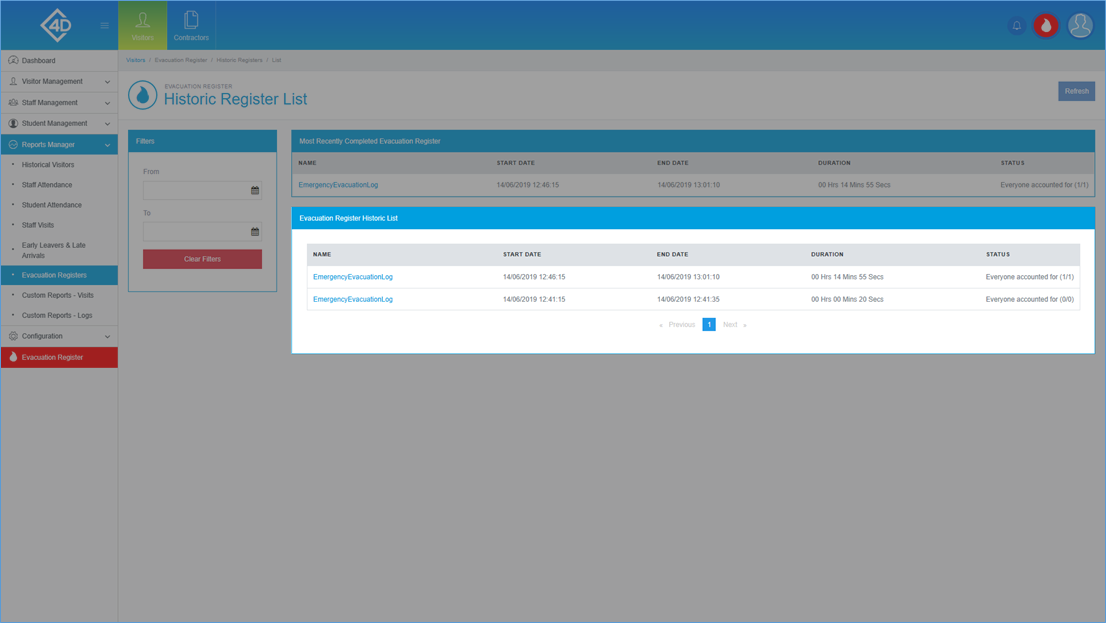
The “Historic Register List” page will then open.
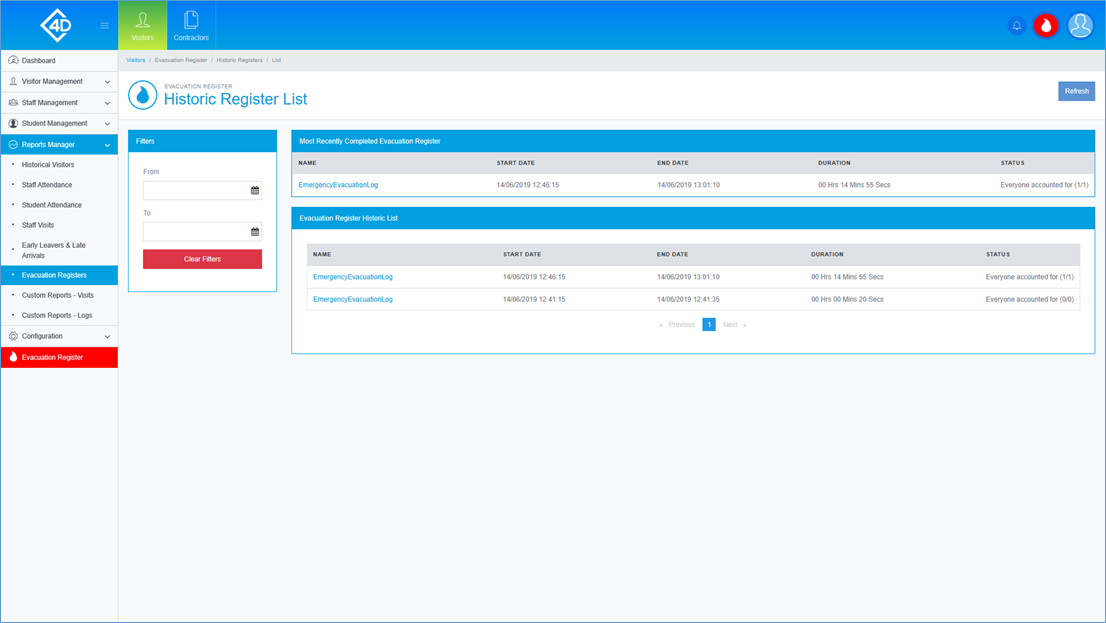
The “Most Recently Completed Evacuation Register” section will give you a brief summary of the most recent register that was completed.
To view this register in greater detail click on the “Name” of the register, you will then be taken to the “Viewing” screen.
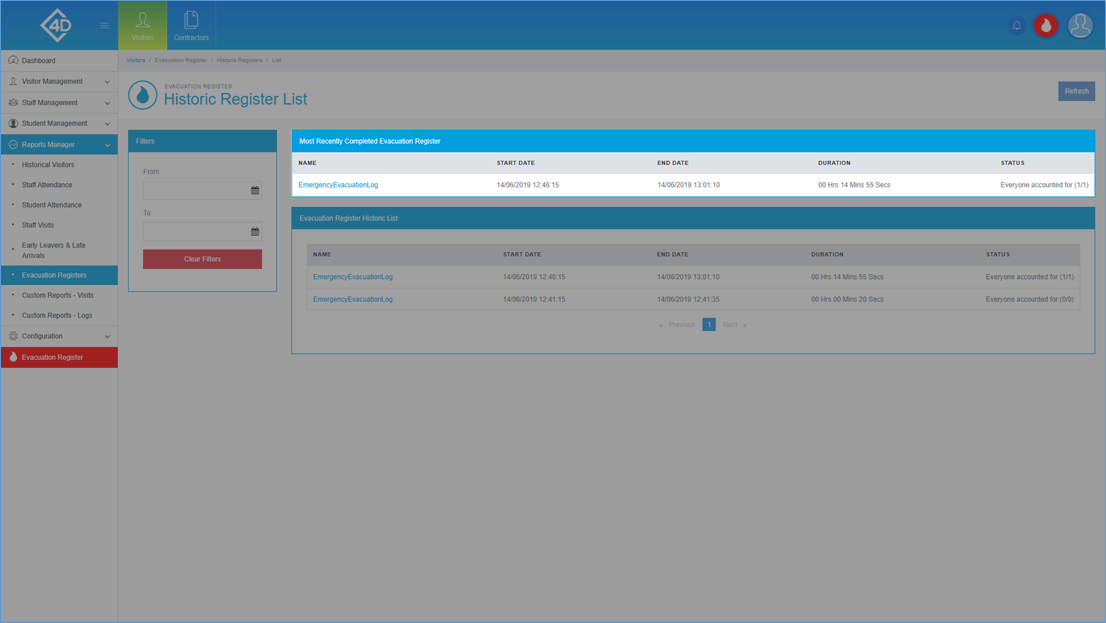
The “Evacuation Register Historic List” section will give you a brief summary on any register that has previously been completed.
To view a register in greater detail click on the “Name” of the register, you will then be taken to the “Viewing” screen.
You can search for a register by using the “Filters” section on the left side of the screen.
You can filter by the date, “From” and “To”.
To reset the filter click the “Clear Filters” button.