5D Student Management – Add New Student
The following guide will show you how to navigate and use the 5D Student Management Section.
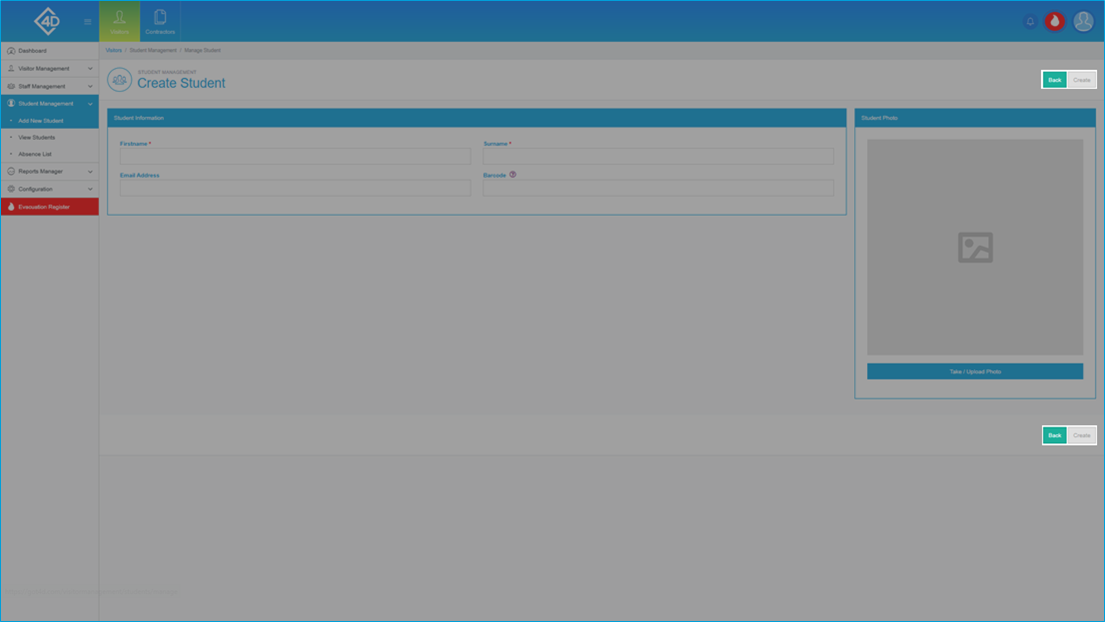
To access the “Add New Student” page click on the “Student Management” tab on the left of the screen and then click on “Add New Student”
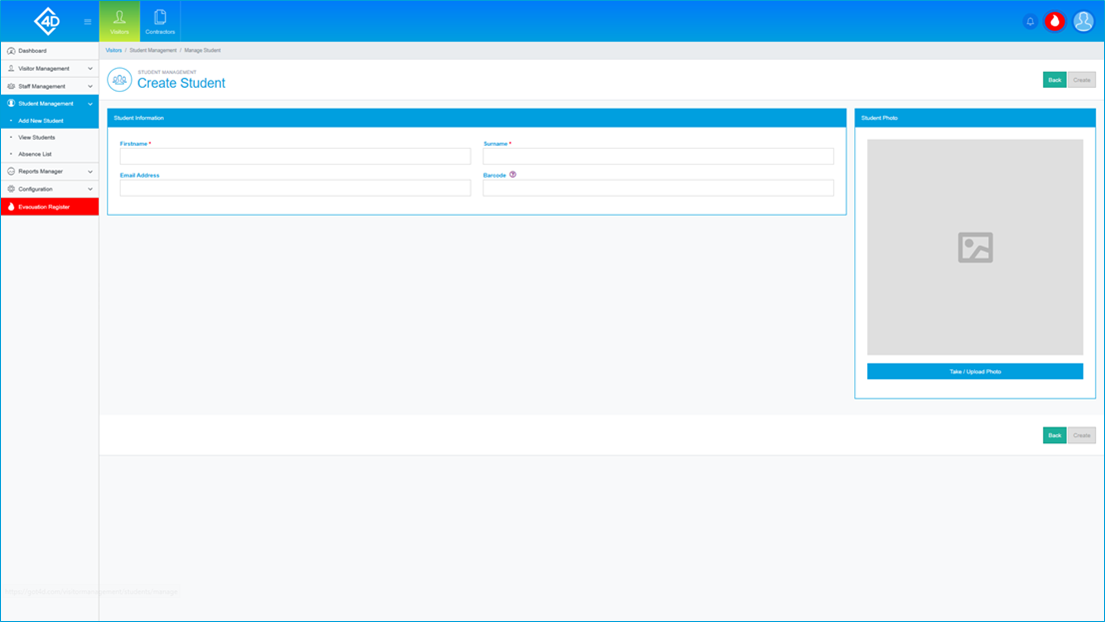
The “Add New Student” page will then open and will look like the image below.
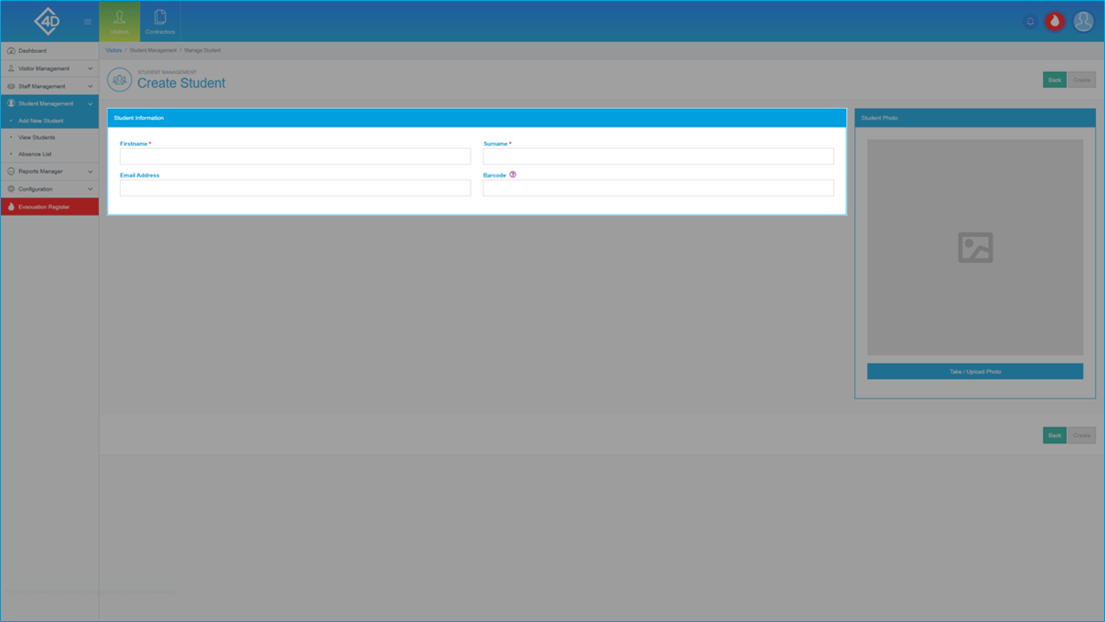
In the "Student Information" section you must fill out the following fields:
- Firstname - Here you must fill in the name of the Student.
- Surname - Here you must fill in the name of the Student.
- Email Address - If you would like to assign an email address to the record you can do so here.
- Barcode - If you have a pre-existing barcode for the Student you can fill it in here.
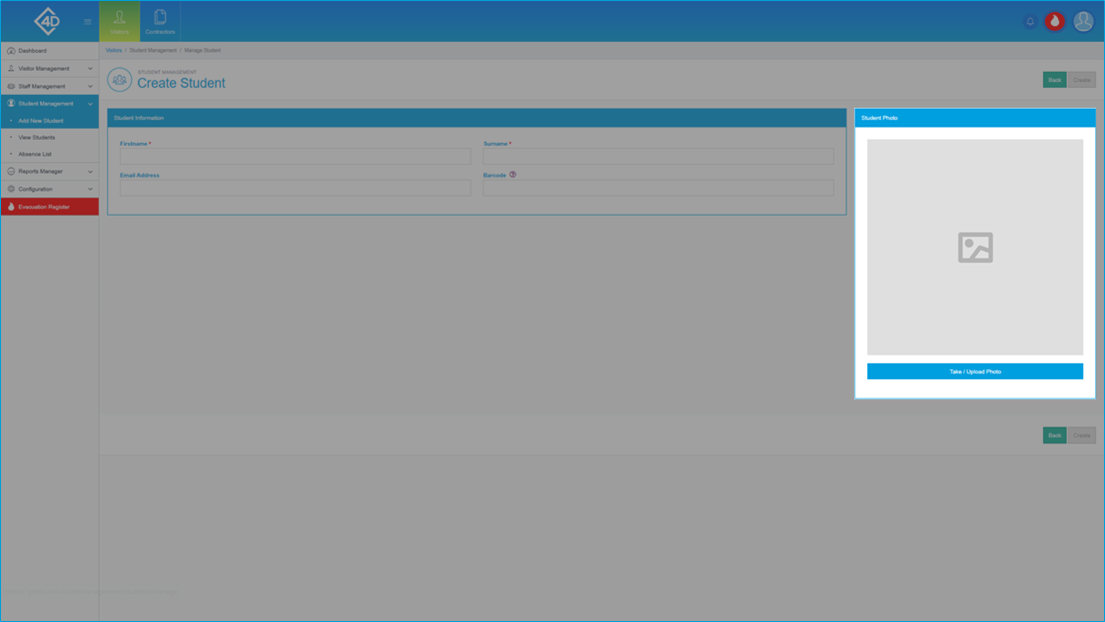
The "Student Photo" section allows you to attach a photo of the Student to the Record.
You can do this by clicking the "Take / Upload Photo" button.
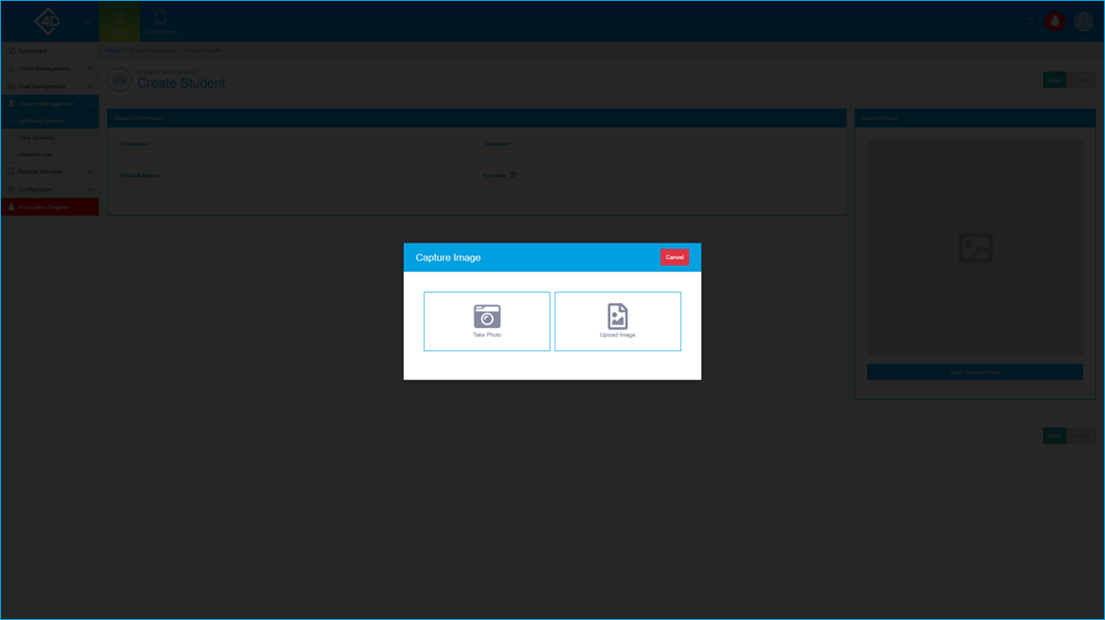
Once you have clicked the "Take / Upload Photo" button the following pop-up will appear.
If you would like to take a photo of the Student using an attached webcam, click the "Take Photo" button, you will then be prompted to capture a photo.
If you already have a photo of the Student saved on your PC, click the "Upload Image" button, you can then click the "Choose / Browse File" button, you will then be prompted to select the photo from your PC.
Once you are happy with the Student Record, click the green “Create” button.
If you would like to cancel the creation of a new Student, click the "Back" button.