5D Visitor - Section Four - Student Management - Absence List

5D Student Management – Absence List
The following guide will show you how to navigate and use the 5D Student Management Section.
To access the “Absence List” page click on the “Student Management” tab on the left of the screen and then click on “Absence List”
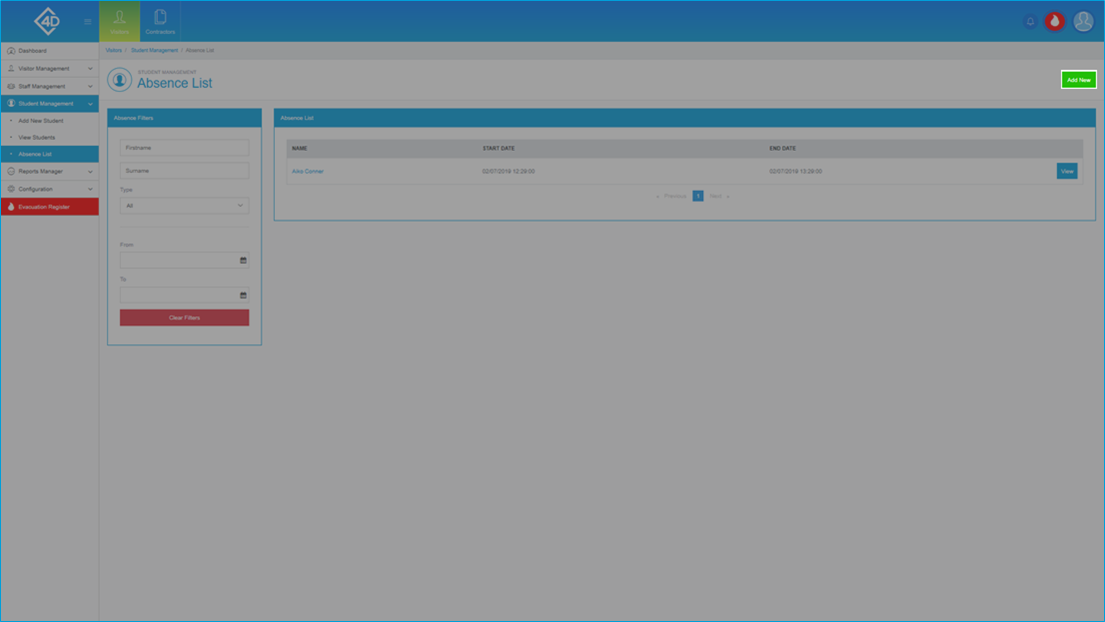
The “Absence List” page will then open and will look like the image below.
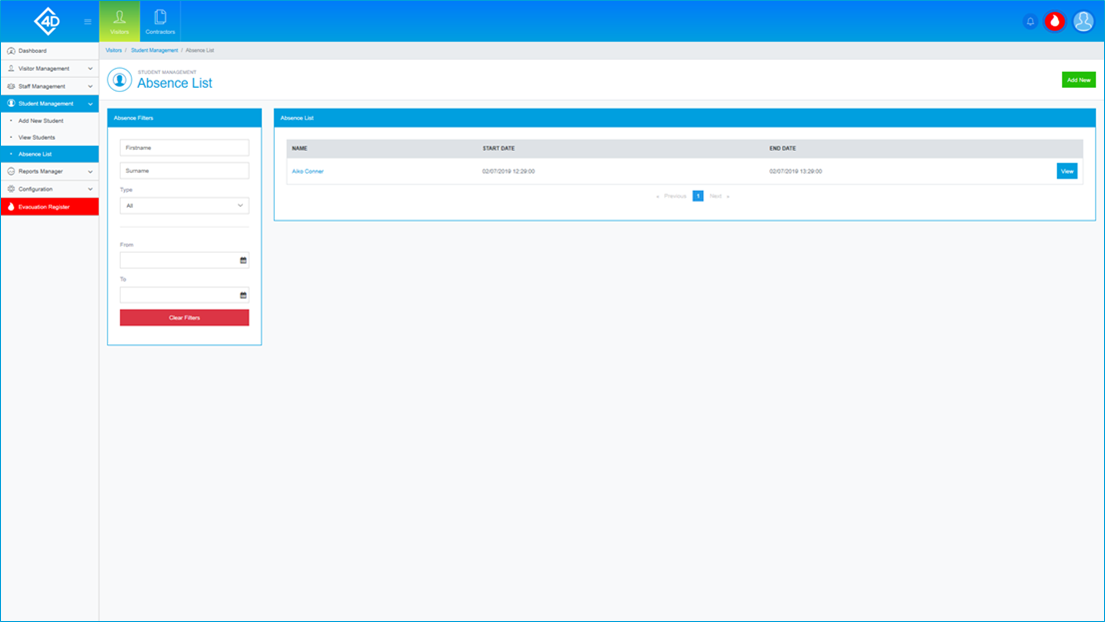
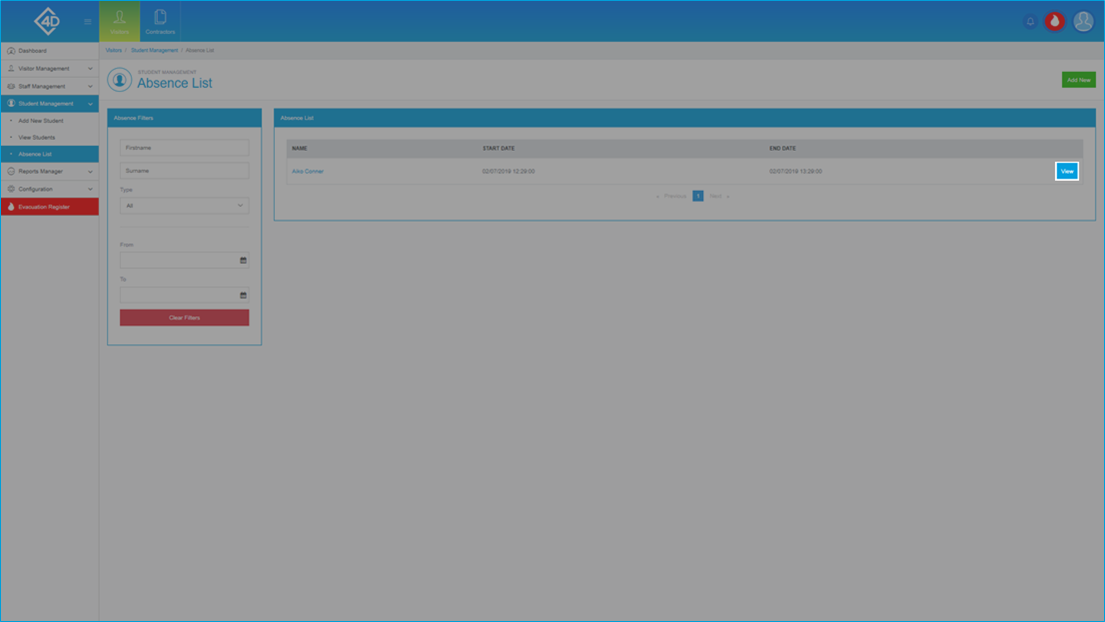
The “Absence List” section displays a list of all the Student Absences in your system.
Listed is the "Name" of the Student and the "Start Date" and "End Date" of their absence.
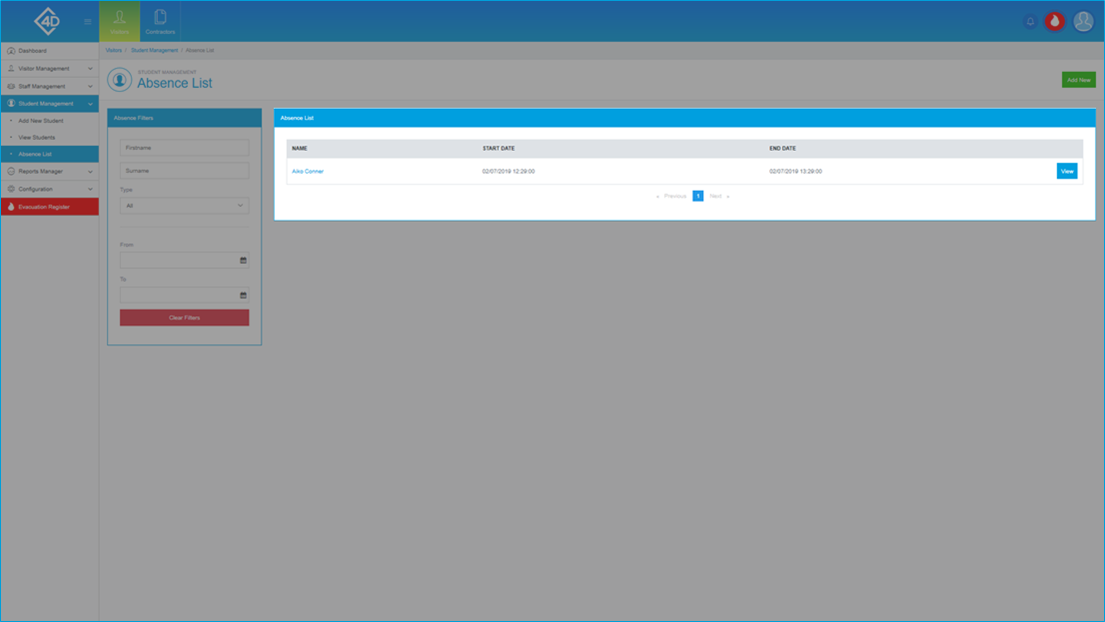
On the left of the page is the “Absence Filters” list, this is where you can search for a Student Absence by "First Name", "Surname" and "Type".
You can also search for a Student Absence by a "From" and "To" date.
The “Clear Filters” button will wipe both fields and display the default view.
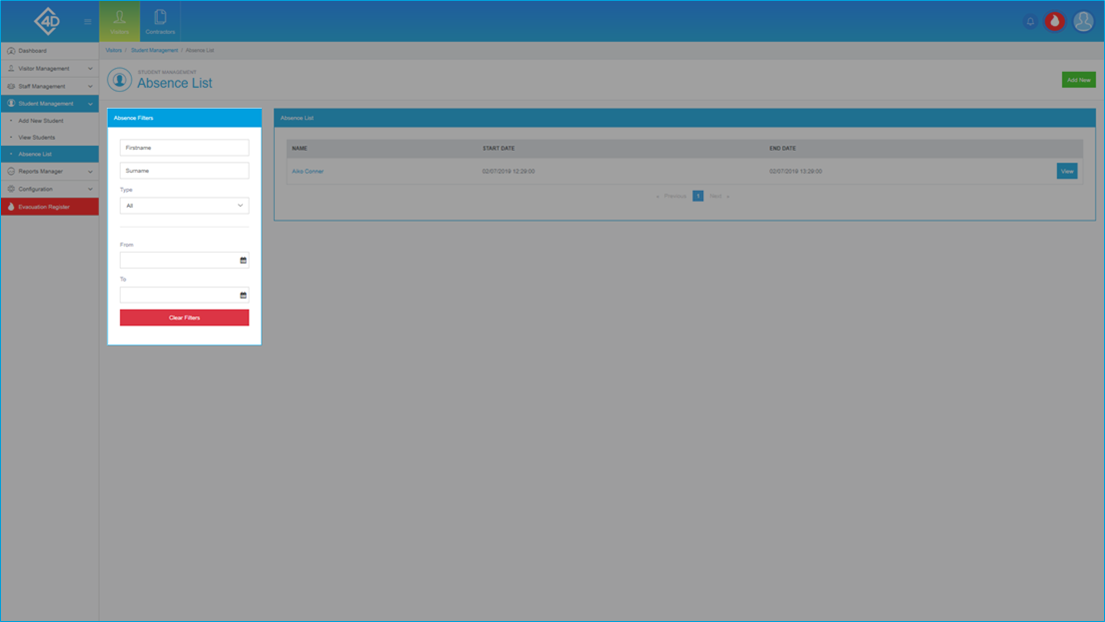
Add New
If you would like to add a new Student click the green "Add New" button.
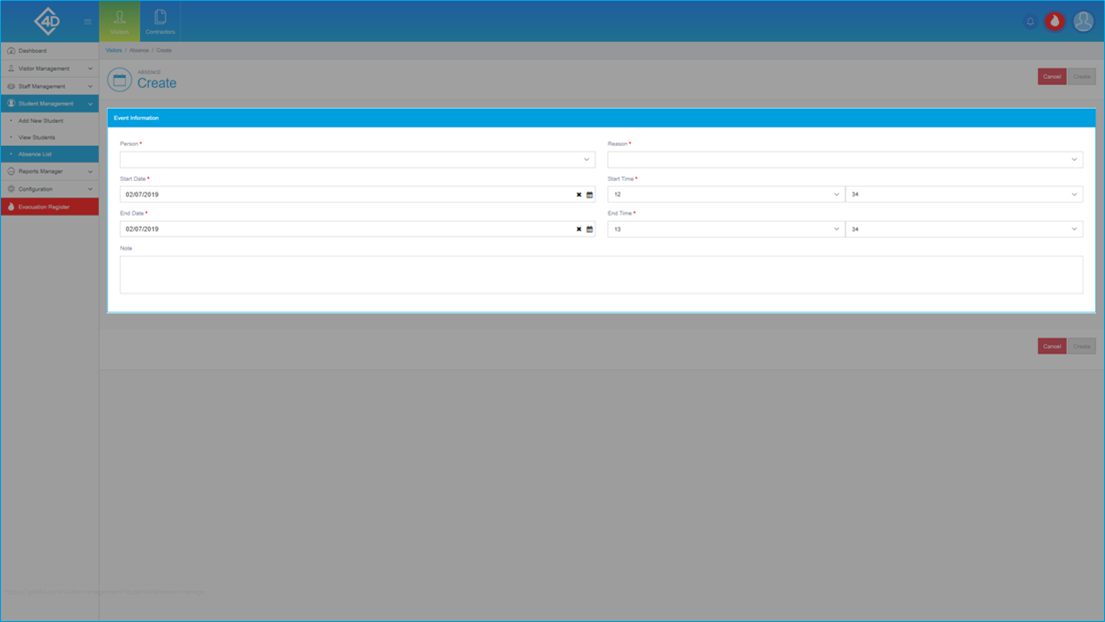
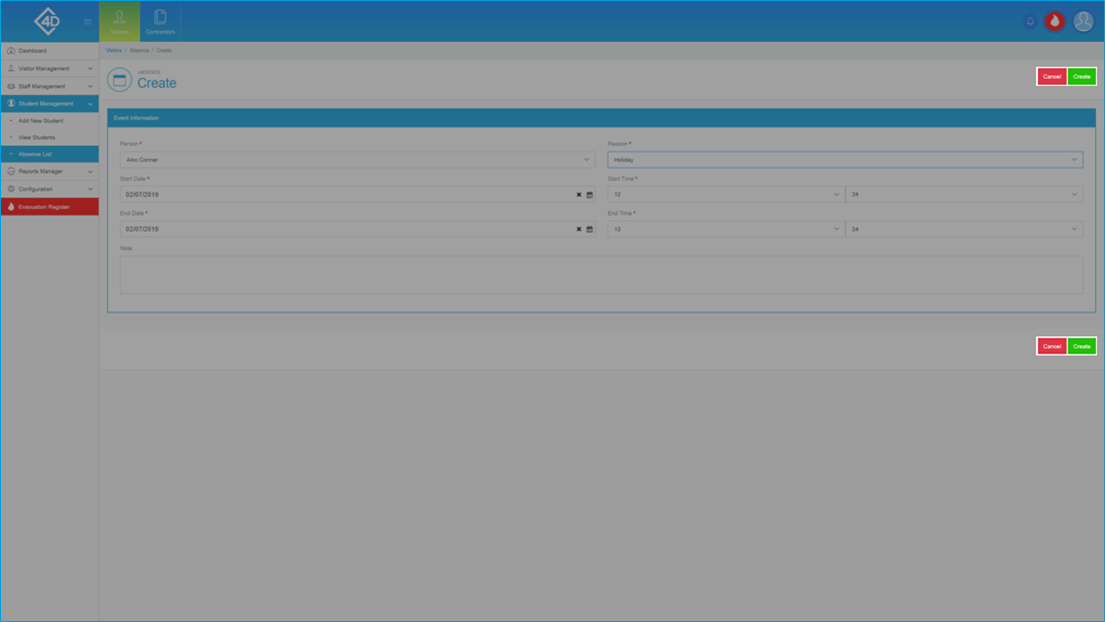
Once you have clicked the “Add New” button you will be taken to the following page.
You must then select a "Person", "Reason", "Start Date", "Start Time", "End Date" and "End Time".
You may also choose to add a note to the Absence record.
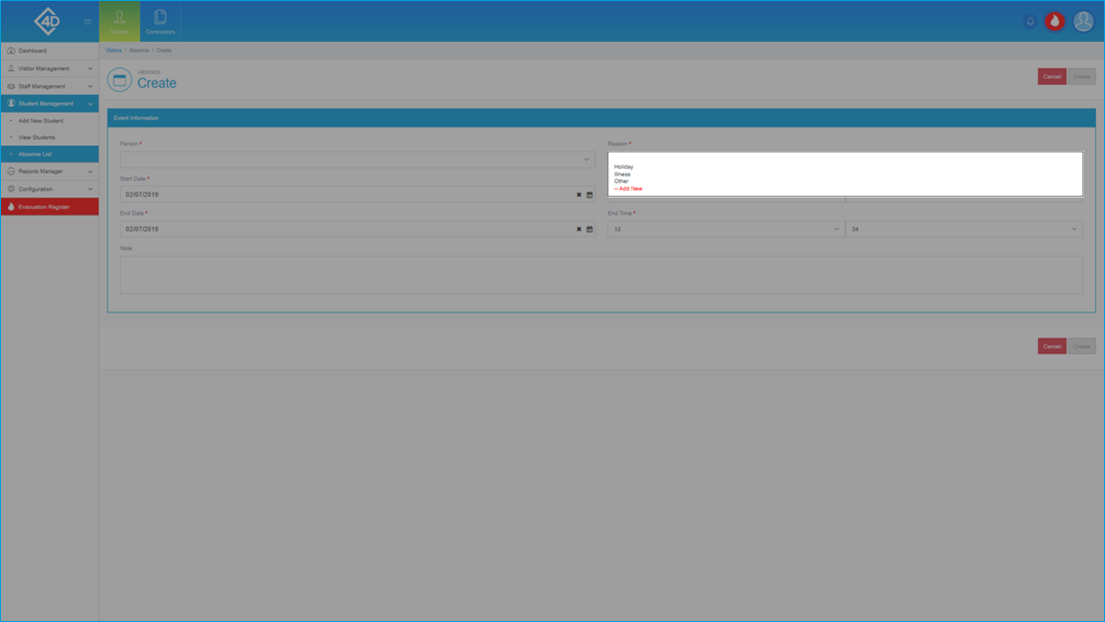
If you are unable to find an applicable "Reason", click the "Add New" button in the drop-down menu.
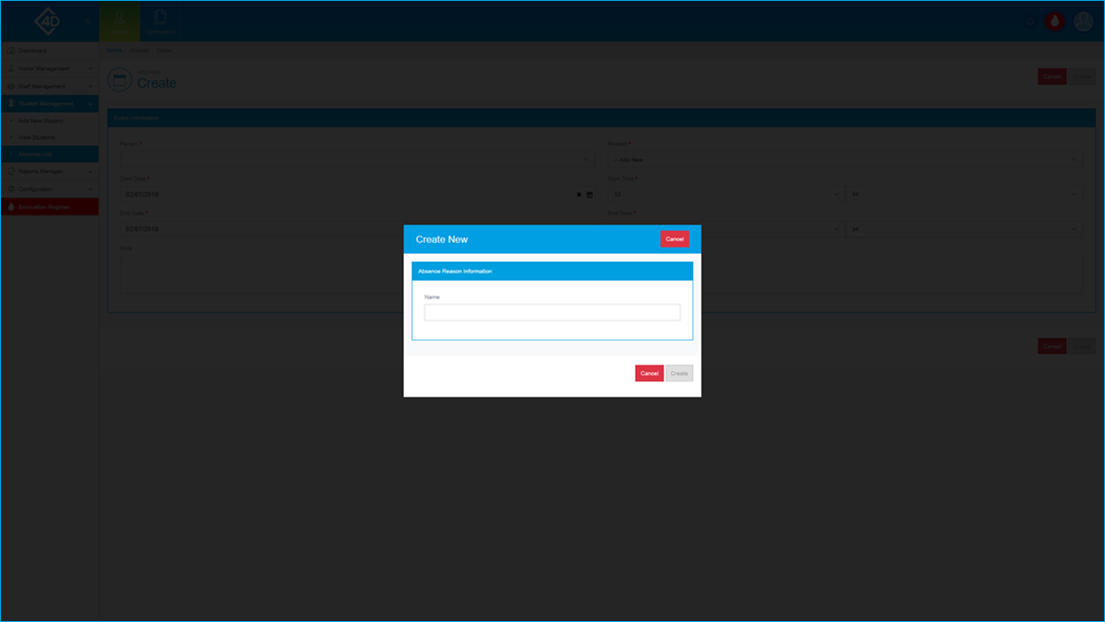
Once you have clicked "Add New" the following box will appear, you must then fill in the name for your new Reason.
Once you are happy with the name click the "Create" button.
If you would like to cancel the creation of a new Reason, click the "Cancel" button.
Once you are happy with the Absence Record, click the green “Create” button.
If you would like to cancel the creation of a new Absence Record, click the "Cancel" button.
Viewing an Absence Record
If you would like to view an Absence Record in more detail, click the "View" button next to a Student Absence Record.
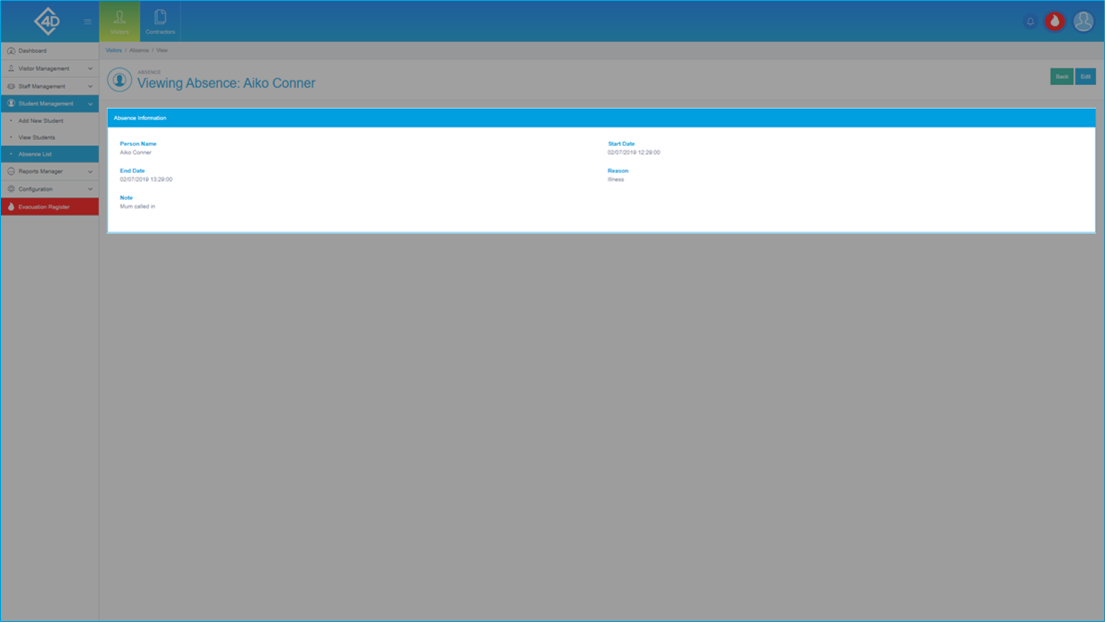
Once you have clicked on the "View" button you will be taken to the following page.
The "Absence Information" section shows you the "Person Name", "Start Date", "End Date", "Reason" and any "Notes" that have been added to the Record.
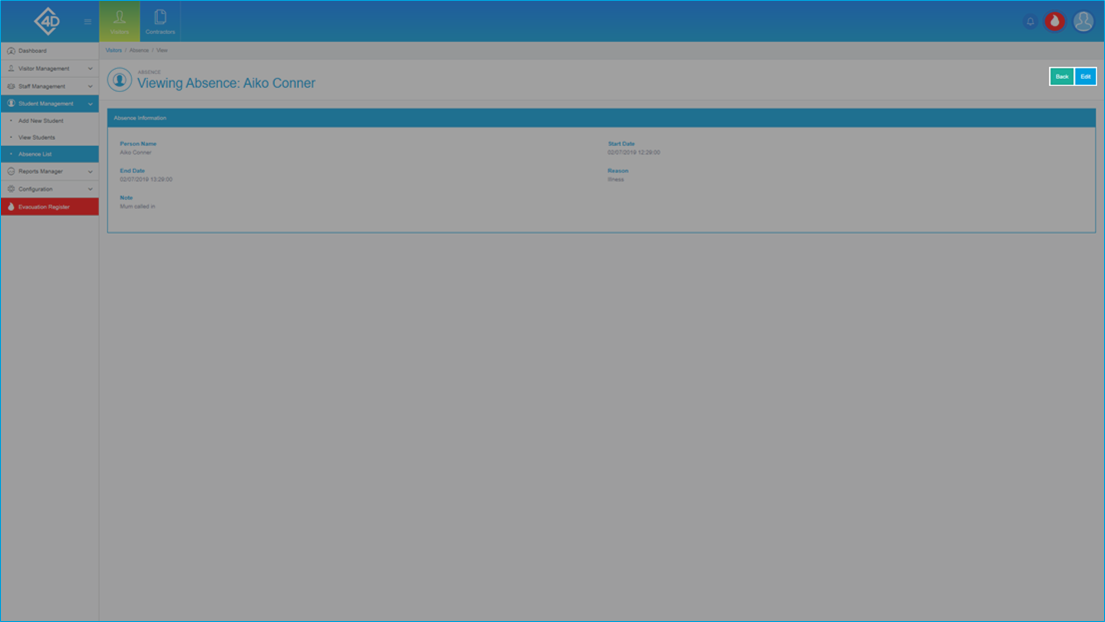
If you would like to edit the Absence Record, click the "Edit" button in the top-right of the screen.
If you would like to return to the Absence List page, click the "Back" button in the top-right of the screen.
Editing an Absence Record
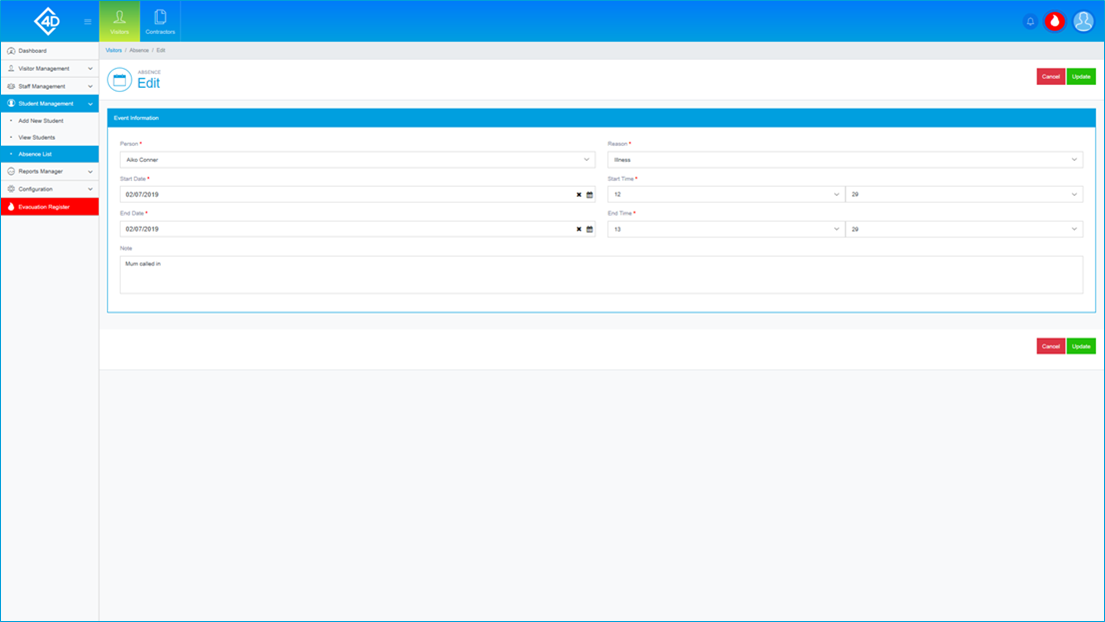
Once you have clicked the “Edit” button you will be taken to the following page.
For more information on this, refer to the "Add New" section previously in this guide.
