5D Visitor - Section Eight - Touchscreen

5D Touchscreen Setup
Touchscreen
The following guide will show you how to access your 5D Touchscreen suite, and how to use the basic features.
To access the 4D Touchscreen Software you must first click on “5D-Touchscreen.exe”, this will be located on the Touchscreen desktop.
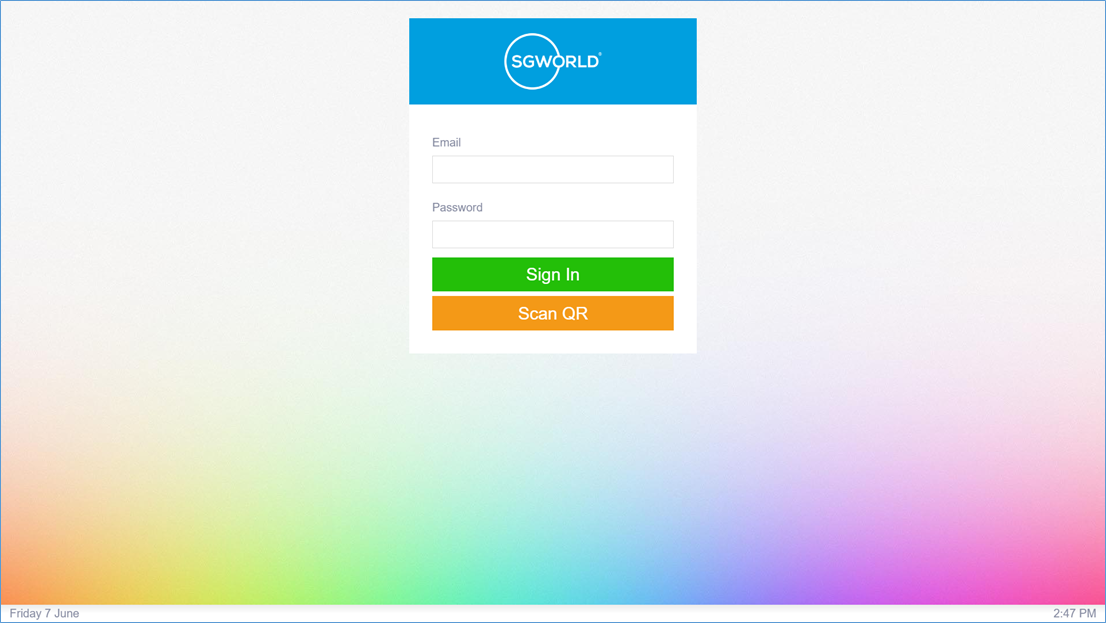
4D may start automatic updates, once this has completed the login page will appear.
Using the details that were provided to you on the day of installation, please fill out the relevant fields and click “Sign In”.
*If you have forgotten these details please contact our support team.
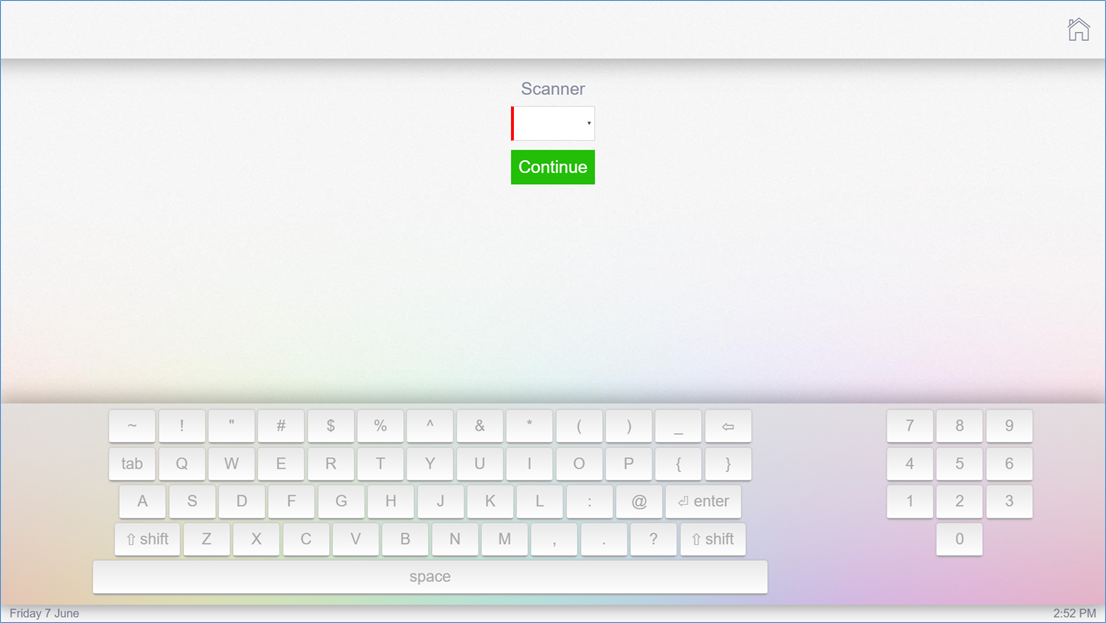
Once you have signed in you will be greeted by the “Scanner Selection” page, your existing scanner should already be preselected, if you have a scanner selected the box will be highlighted green.
Navigation
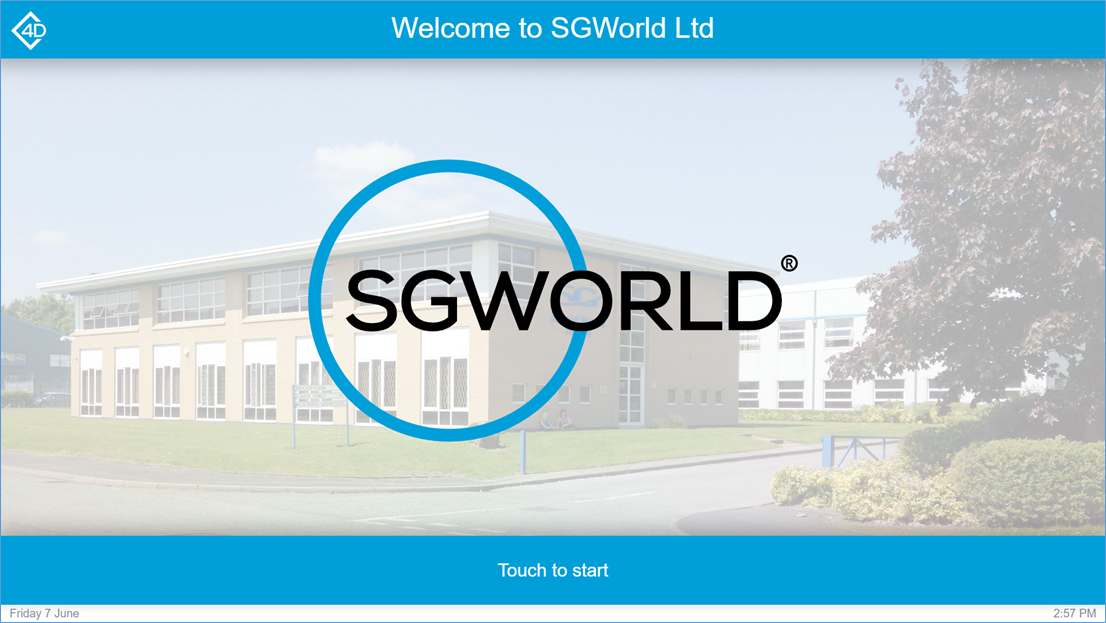
If configured, you will first be greeted by the “Welcome Screen”, to continue tap anywhere on the screen.
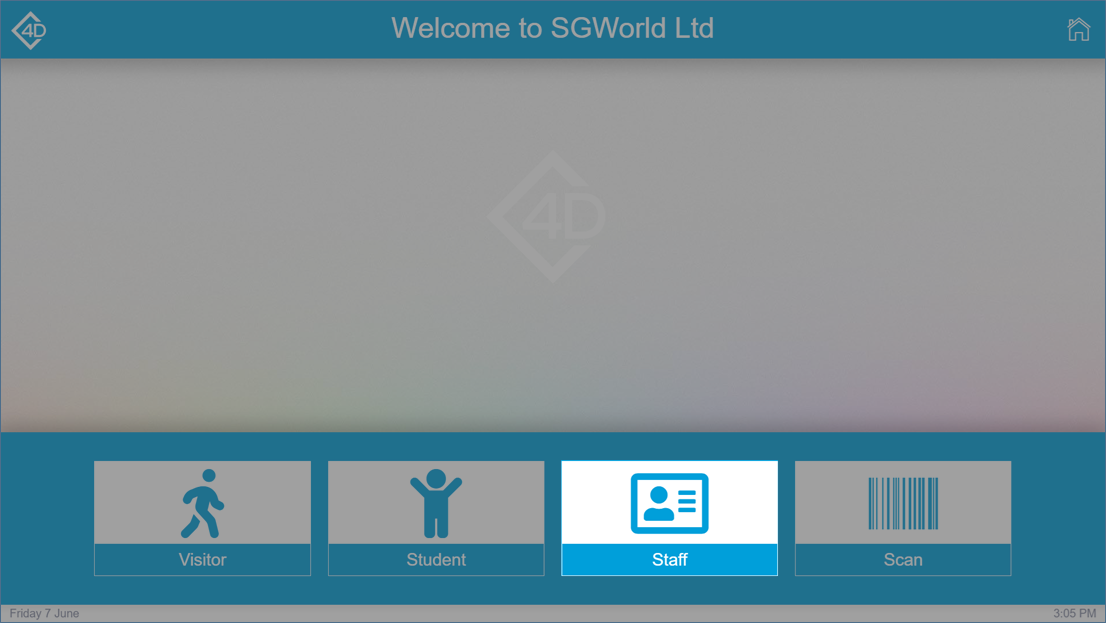
Any module that you have enabled will show on the “Home Screen”, by default this will be “Visitor”, “Student/Contractor”, “Staff” and “Scan”.
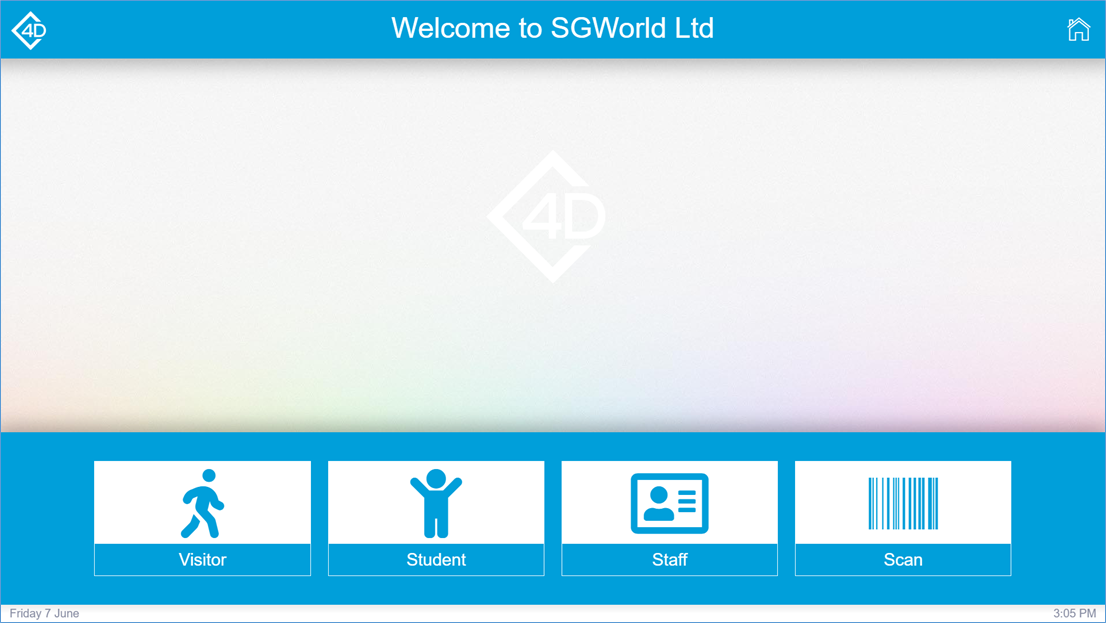
Visitor Sign In
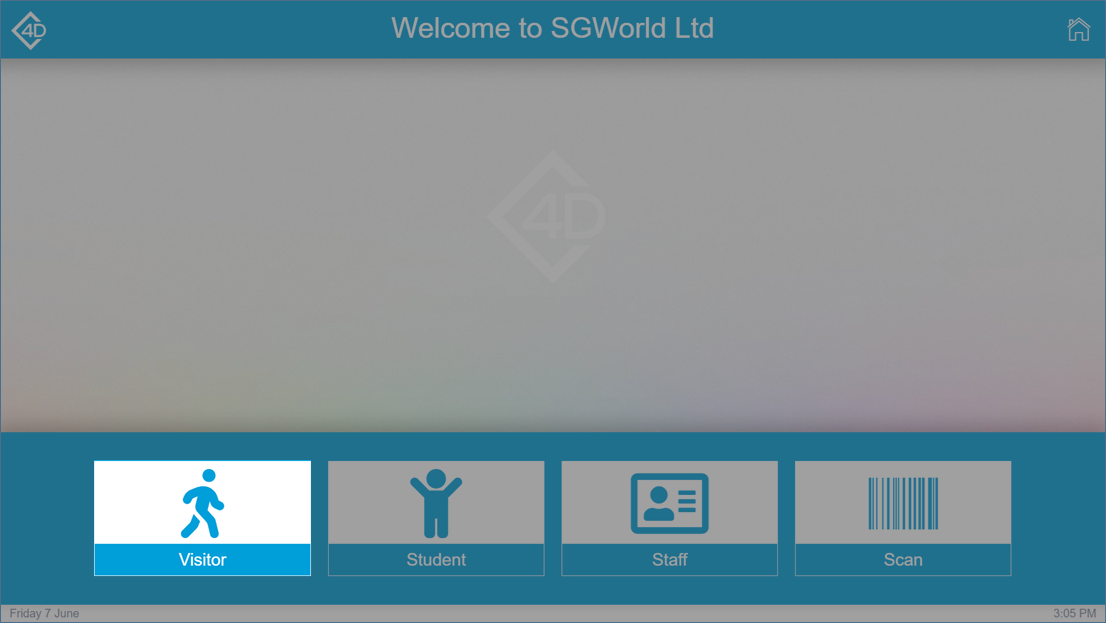
When the “Visitor” button is clicked you will be taken to the “Visitor Sign-in” page.
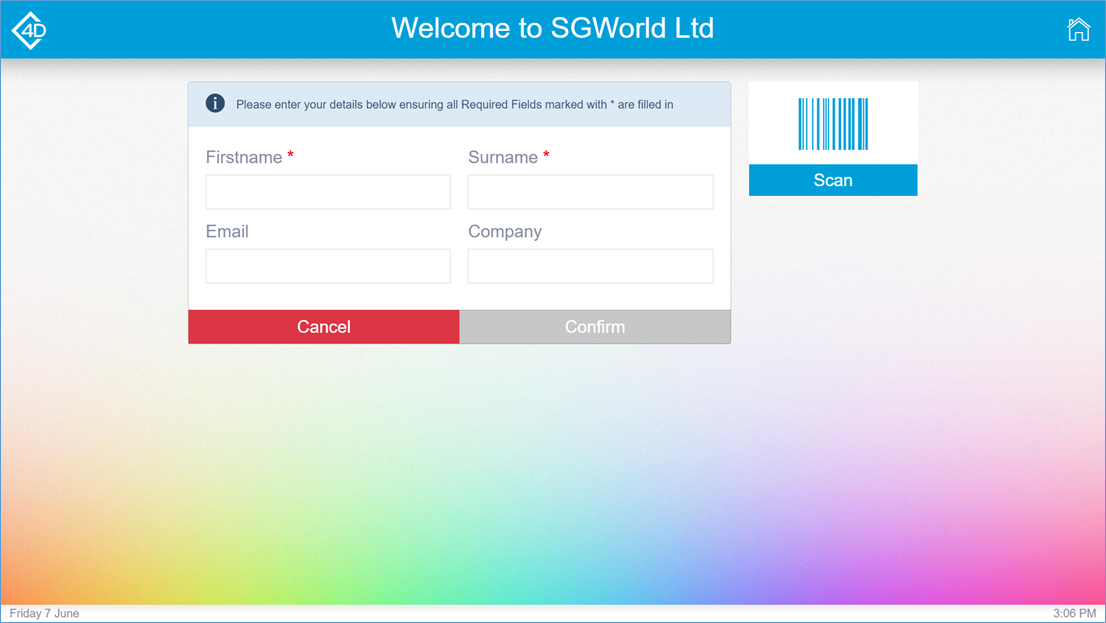
The visitor must fill out any field that is marked by a red asterisk, they have the option to give their email and company as well.
The visitor can also click the “Scan” button to quickly sign in with an existing pass.
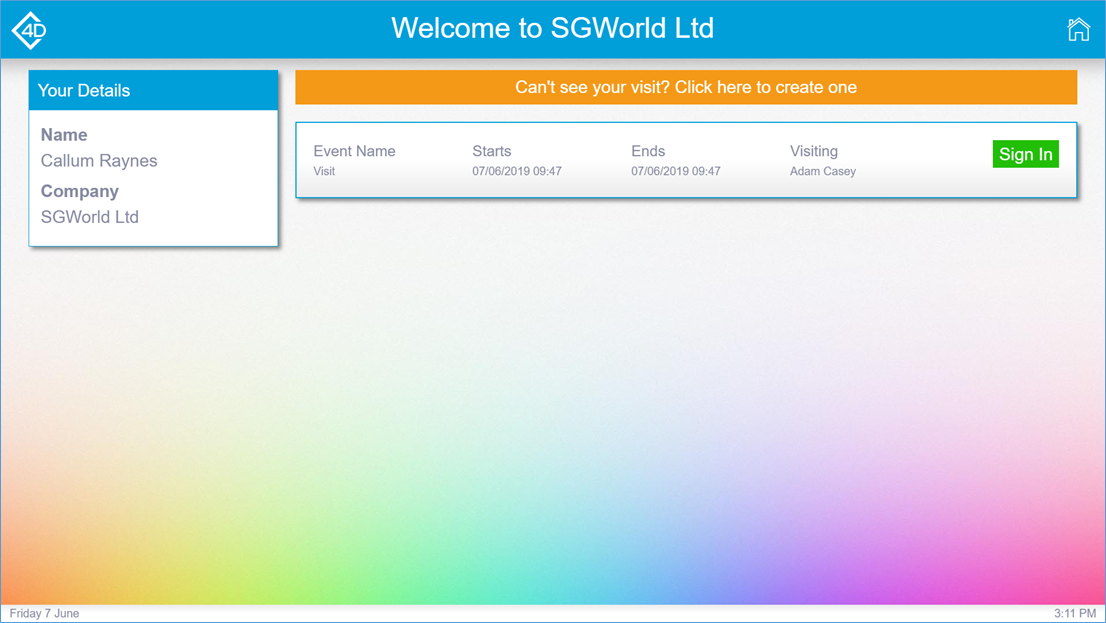
Once the visitor has confirmed their details they will be taken to the “Visit” screen.
From here the visitor can manage their “Visit”, their details are shown in the “Your Details” box, and their visit is shown on the right of the screen.
The visitor can sign in by clicking the “Sign In” button.
Once the “Sign In” button has been clicked they will be taken to the “Photo Capture” page.
The visitor can choose to skip this step if it is not applicable.
To take a photo and continue with the sign in process, the visitor must click the “Take Photo” button.
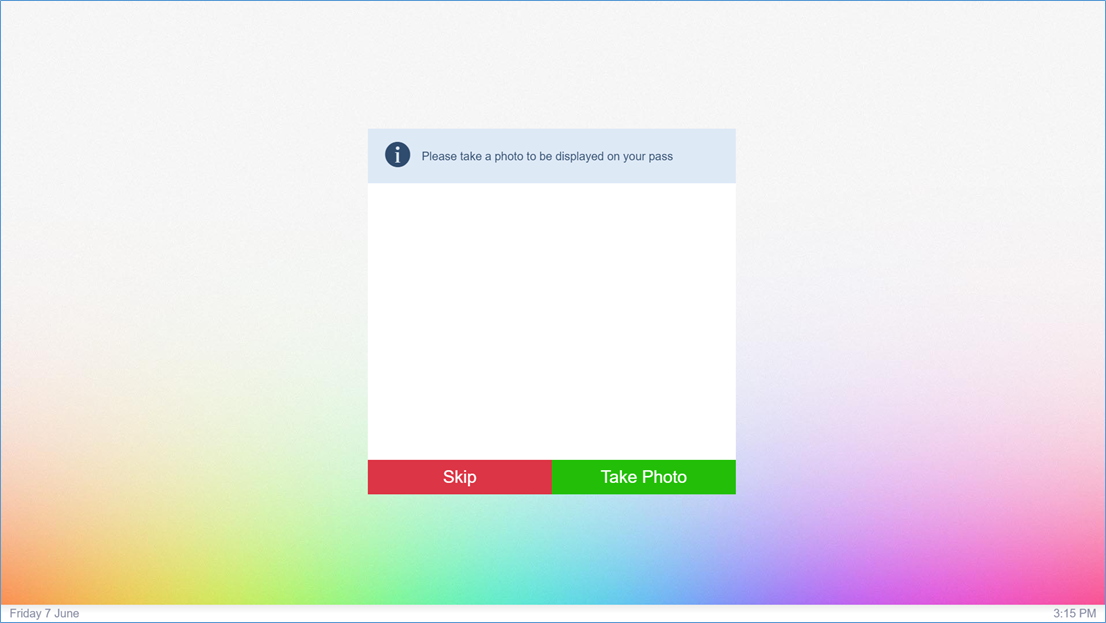
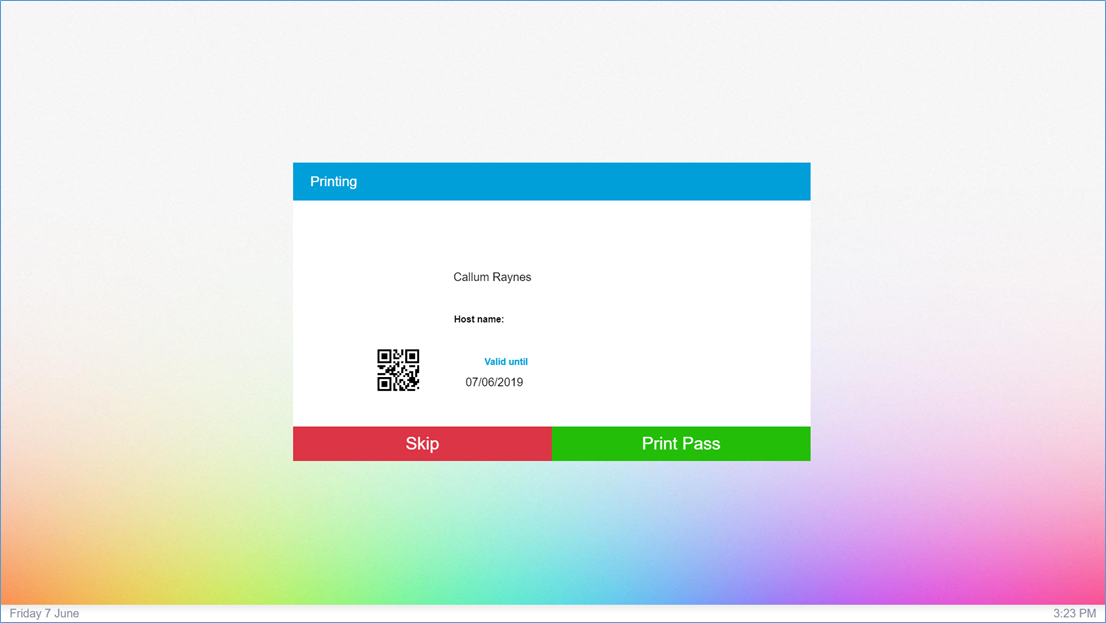
You will then be provided with a preview for your pass.
The visitor can choose to skip this stage.
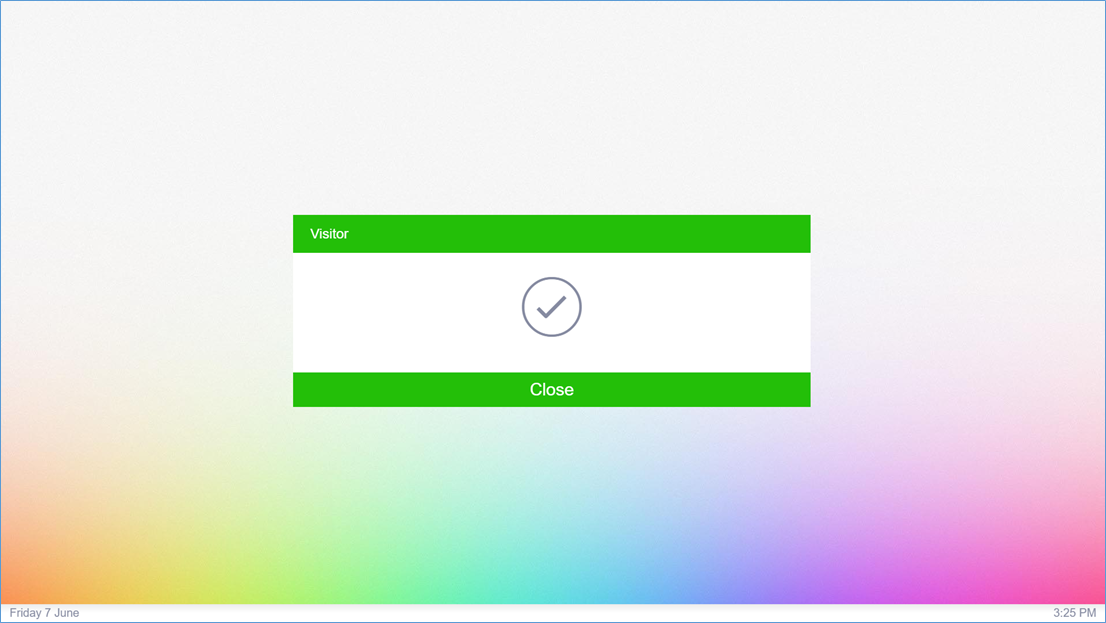
To print a pass, the visitor must click the “Print Pass” button.
The visitor sign-in will now be complete.
Student Sign In
When the “Student” button is clicked you will be taken to the “Student Sign-in” page.
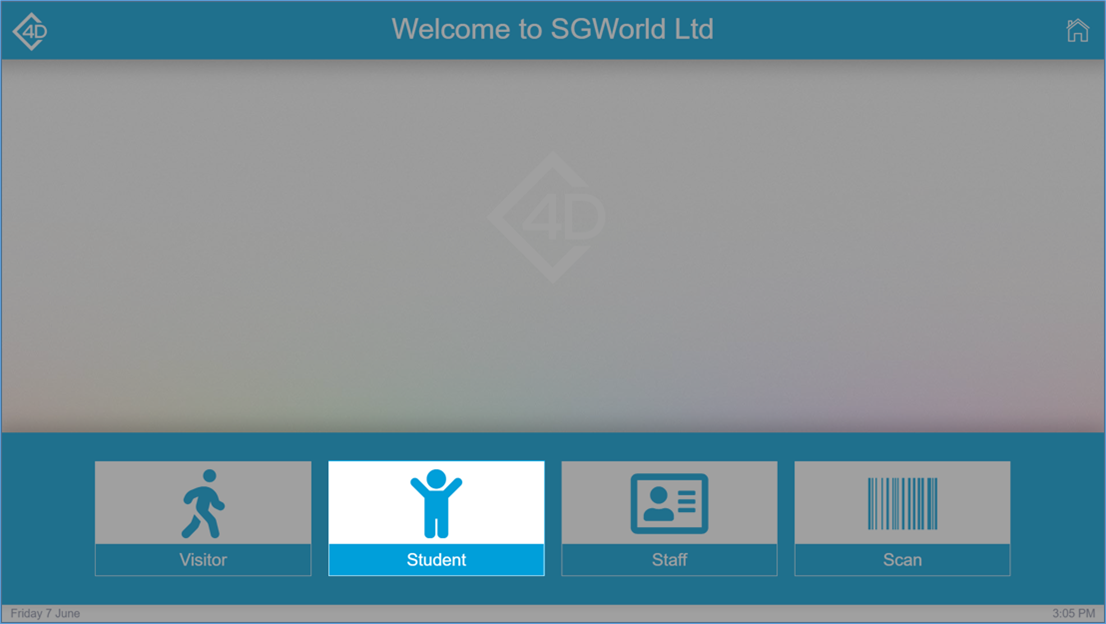
The student must fill out their “Firstname” and “Surname”.
The student list is covered by “Strict Search”, the student must already be in the database to be searchable.
To continue the student must click the “Search” button.
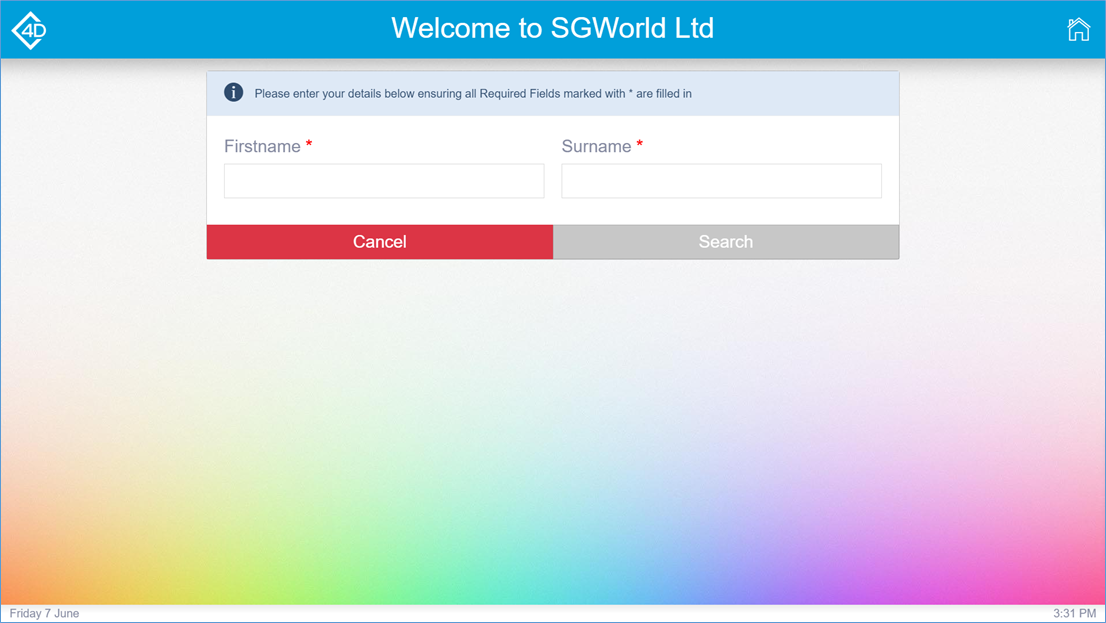
If the student search has been successful, the student will be taken to the sign in page.
From here the student can choose to sign in normally by clicking the “Sign In” button, this will instantly sign the student in and take them back to the “Welcome” page.
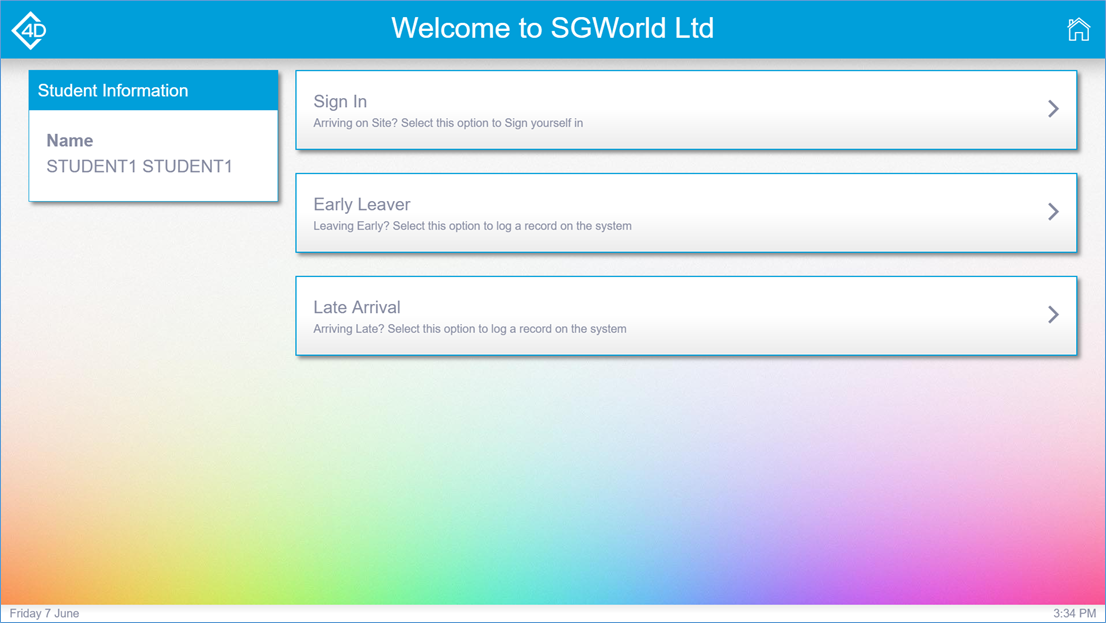
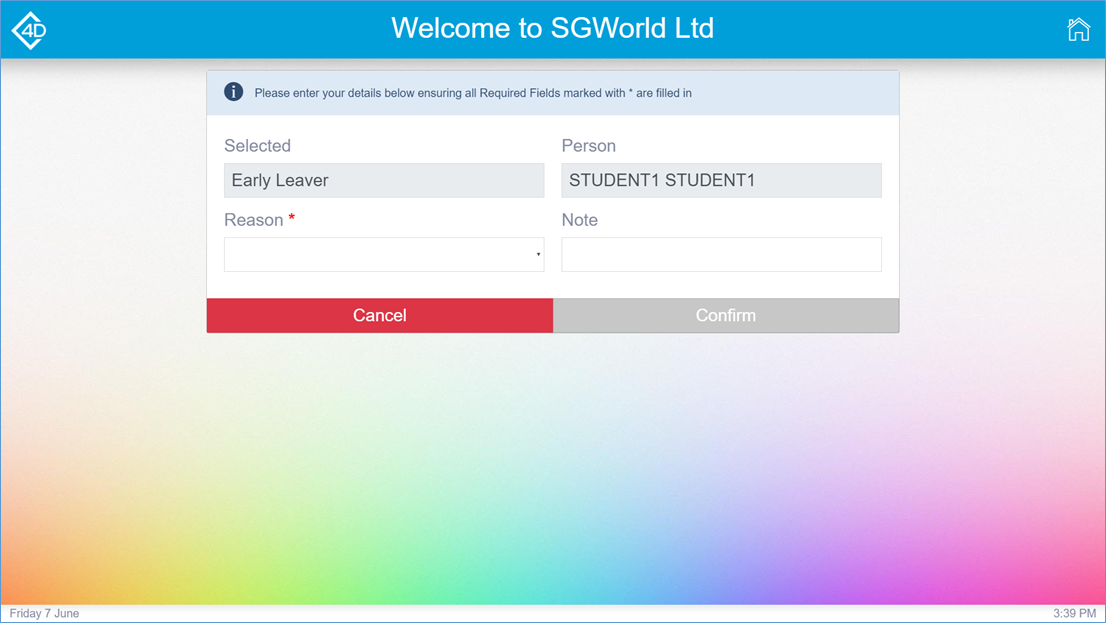
By clicking the “Early Leaver” or the “Late Arrival” button the student will be taken to a separate page.
Some of the student’s information will be pre-populated.
To continue, the student must pick a “Reason” from the drop-down menu, the student can also add a note if needed.
Once the student has filled all of the relevant boxes, they must click the “Confirm” button to continue with their sign-in.
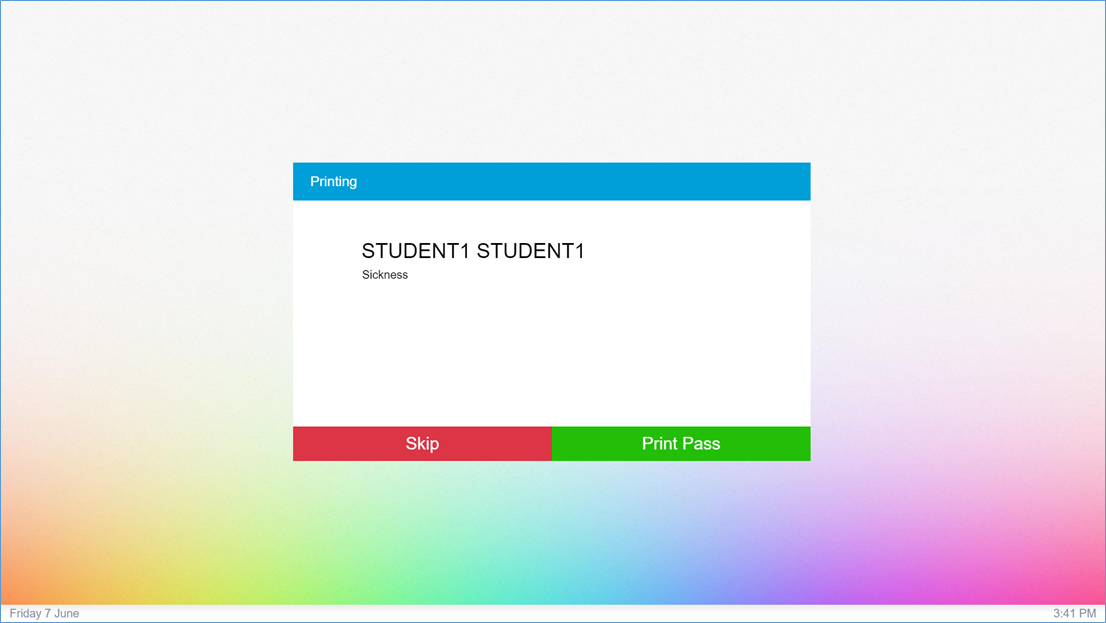
The student will then be provided with a preview for their pass, they can also choose to skip this stage.
To print a pass, the student must click the “Print Pass” button.
Staff Sign In
When the “Staff” button is clicked you will be taken to the “Staff Sign-in” page.
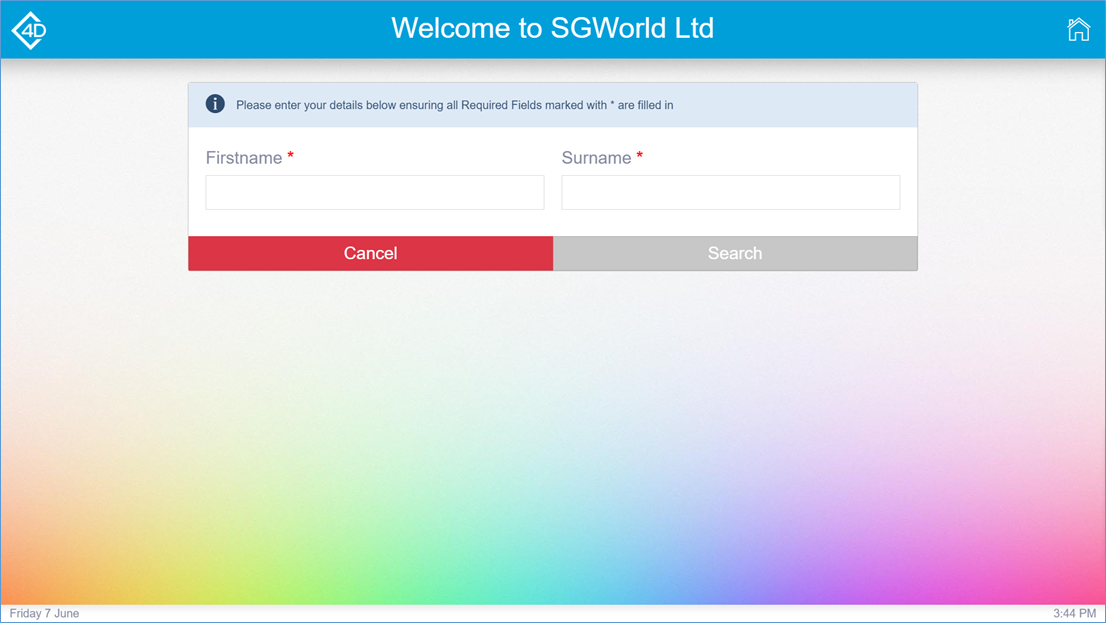
The staff member must fill out their “Firstname” and “Surname”.
The staff list is covered by “Strict Search”, the staff member must already be in the database to be searchable.
To continue the staff member must click the “Search” button.
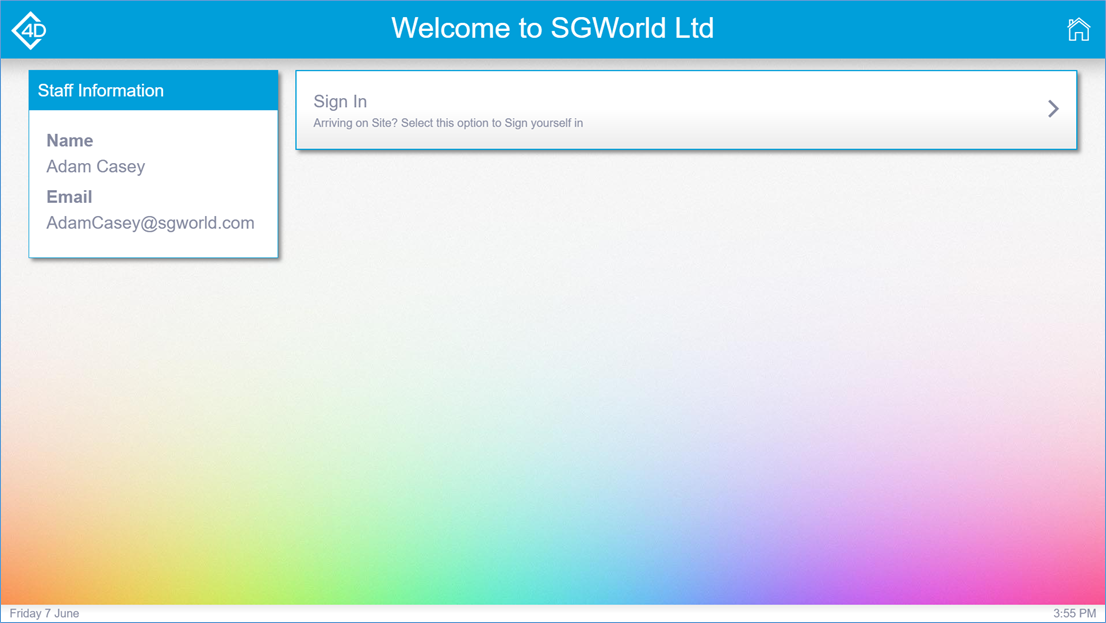
If the staff search has been successful, the staff member will be taken to the sign in page.
From here the staff member can choose to sign in normally by clicking the “Sign In” button, this will instantly sign the staff member in and take them back to the “Welcome” page.
