5D Visitor - Evacuation App
The following guide will show you how to navigate and use the 5D Evacuation App on IOS and Android.
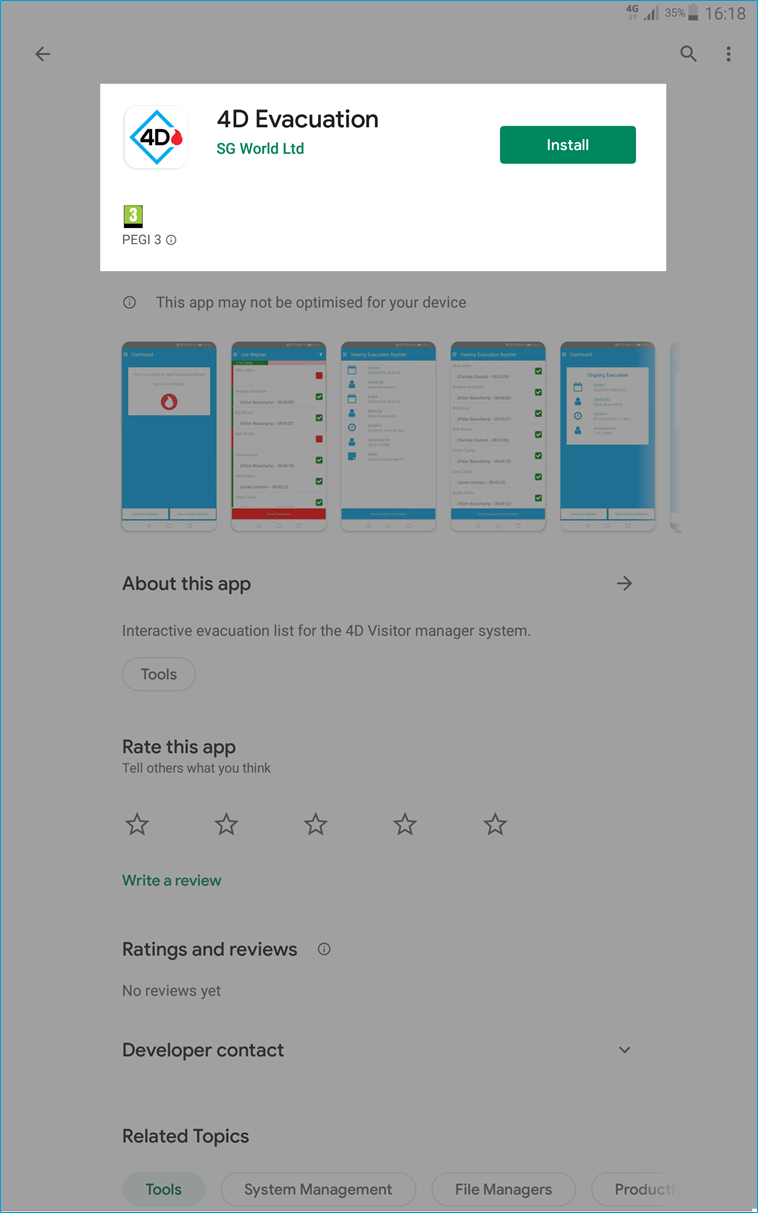
Start by downloading the "5D Evacuation" app from the "App Store" (IOS) or from the "Play Store" (Android). Ensure that the app has been published by "SG World Ltd".
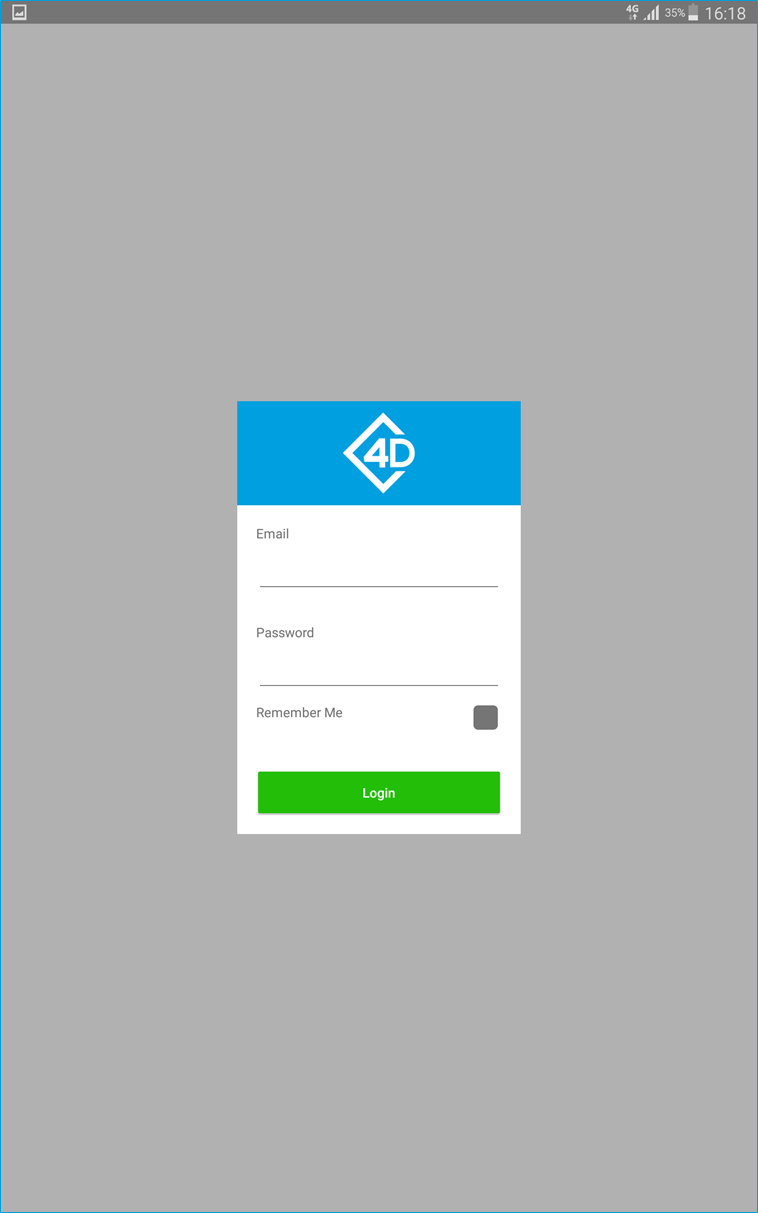
Once you have downloaded the application double-tap on the app and the following page will open.
Use your 5D credentials to sign-in to the application.
Dashboard
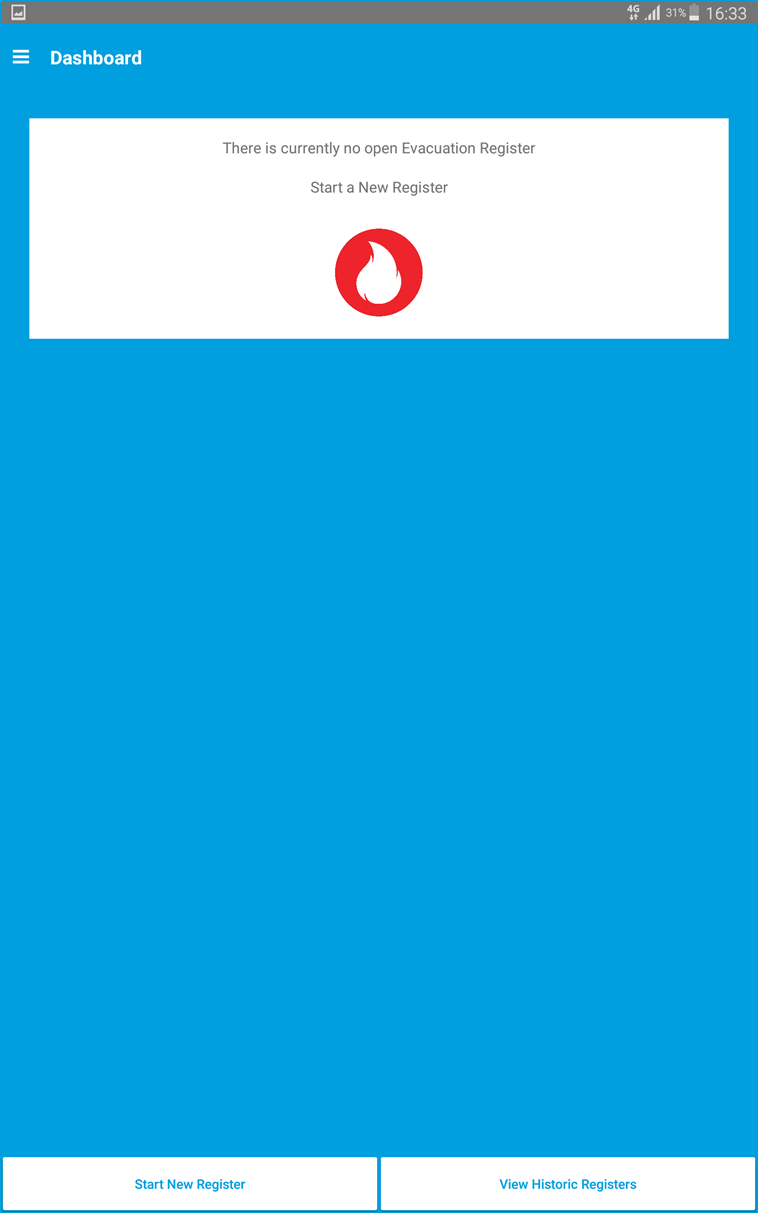
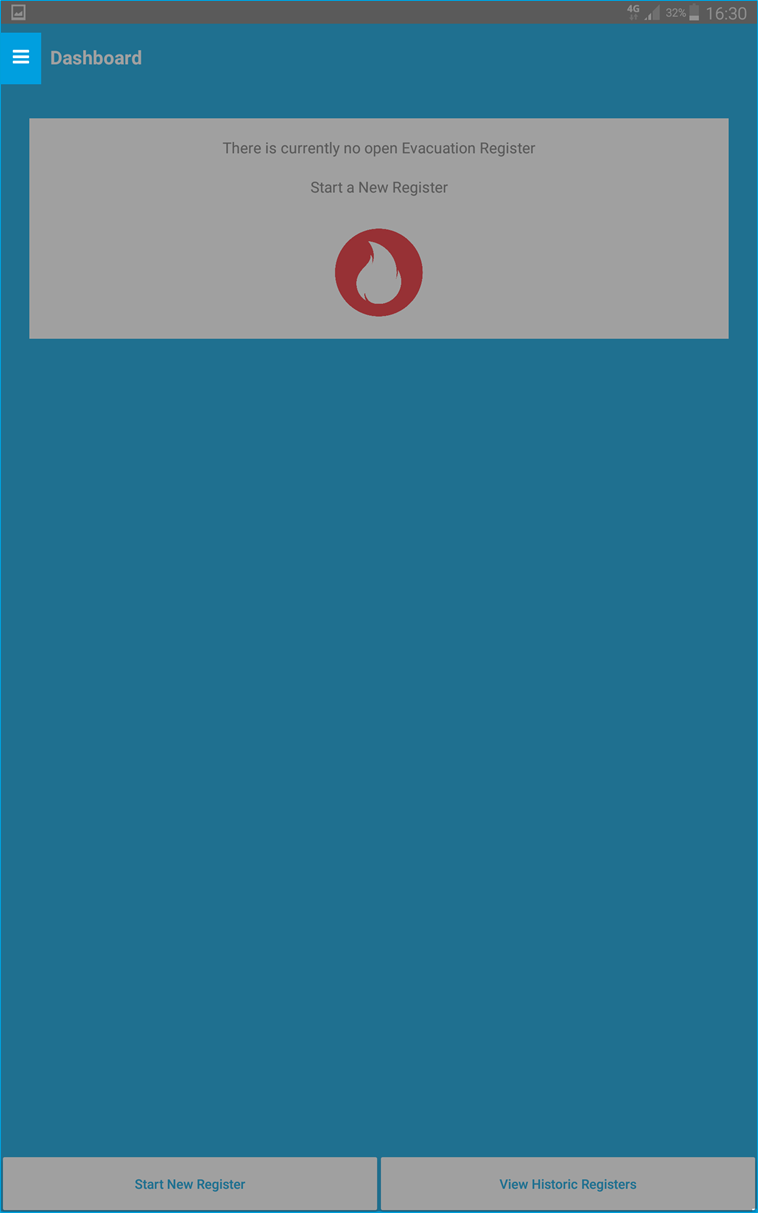
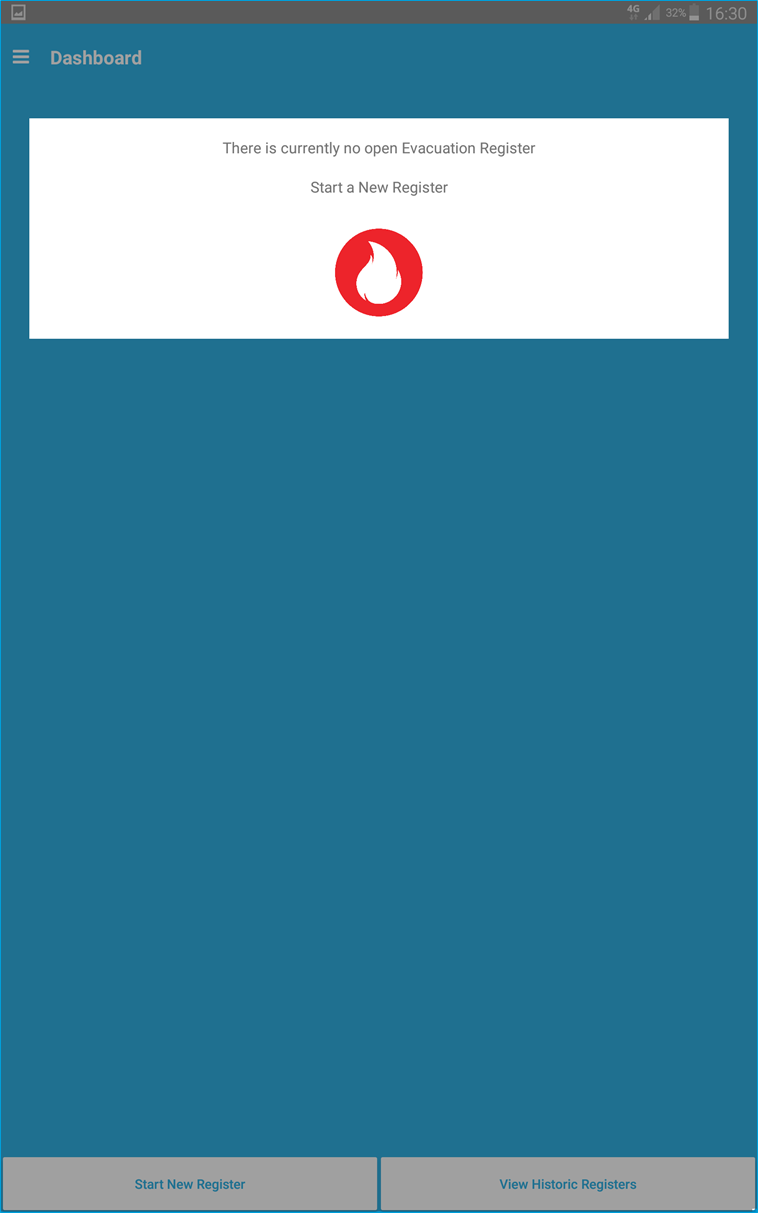
Once you have signed-in to the application the Dashboard will open.
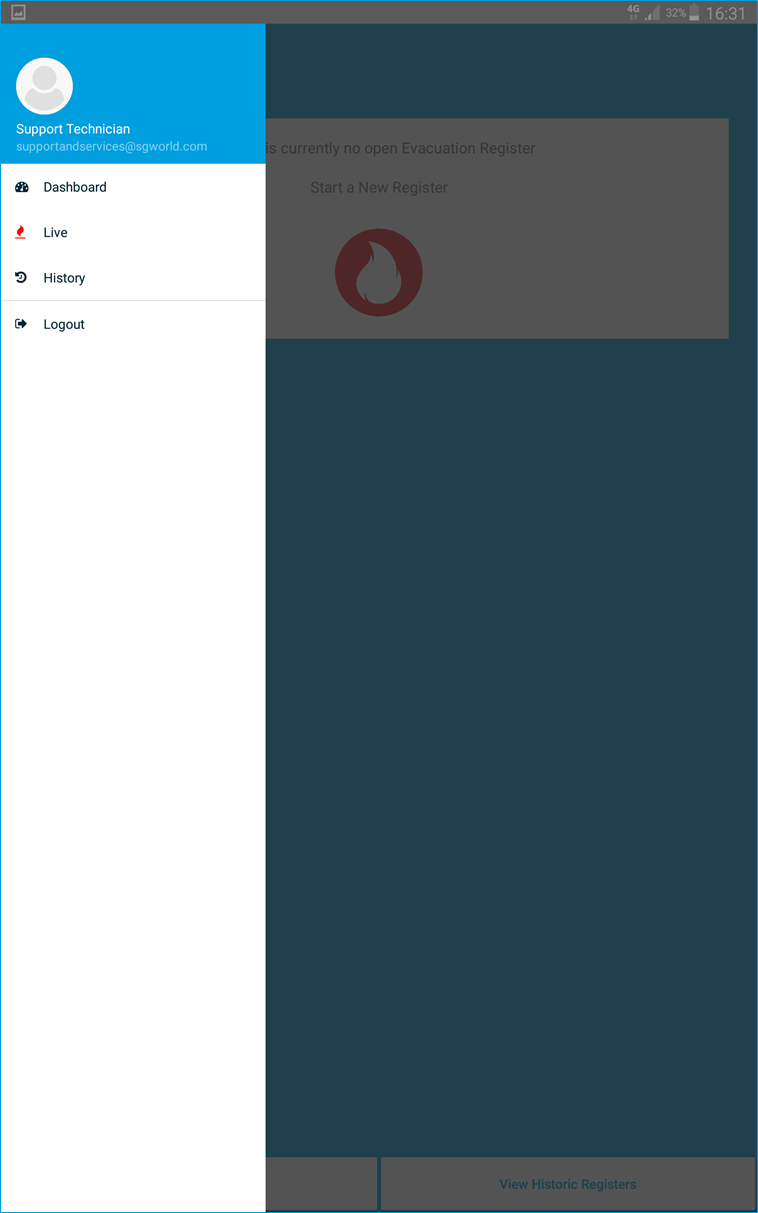
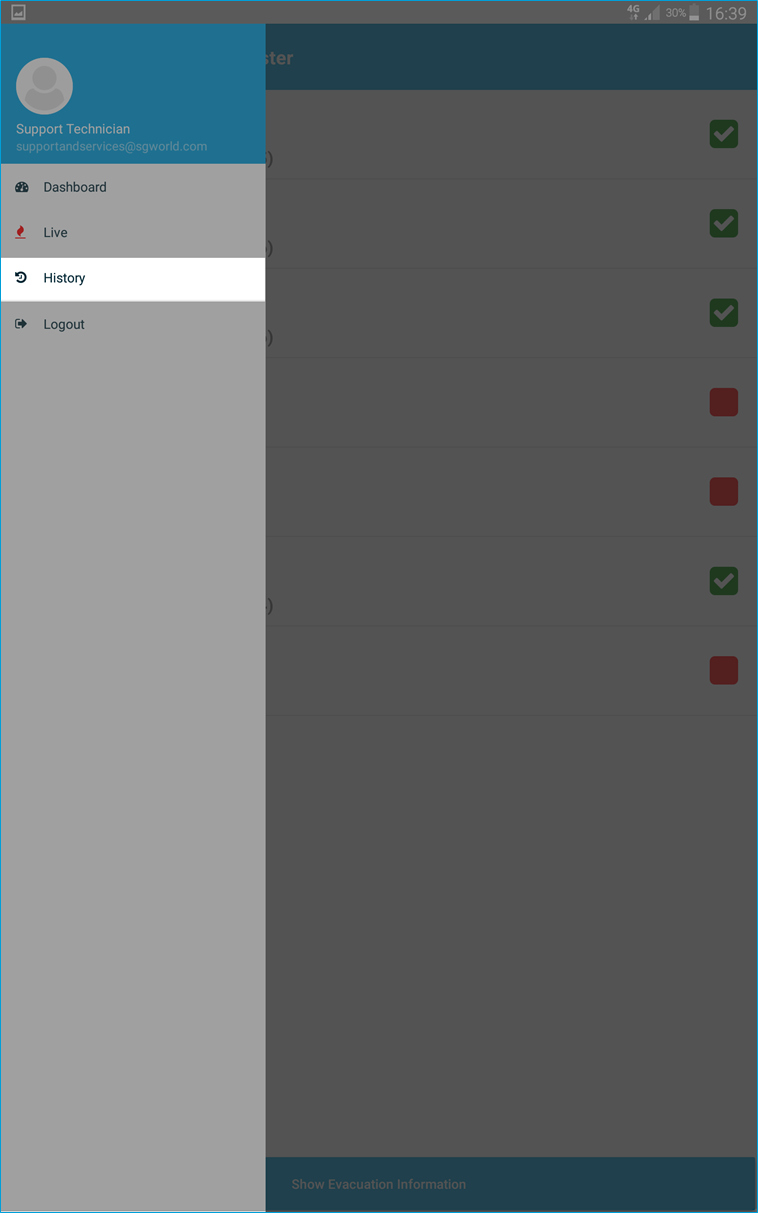
To navigate the application, click the "Menu" icon in the top left of the screen.
The "Menu" will then appear, you can then choose from the following options:
User Details - At the top of the menu bar you can view the Name and Email Address of the current user.
Dashboard - You can click this button to navigate back to the Dashboard.
Live - You can click this button to view the current Live Register, or to start a New Register, This is explained in more detail further on in the guide.
History - You can click this button to view a list of Historic Registers, This is explained in more detail further on in the guide.
Logout - Click this button if you would like to Logout.
New Evacuation
If there is currently no Evacuation then the dashboard will display a "Start New Register" button.
Click on the button to start a new Evacuation Register.
Listed will be any visitors who are currently logged as being on-site.
For more information on how to complete the Evacuation Report, see the "Ongoing Evacuation" section below.
Ongoing Evacuation
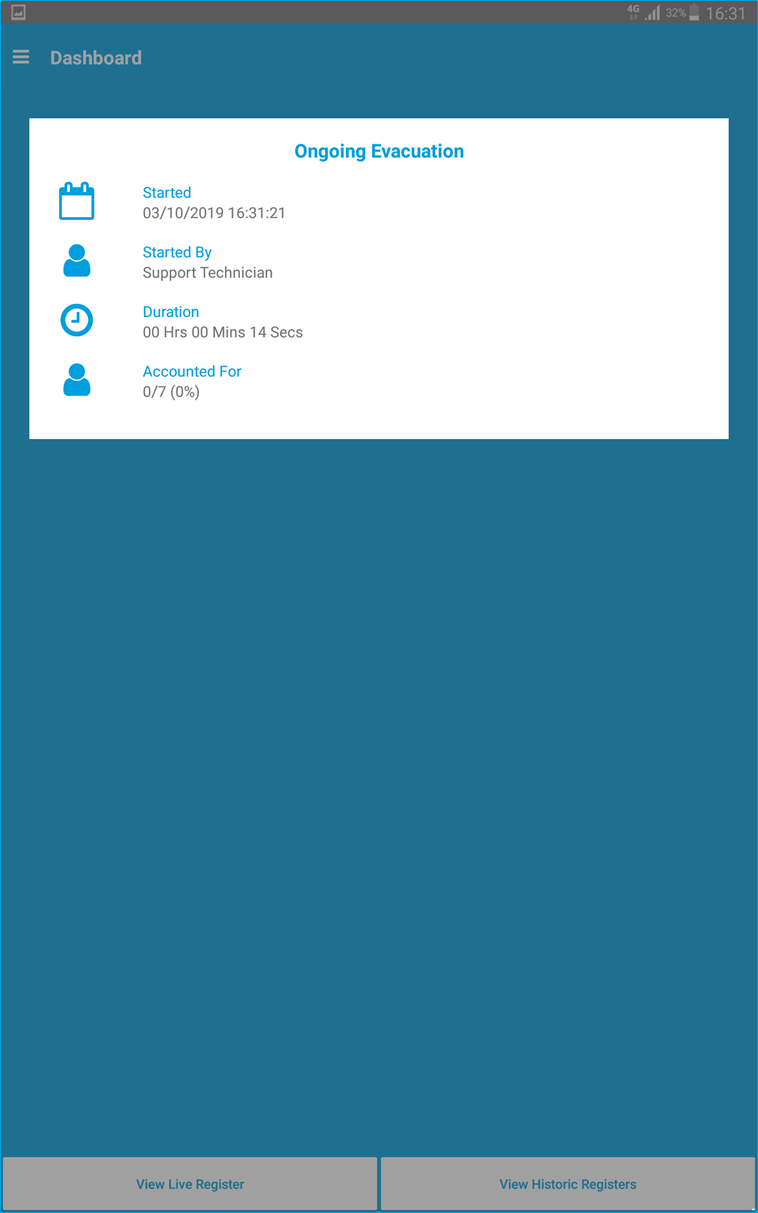
If there is an "Ongoing Evacuation" it will be viewable on the Dashboard, the listing provides you with quick essential information such as the "Starting Time", "Duration" and the number of people "Accounted For".
By tapping on the "Ongoing Evacuation" you will be redirected to the Evacuation page.
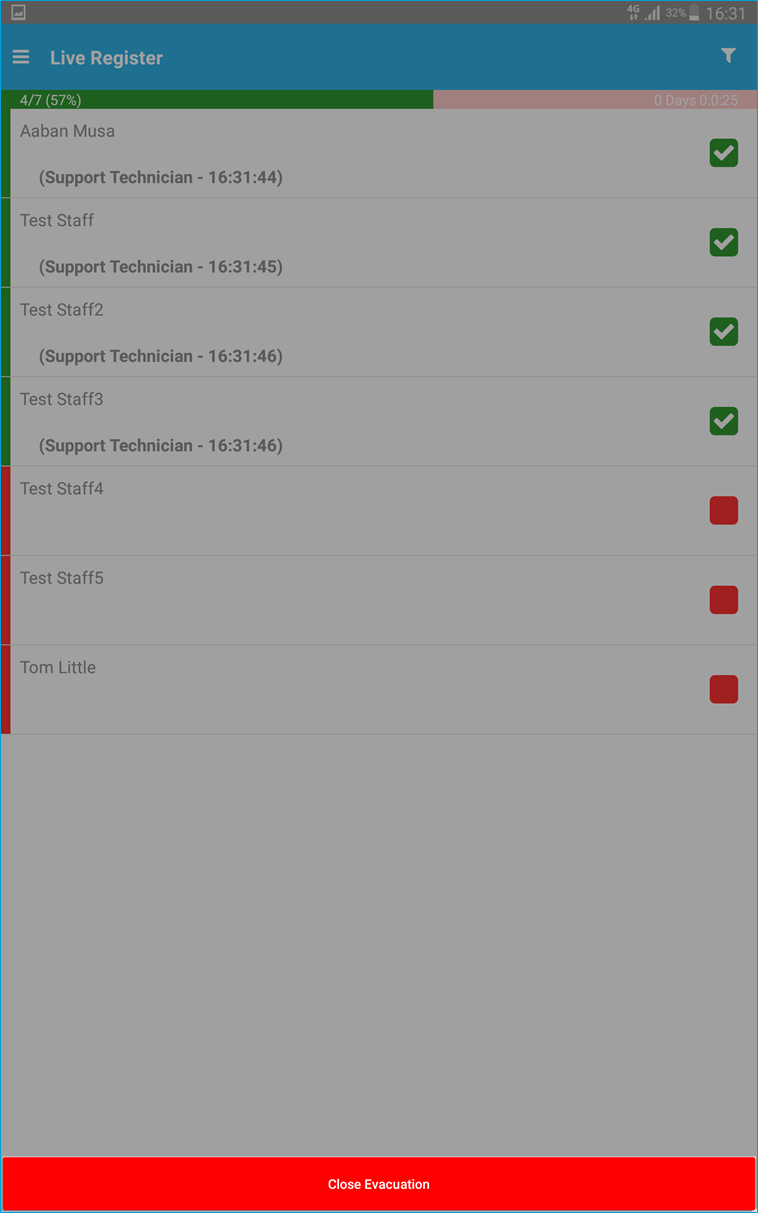
Once you have clicked onto the "Ongoing Evacuation" you will be directed to this page, the evacuees will be listed on the page, you can view the progress of the Evacuation by counting the number of Green Evacuees, or by viewing the number of people accounted for in the top-left of the register.
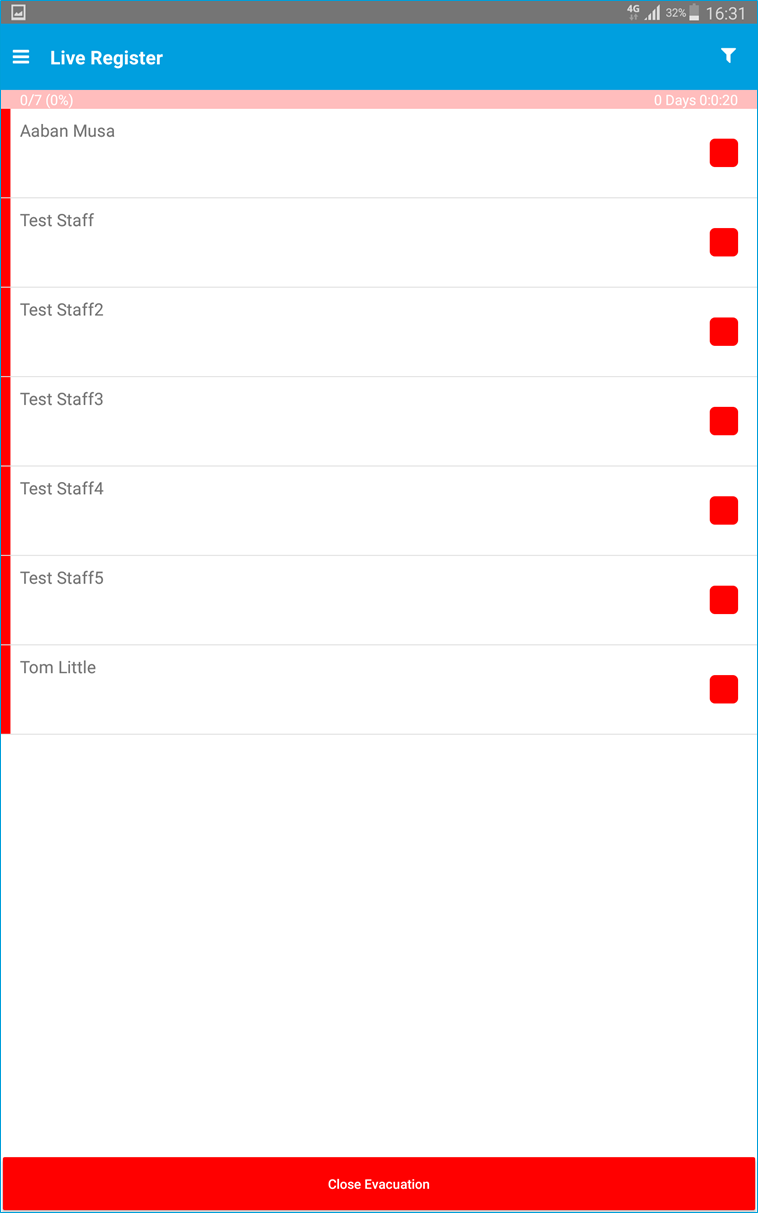
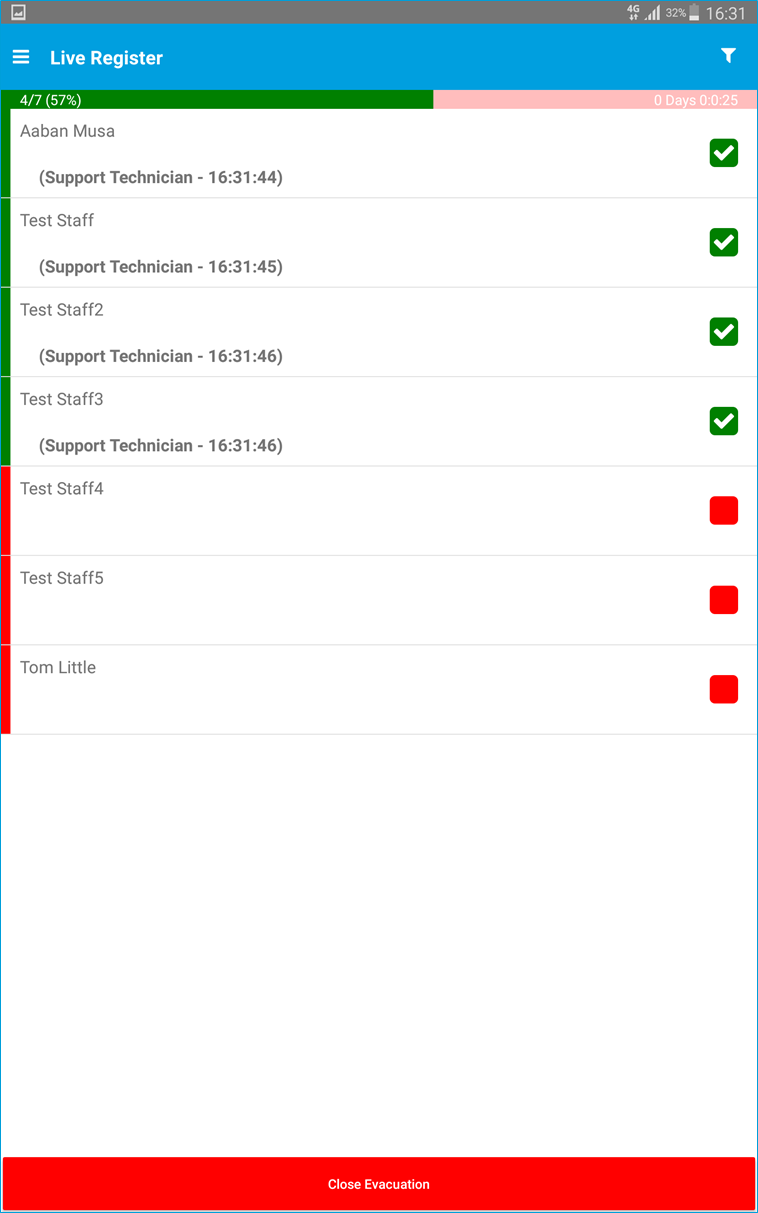
As you check your evacuees you must check the box next to the corresponding name, their record will then turn Green.
As you progress through the Evacuation progress the "Accounted for" counter will begin to increase, you will also notice that each Green Evacuee will have the details of the staff member who signed them off.
Filters
If you have a high number of evacuees to check for, or if you are having trouble finding a specific visitor, you can use the "Filter" button in the top-right of the screen.
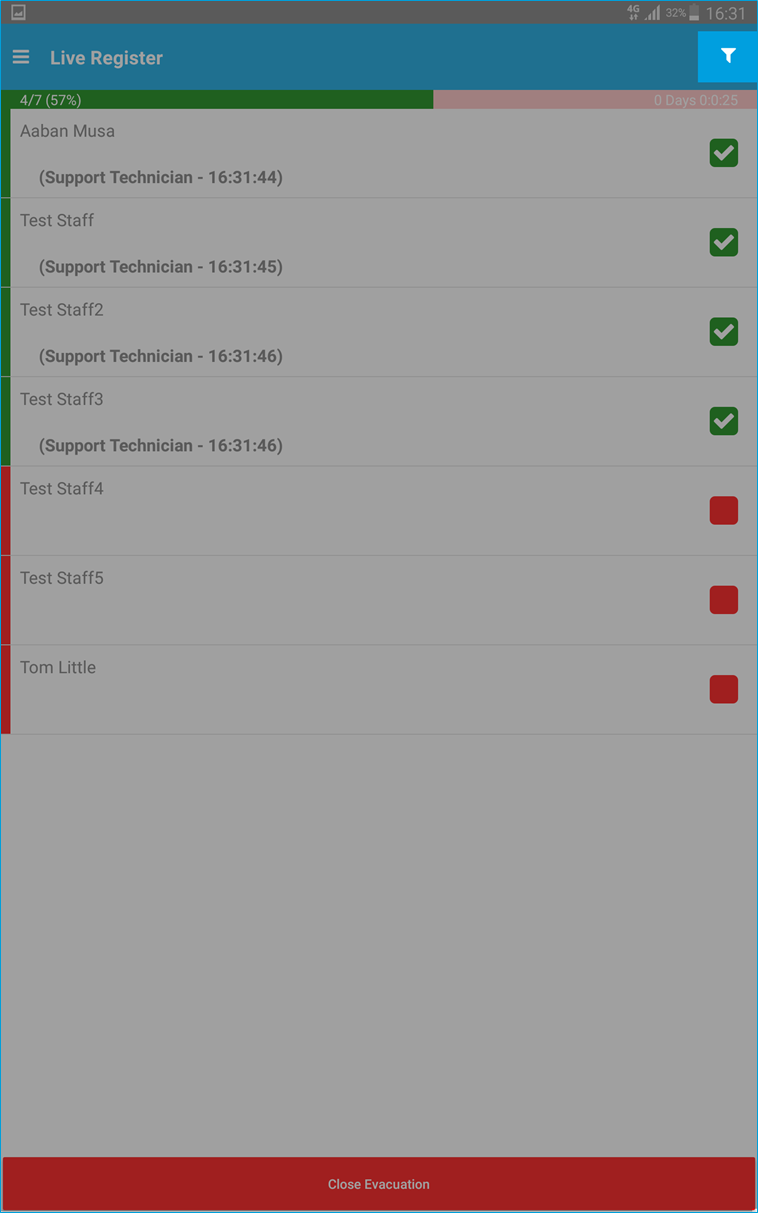
Once you have clicked the filter button the following page will open.
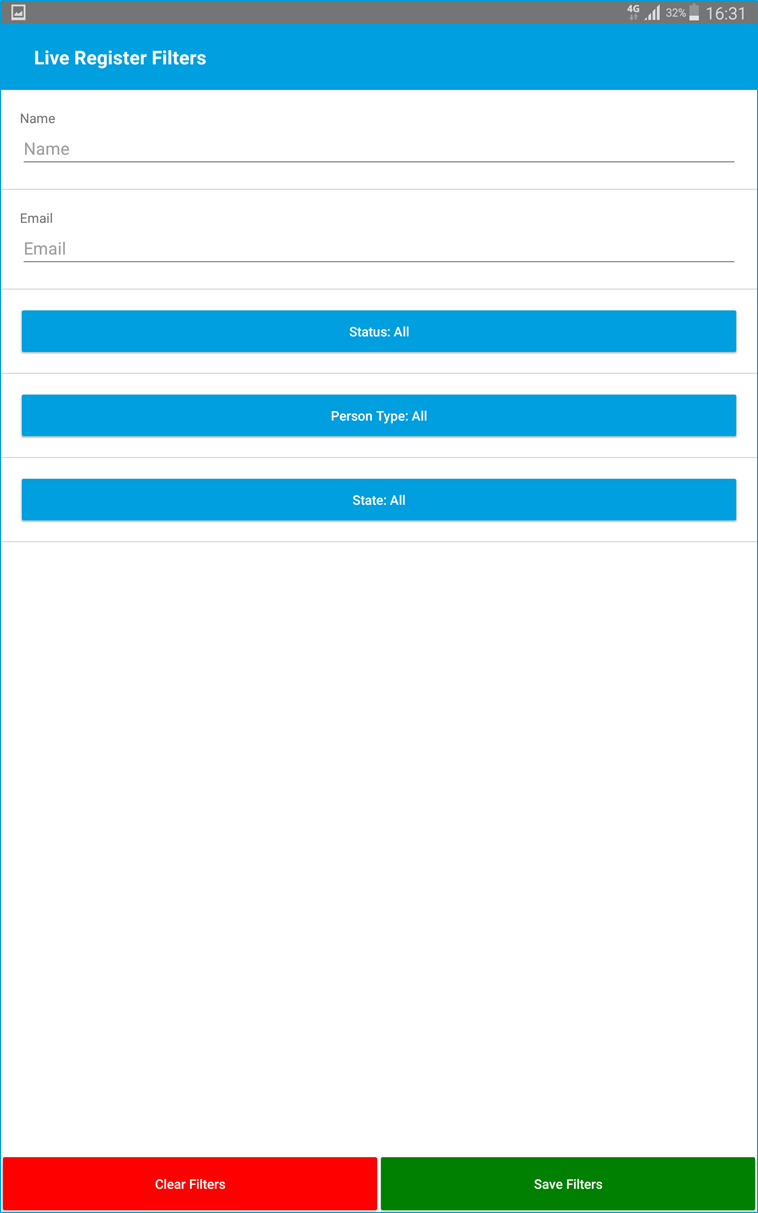
You can search for an evacuee by their "Name" and "Email" by typing into the two boxes.
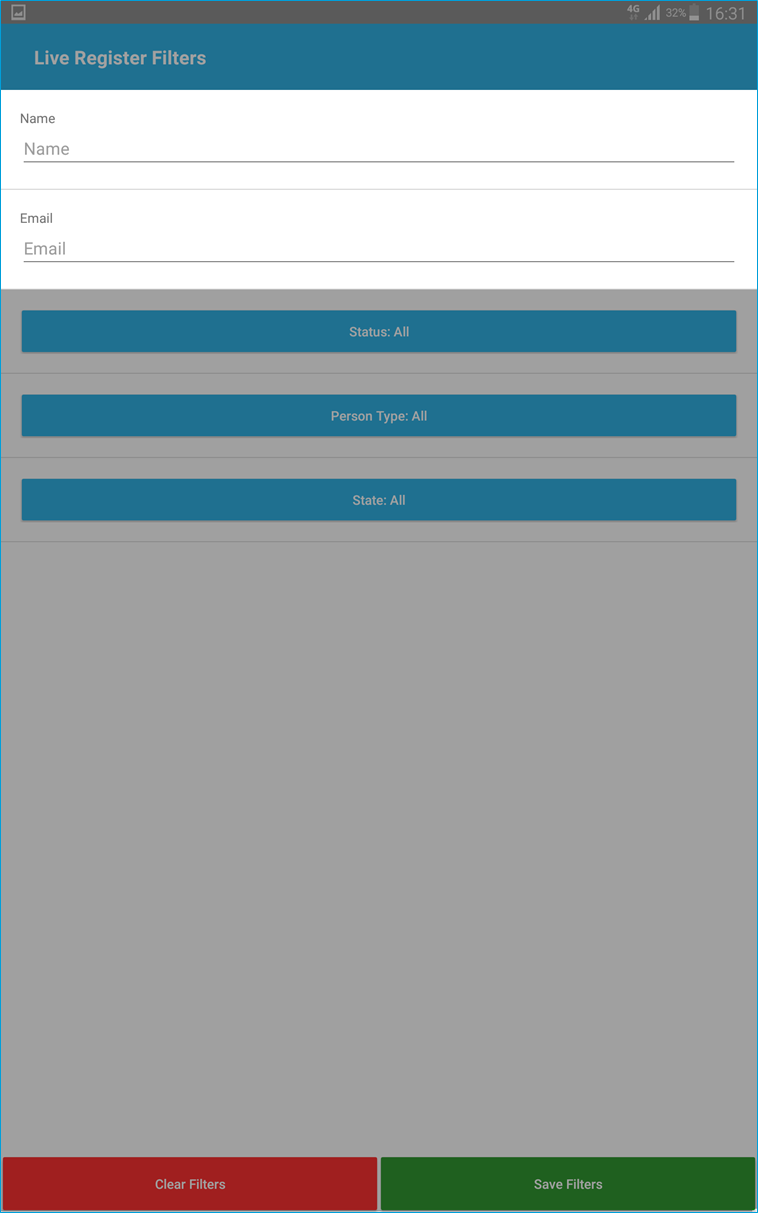
You can also filter by the following options:
Status - You can choose from "All", "Pending", "Active", "Inactive" and "Deleted".
Person Type - You can choose from a list of Visitor Types that you have on the system.
State - You can choose from "All, "Unaccounted" and "Accounted".

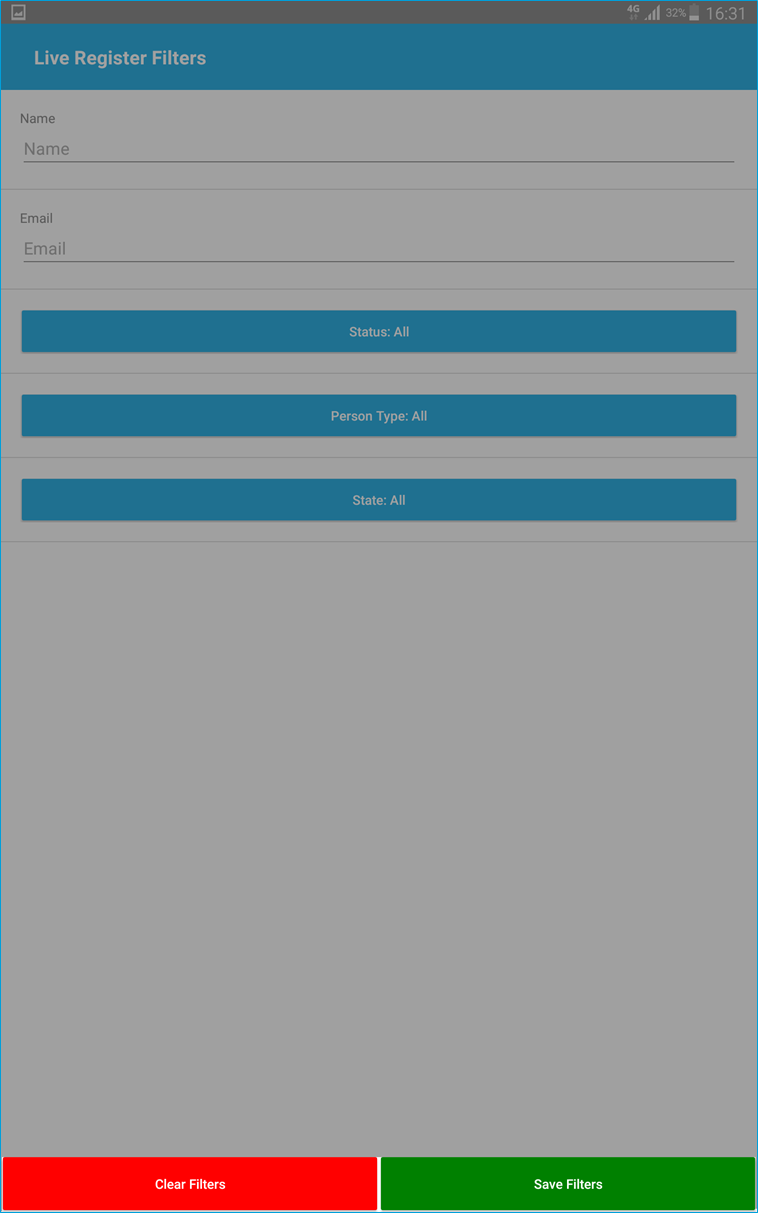
If you are happy with the filters click the "Save Filters" button, you will then be returned to the Evacuation List where your filters will be applied.
If you would like to remove the filters click the "Clear Filters" button, you will then be returned to the Evacuation List with the default view.
Once you have accounted for all of your evacuees, and you are happy with the Evacuation, click the "Close Evacuation" button at the bottom of the page.
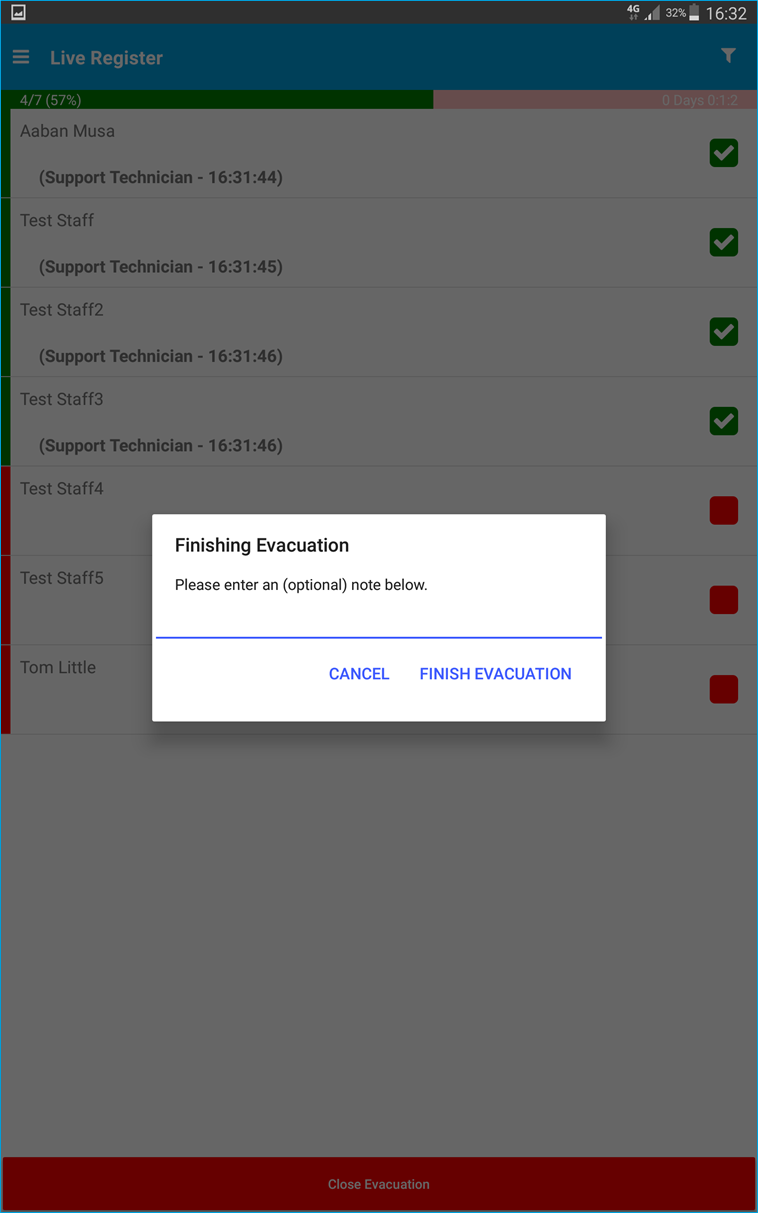
Once you have clicked the "Close Evacuation" button, the following box will appear, you can choose to add an additional note to the Evacuation Report.
If you would like to return to the Evacuation, click the "Cancel" button.
If you are happy with the Evacuation, click the "Finish Evacuation" button.
Once you have completed your Evacuation you will be redirected to the Evacuation summary page.
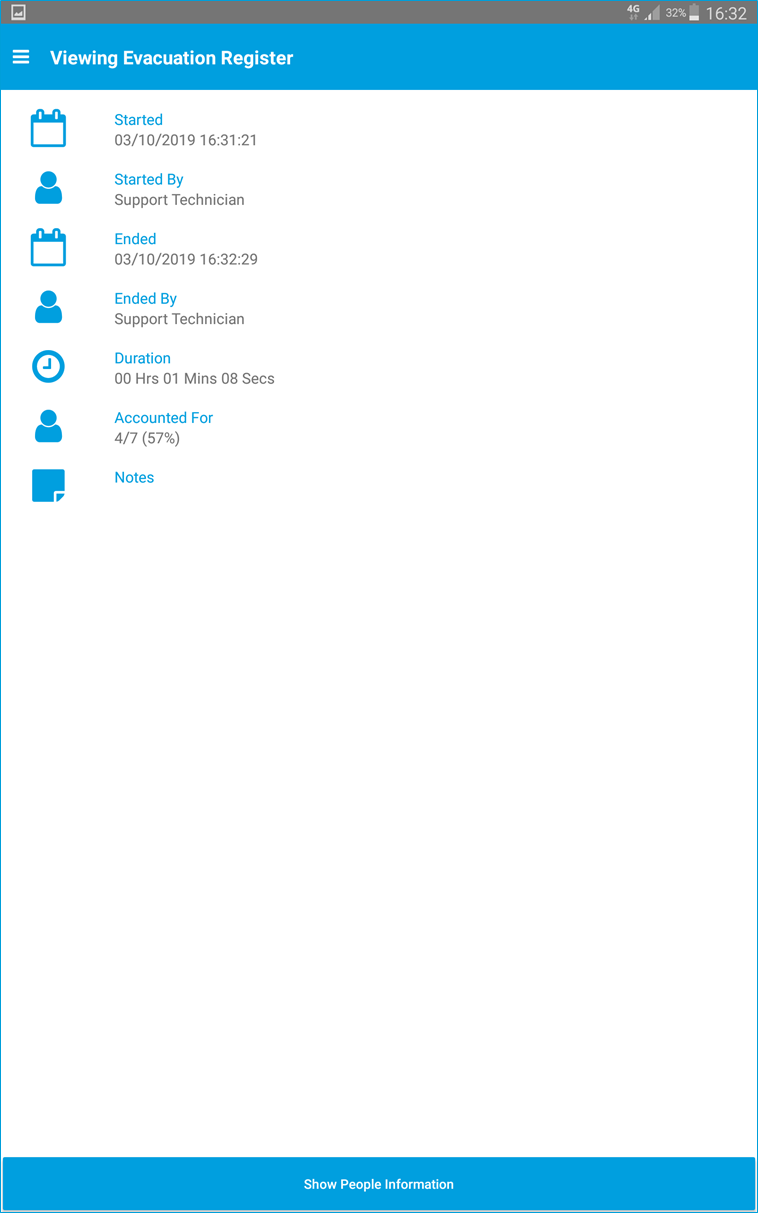
Listed is the following information:
Started - This lists the start date and time of the Evacuation.
Started By - This lists the staff member who started the Evacuation Register.
Ended - This lists the end date and time of the Evacuation.
Ended By - This lists the staff member who started the Evacuation Register.
Duration - This lists the total duration of the report.
Accounted For - This lists the number of visitors that were accounted for.
Noted - This shows any notes that were added to the Evacuation Register.
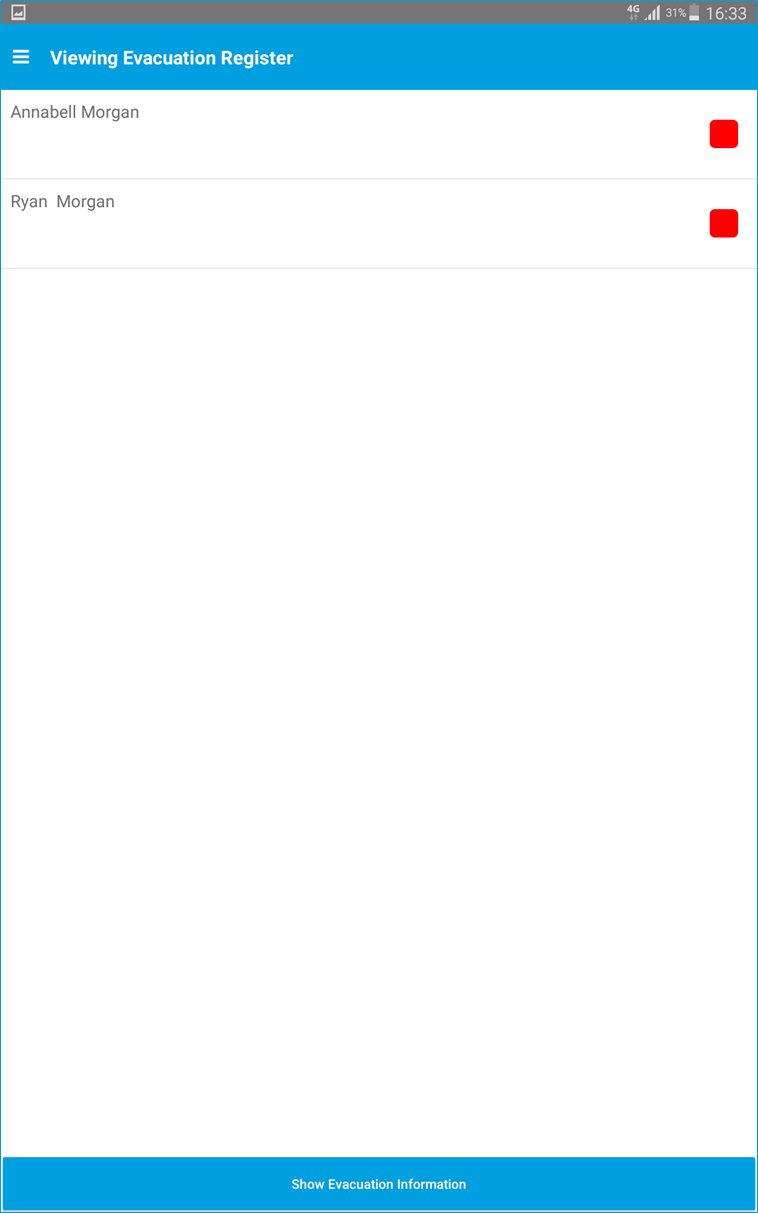
To view Evacuee information, click on the "Show People Information" button at the bottom of the page.
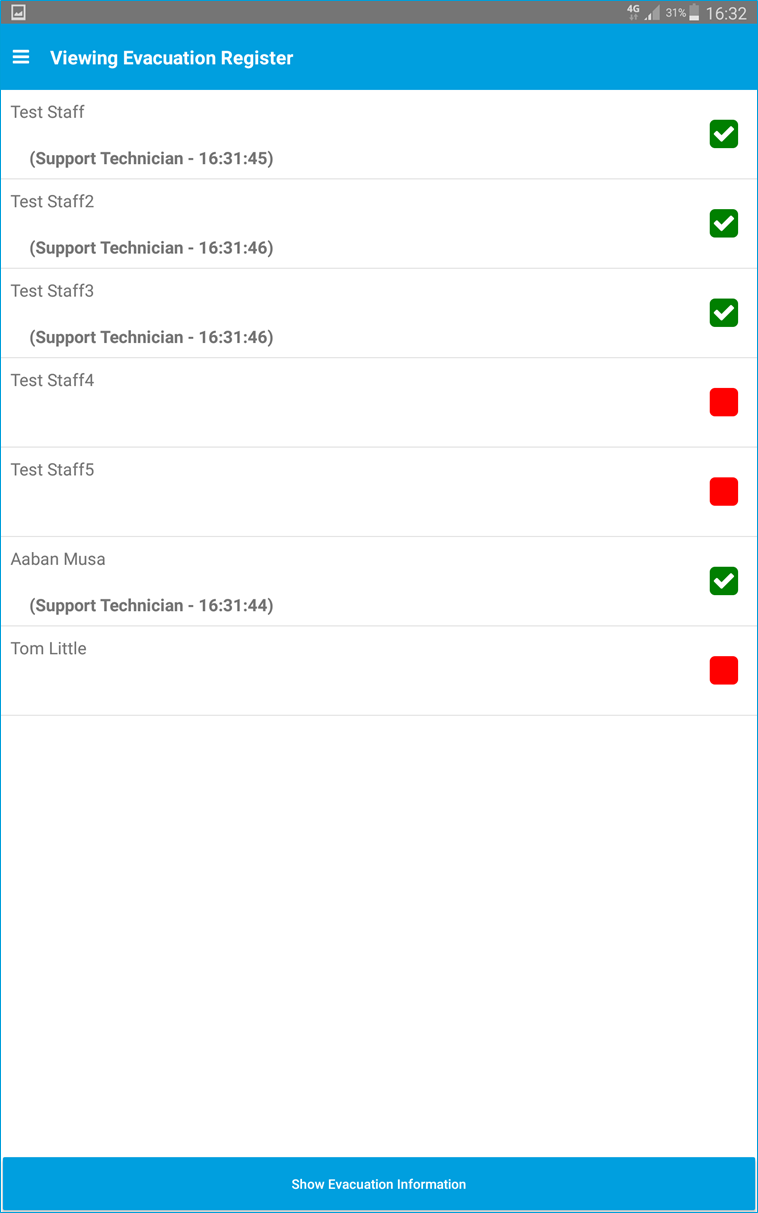
The completed Evacuation register will then appear, listed is the "Name", "State" and "Signed Time" for each Evacuee.
Historic Evacuation Reports
You can now choose to navigate back to the "Dashboard", however click the "History" tab in the "Menu".
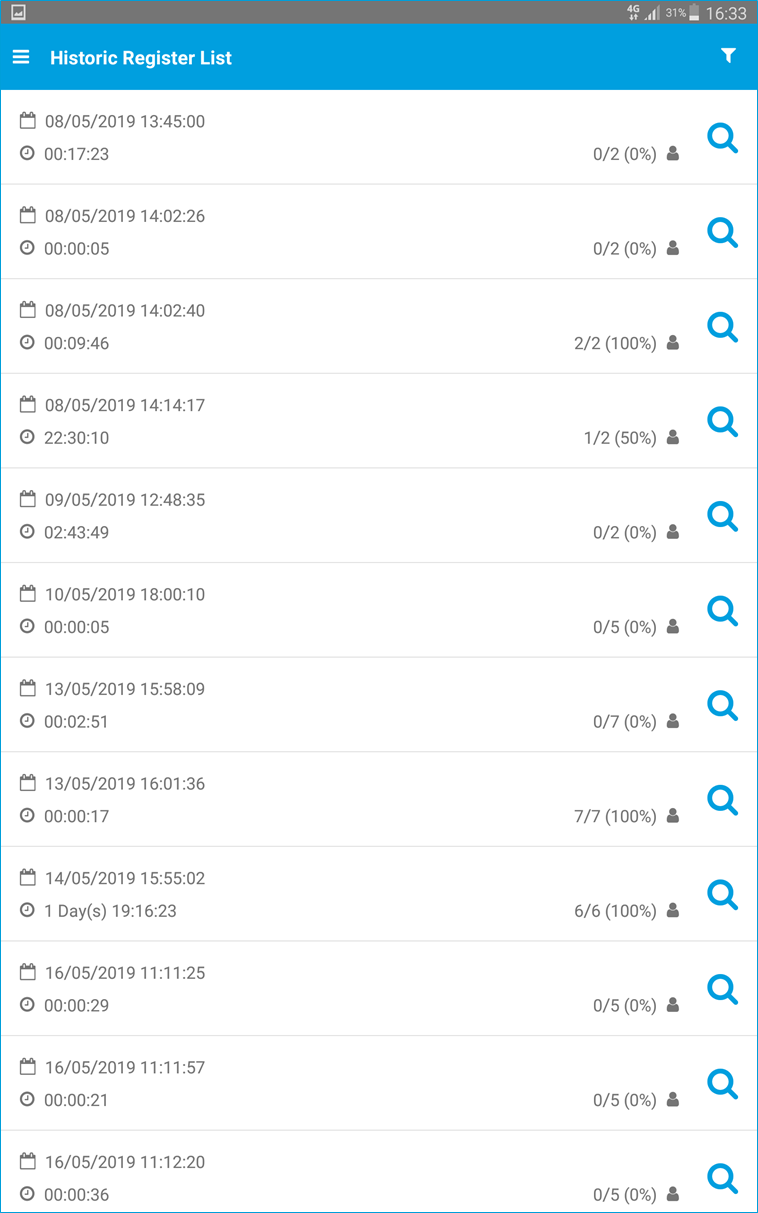
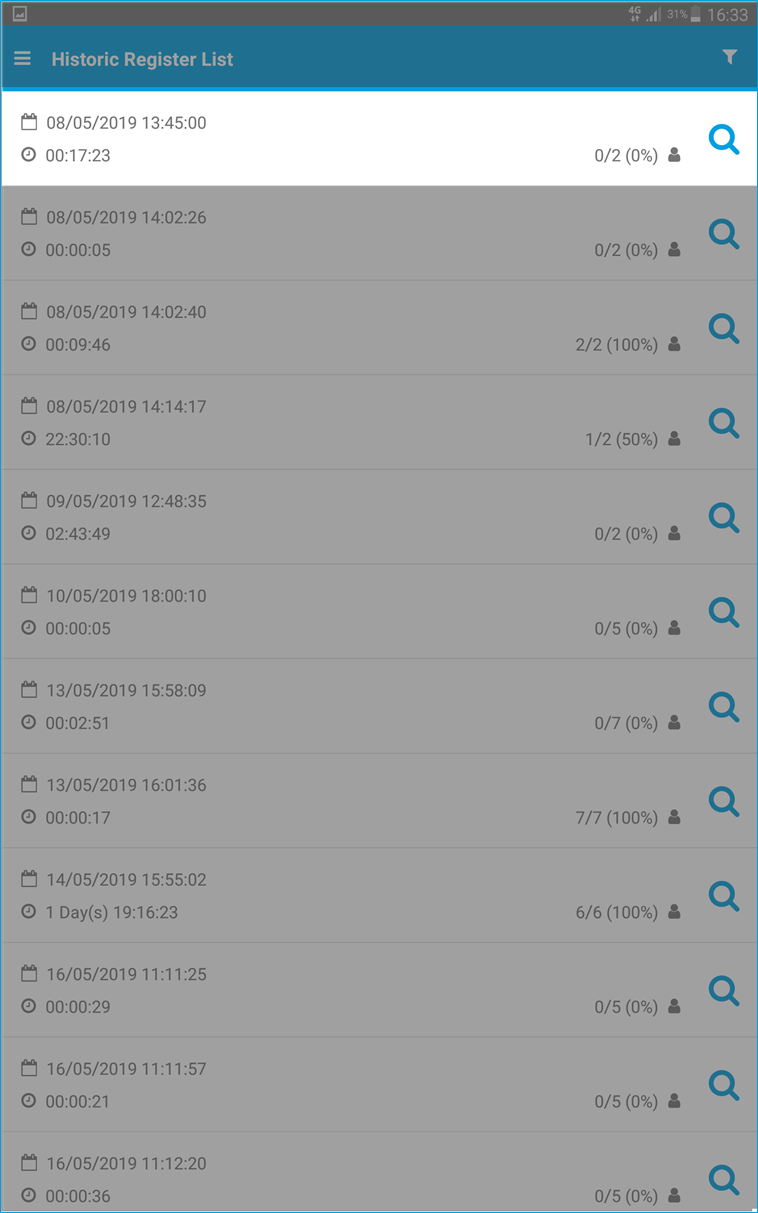
You will then be redirected to the following page where a list of every Historic Register is viewable.
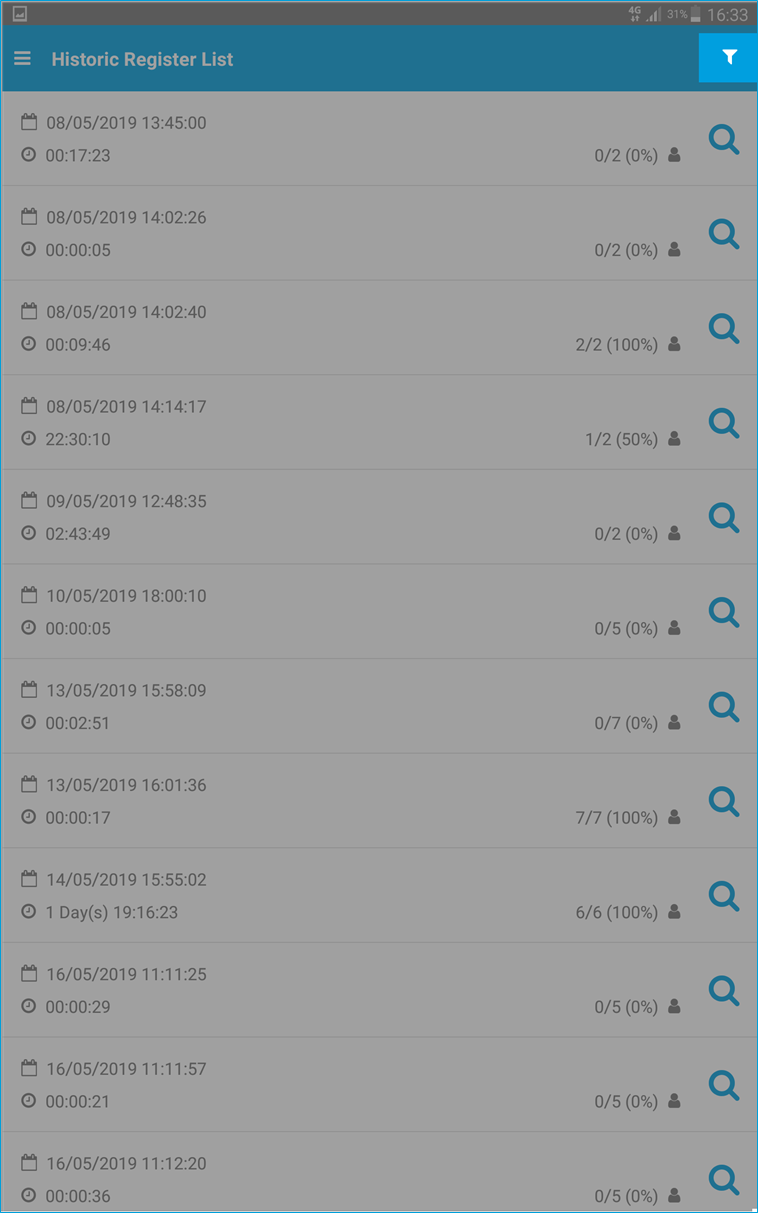
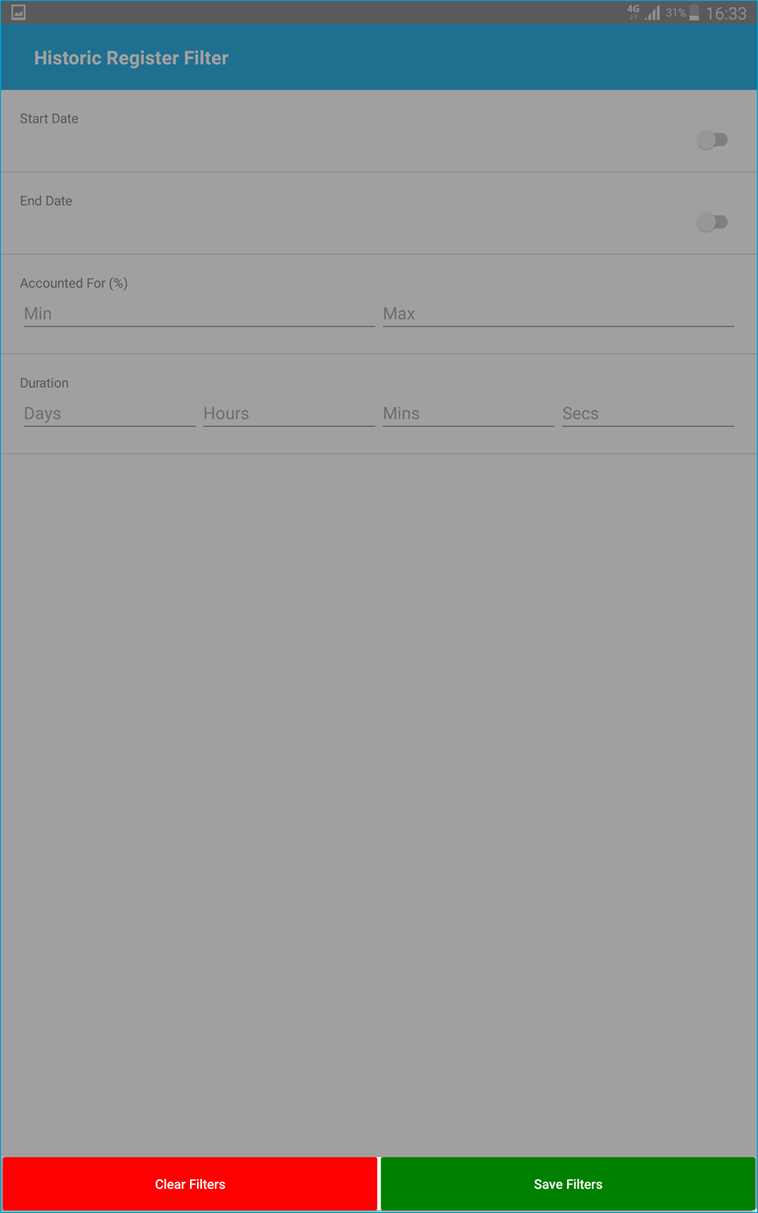
To filter the list, tap the "Filter" icon in the top-right of the screen.
You can then choose to filter by the following:
Start Date - You can filter by the "Start Date" of the Evacuation.
End Date - You can filter by the "End Date" of the Evacuation.
Accounted For (%) - You can filter by the "Min" and "Max" amount of Evacuees that were accounted for.
Duration - You can filter by the total duration of the Evacuation.
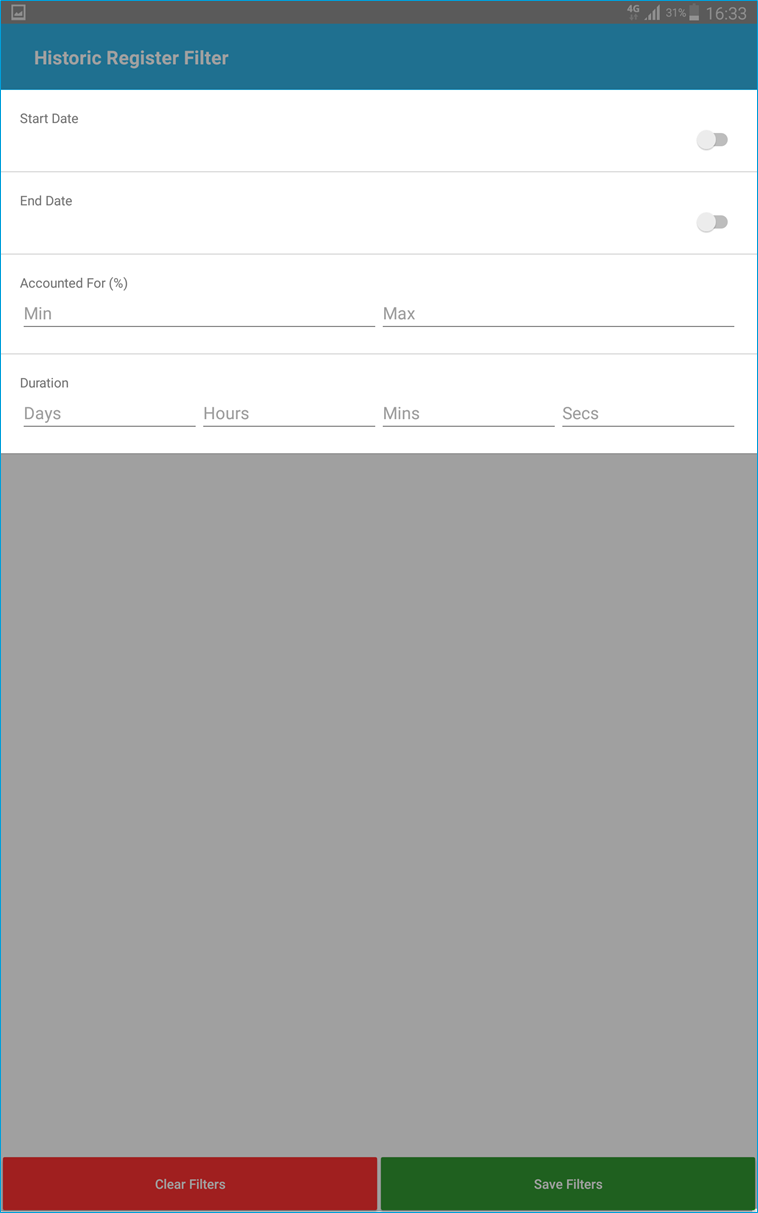
If you are happy with the filters click the "Save Filters" button, you will then be returned to the Historic Evacuation List where your filters will be applied.
If you would like to remove the filters click the "Clear Filters" button, you will then be returned to the Historic Evacuation List with the default view.
To view a Historic Evacuation Report, click on the "Magnifying Glass" to the right of a Report.
Listed is the following information:
Started - This lists the start date and time of the Evacuation.
Started By - This lists the staff member who started the Evacuation Register.
Ended - This lists the end date and time of the Evacuation.
Ended By - This lists the staff member who started the Evacuation Register.
Duration - This lists the total duration of the report.
Accounted For - This lists the number of visitors that were accounted for.
Noted - This shows any notes that were added to the Evacuation Register.
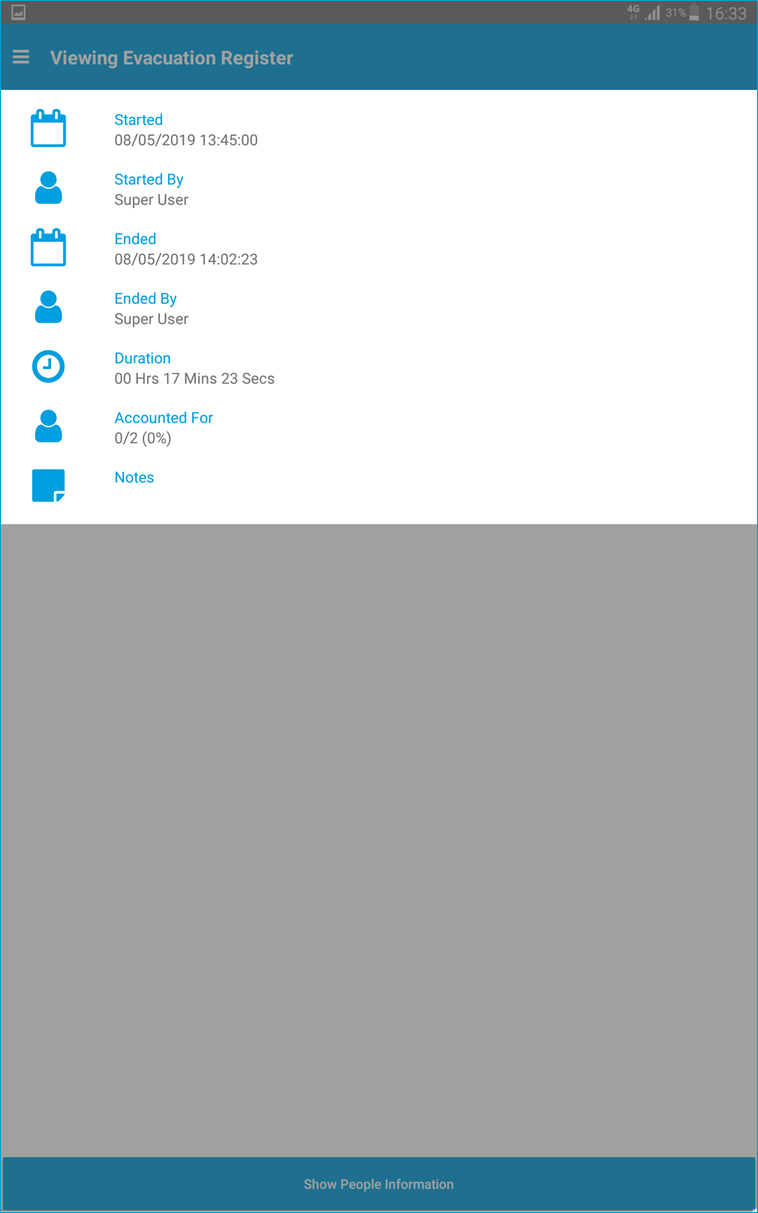
To view Evacuee information, click on the "Show People Information" button at the bottom of the page.
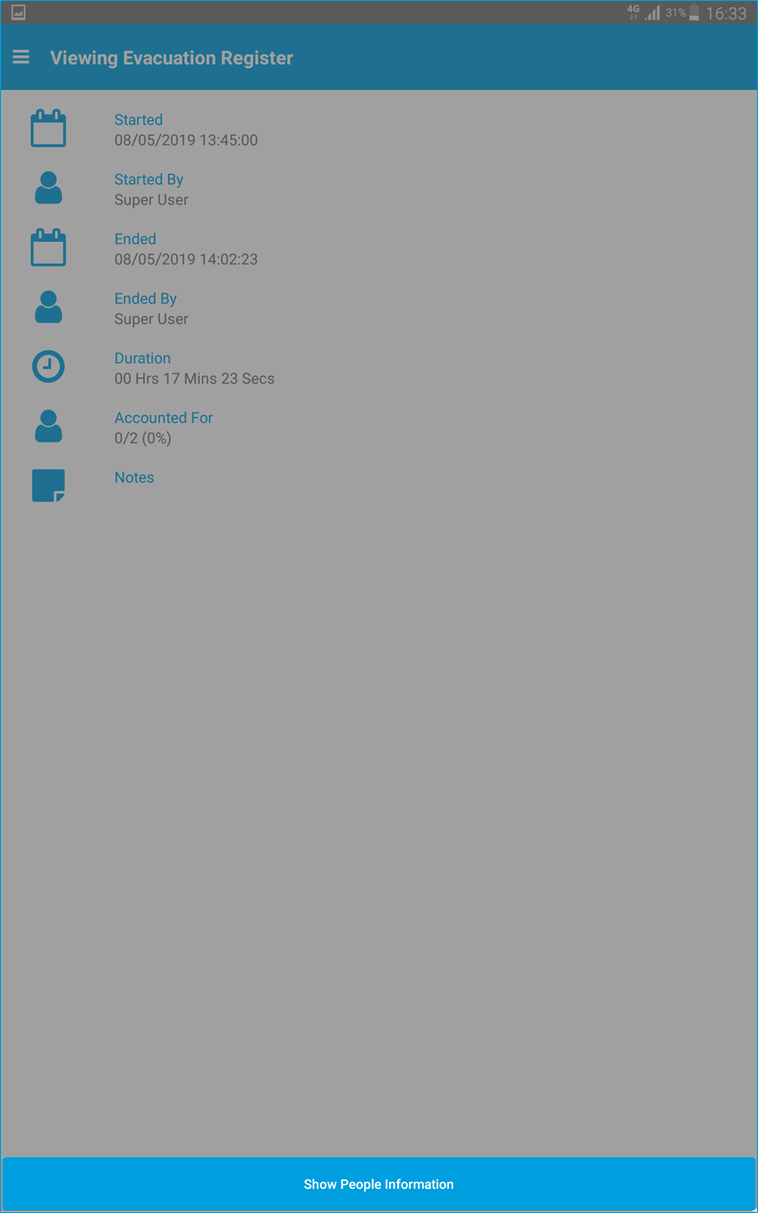
The completed Evacuation register will then appear, listed is the "Name", "State" and "Signed Time" for each Evacuee.